
Replace Trigger
Replace Trigger allows you to change the current trigger type in your automation to a different one. This topic explains how to replace a trigger, configure the new trigger, and resolve validation errors.
Replace
Replace Trigger allows you to change the current trigger type in your automation to a different one.
Choose trigger type:
-
Log Trigger - Starts the automation when a specific log event occurs.
-
Webhook Trigger - Starts the automation when data is sent to a webhook endpoint.
-
Scheduled Trigger - Starts the automation based on a predefined schedule (for example, daily or hourly).
Configuring the New Trigger
-
The system creates the new trigger immediately for a Webhook Trigger.
-
For all other trigger types, enter the required parameters in the trigger window and click Save.
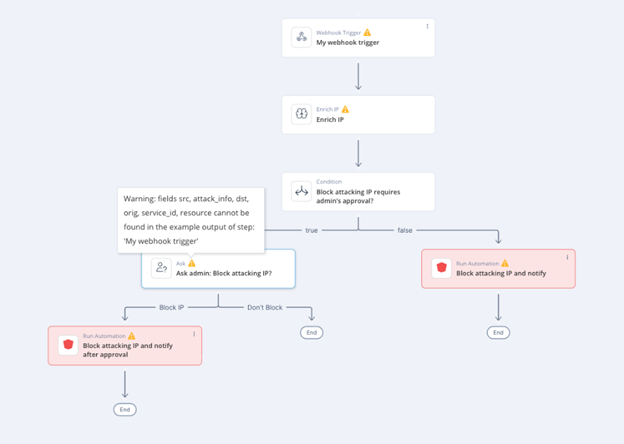
Resolving Validation Errors
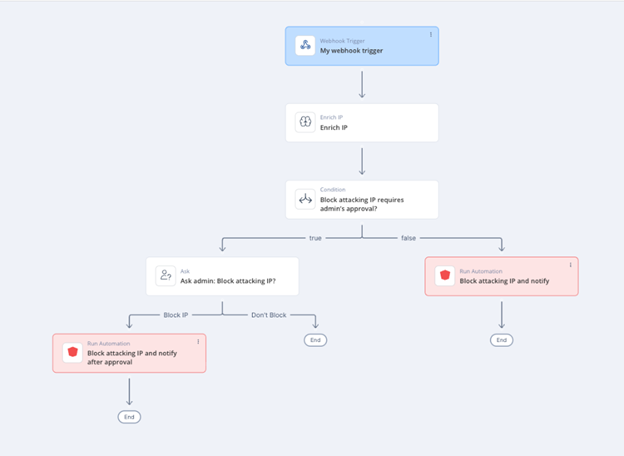
When you replace a trigger, steps that reference fields from the previous trigger may display validation errors. These errors occur because the referenced fields are not available in the new trigger's output example.
To resolve these errors:
-
All references in dependent steps must match the fields defined in the trigger's Example Output.
-
You can either add old field names to the new example output or update the dependent steps to use the new field names.
-
In the trigger step, click
 .
.
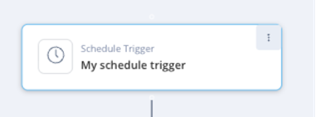
-
Click Replace Trigger.
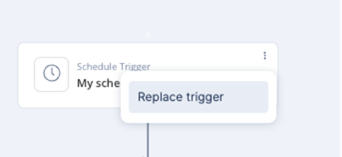
-
Choose the new trigger type and click Add.
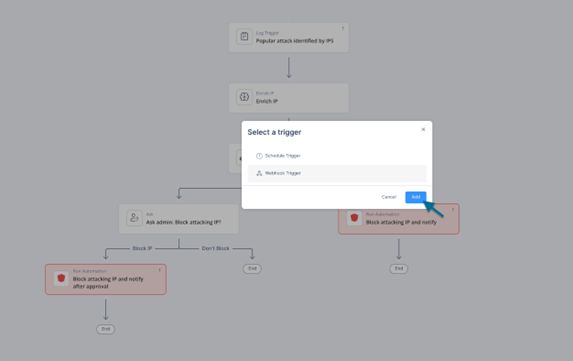
A warning message appears
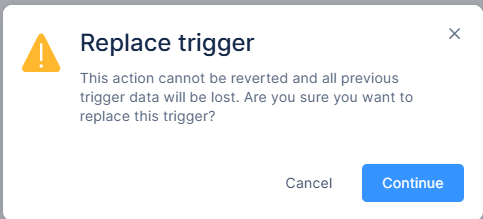 Note:Replacing a trigger permanently deletes all previous trigger data. This action cannot be undone.
 -
Open Webhook Parameters and review the Automation Expected Payload.
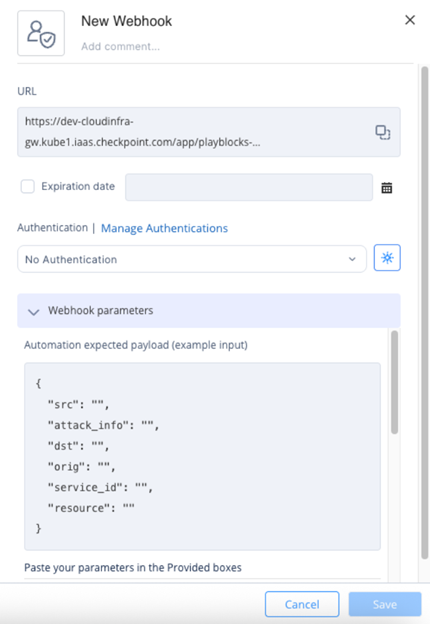
-
Update the Example Output with all necessary fields.
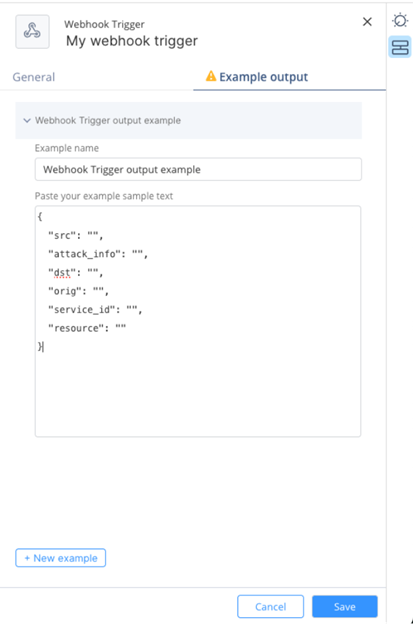
-
Click Save.
The system automatically resolves validation errors.
 Note:The expected payload is only a structural guideline. It does not represent the actual payload your webhook sends.