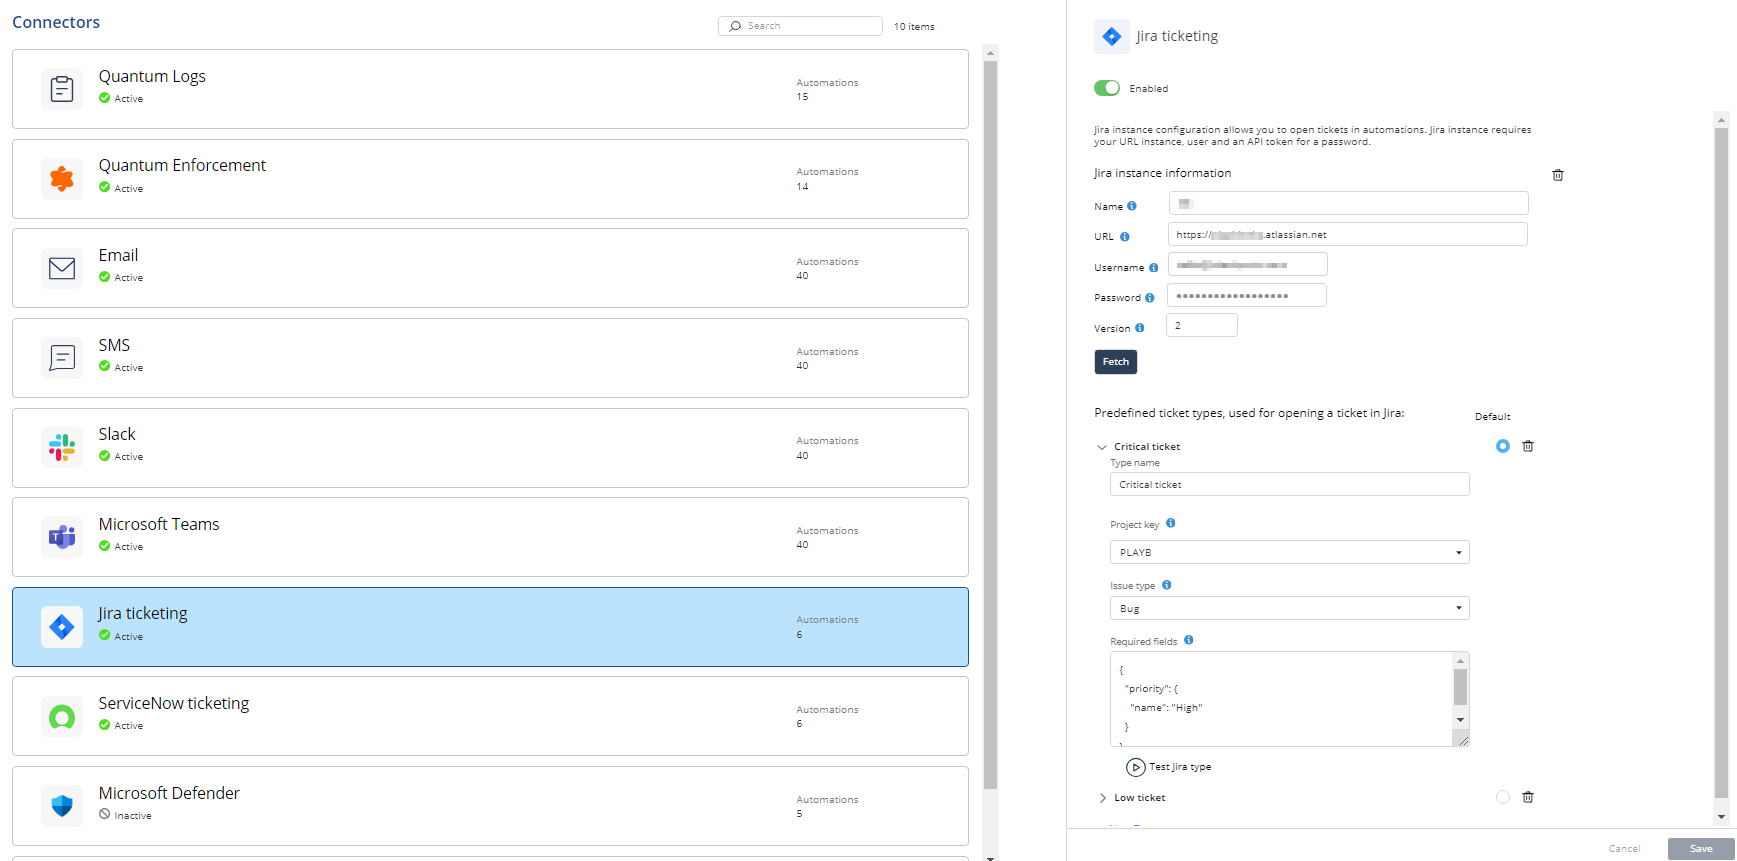
This topic describes how to configure a Jira Ticketing connector in Playblocks. It provides step-by-step instructions for setting up access and ticket type parameters.
Jira instance configuration allows you to open tickets, get information about tickets, and close tickets.
-
Access Playblocks and click Connectors.
-
Select Jira ticketing.
-
Turn on the Enabled toggle button.
-
In the Name field, enter a name for the Jira instance in Playblocks. This name will not be used outside of Playblocks application.
-
In the URL field, enter the endpoint URL of the Jira instance, for example,
https://<company_name>.atlassian.net.
-
In the Username field, enter email address of a user as username for this instance, for example,
<user_name@domain.com>.
-
In the Password field, enter the API token that you created in your Atlassian account.
-
In the Version field, enter the API version of Jira. Default is 2.
-
Click Fetch.
After authentication, the Predefined ticket types, used for opening a ticket in jira section appears.
-
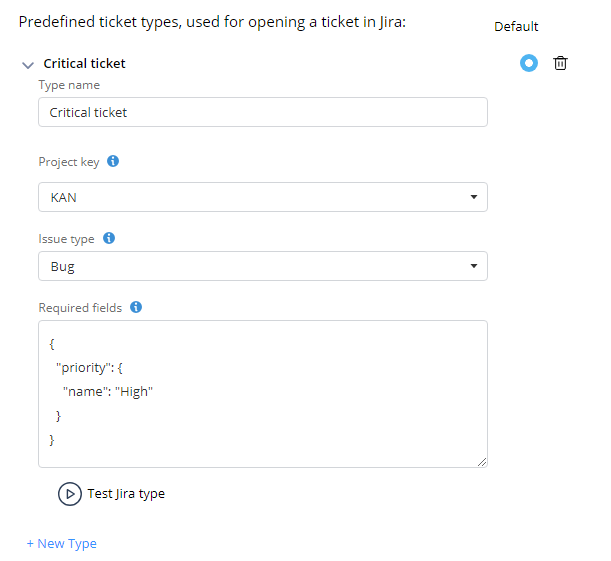
In the Type name field, enter a name for the ticket type.
-
From the Project key list, select your project key.
To find your project key:
-
Log in to your Jira account.
-
Go to Projects > View all Projects.
-
Select the project for which you want to view the project key.
-
Click Project Settings.
-
Find your project key in the Key field.
-
From the Issue type list, select the issue.
For example: Bug, Task, or Epic.
-
In the Required fields section, enter the fields required for the ticket type in JSON format.
For example, if you want to add priority as a field for the ticket, then enter {"priority": {"name":"High"}}. For more information, see Jira Documentation.
-
To add more ticket types, click New Type and repeat steps 10 to 13.
-
Click Save.