
Creating a Webhook
This topic describes how to create a webhook, configure its URL and expiration date, and optionally apply authentication. It also provides guidance on managing exposed or expired webhook URLs.
Webhook URL
-
Each webhook is assigned a unique URL when the webhook is created.
-
Once generated, you can copy and use this URL in any service or application that needs to trigger the webhook.
 Notes -
-
The URL cannot be modified.
-
This URL is sensitive and should be protected. Do not share or expose it-anyone who has access to the URL can trigger the webhook.
-
-
If the URL is exposed:
-
Clone the webhook.
-
Update any integrations to use the new webhook's URL.
-
Delete the old webhook.
-
Expiration Date
-
(Optional) Set an expiration date by selecting Expiration Date and choosing the desired date.
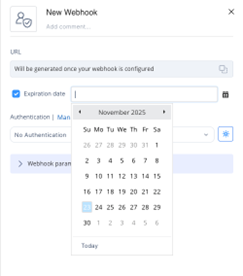
-
Seven days before a webhook expires, and again on the expiration date, you receive a reminder email.
-
In the portal, expired webhooks are marked in the automation webhooks list.
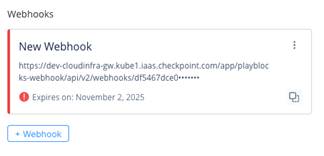
-
If a webhook expires:
-
Clone the webhook.
-
Update any integrations to use the new webhook's URL.
-
Delete the old webhook.
-
Authentication
A webhook may include authentication. Supported types:
-
Basic Authentication (username and password)
-
Custom Authentication (custom key-value pair)
We recommend adding authentication for security. Even if someone obtains the webhook URL, they still need valid credentials.
Select an existing authentication from the drop-down list or create a new one.
Click Manage Authentications to open the Authentications page, where you can view details or edit existing authentication settings.
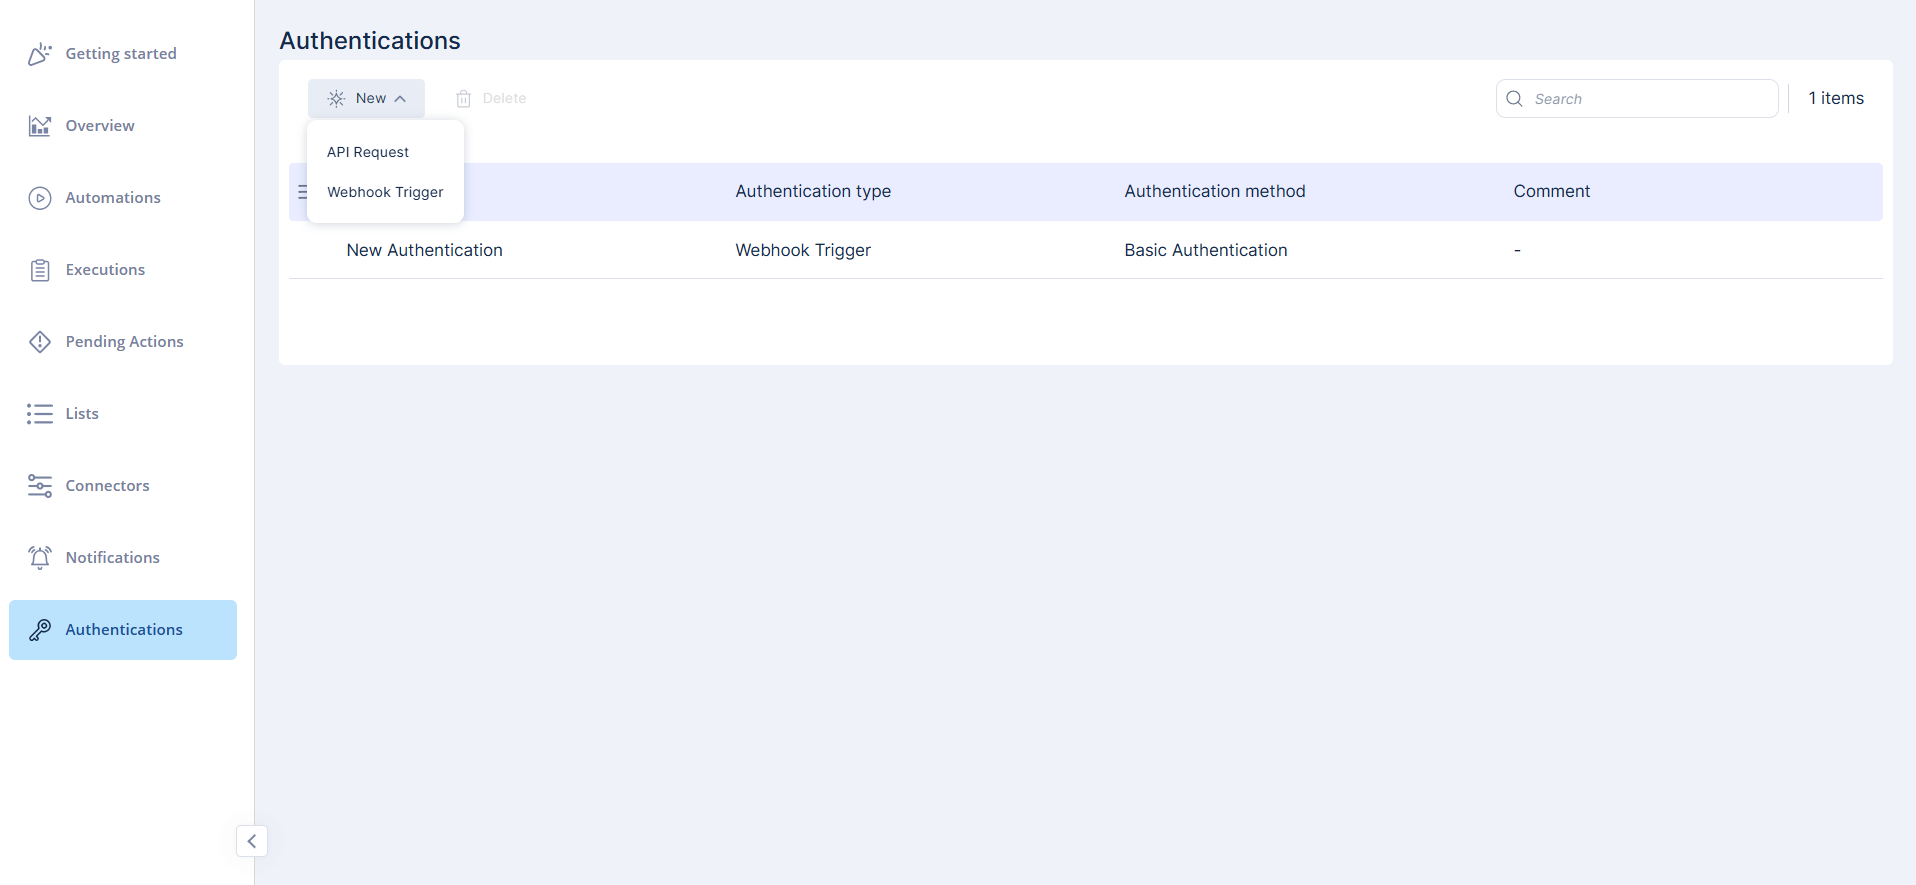
For more information, see Authentications.