To create a user with specific roles in ServiceNow:
-
Log in to your ServiceNow account.
https://<instance>.service-now.com
-
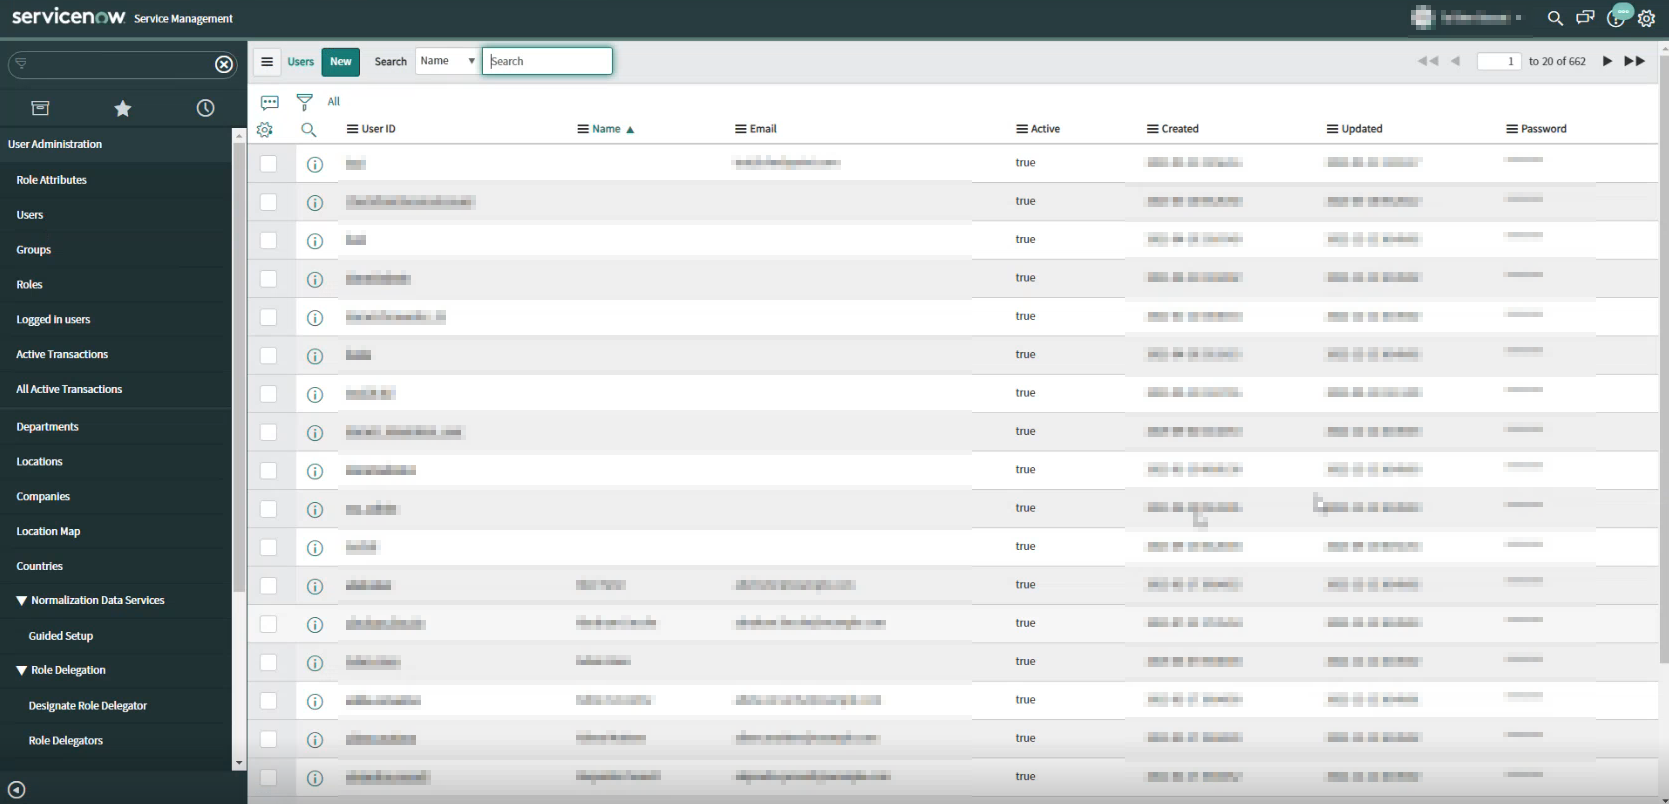
In the left pane, go to User Administration > Users.
-
Click New.
-
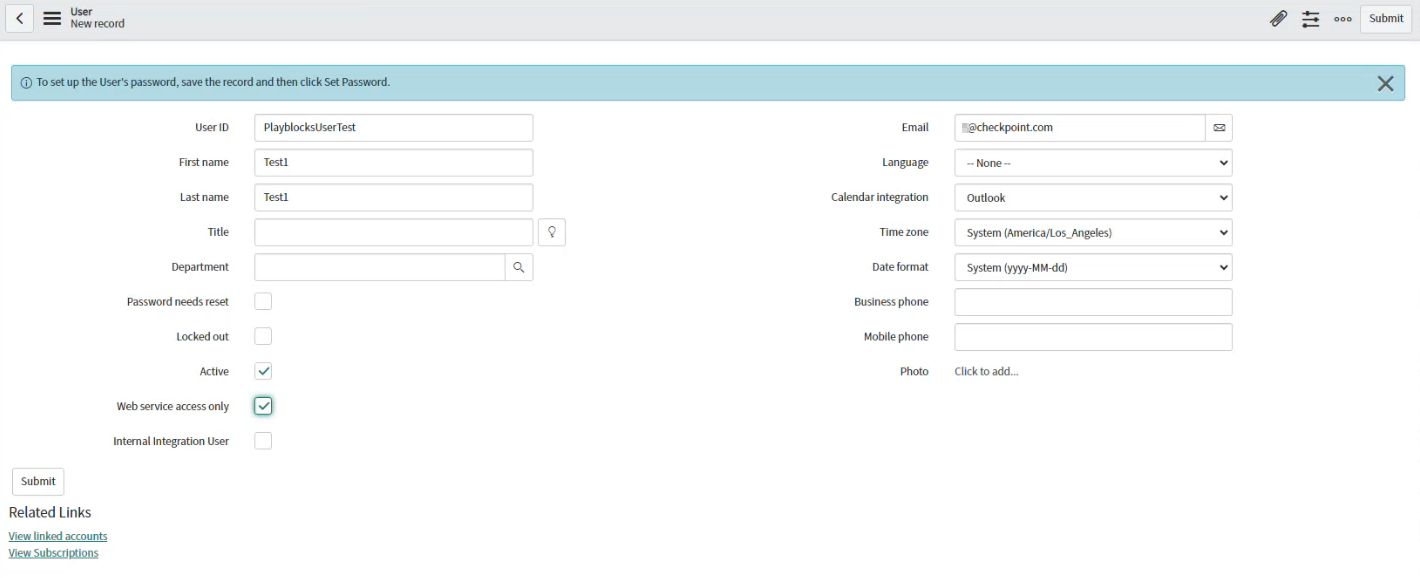
Enter the user details and select the Active and Web service access only checkboxes.
-
Click Submit.
The system creates the user.
-
In the Search list, select Name and search for the user ID you created.
-
From the search results, click the user ID.
-
Click Set Password.
The Set Password window appears.
-
Click Generate.
The system generates a password.
-
To copy the password, click the copy icon.
1ServiceNowCopyPassword.png
-
To save the password, click Save Password.
-
To give permissions to the user:
-
Go to the Roles tab at the bottom of the page.
-
Click Edit.
-
In the Collection search box, search for these roles and click the arrow.
The selected roles are added to the Role List.
-
Click Save.

 Note:
Note: