
Step 2 - Create a Threat Emulation Appliance Object in the SmartConsole
-
Define a Gateway Object
-
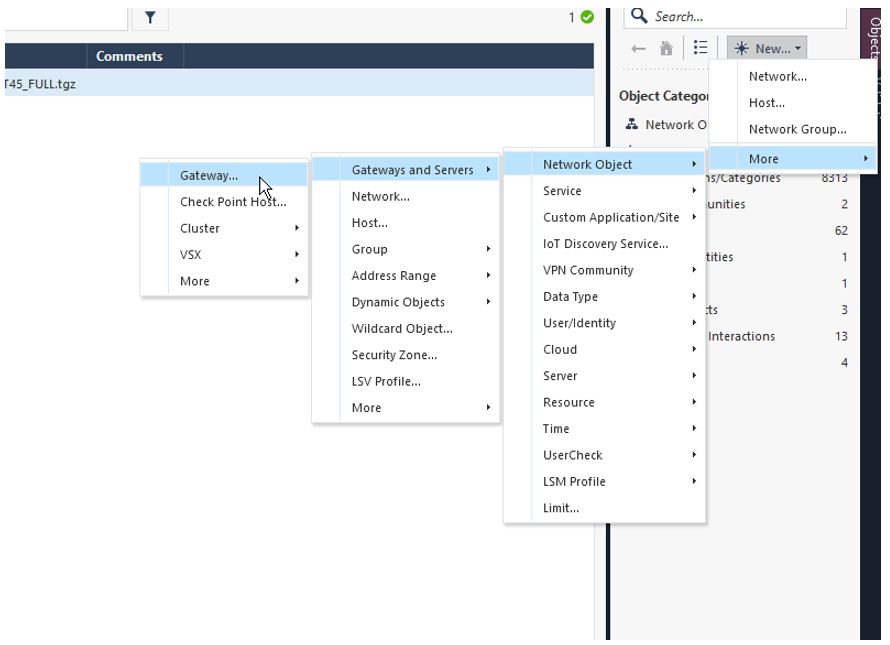
Go to Gateway > Gateways and Servers > Network Object > New Gateway.
-
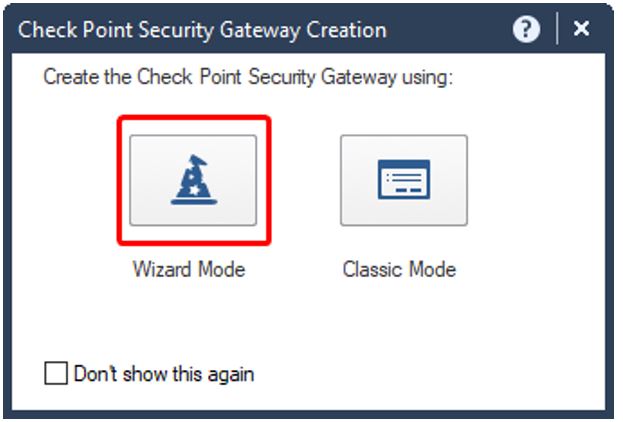
Select Wizard Mode.
-
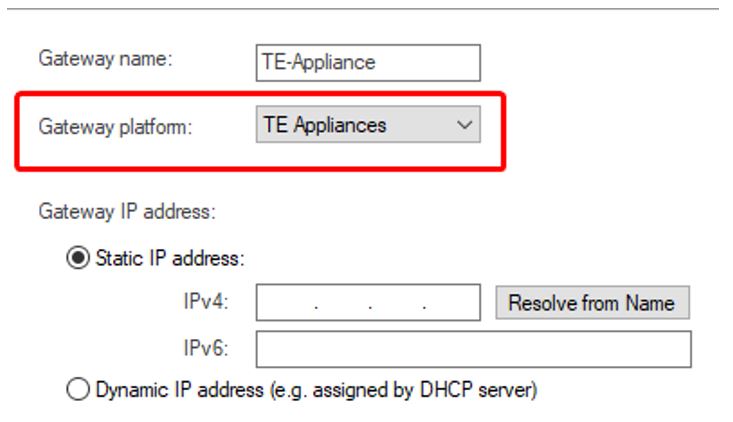
In the Gateway platform, select TE Appliances and enable Static IP address.
-
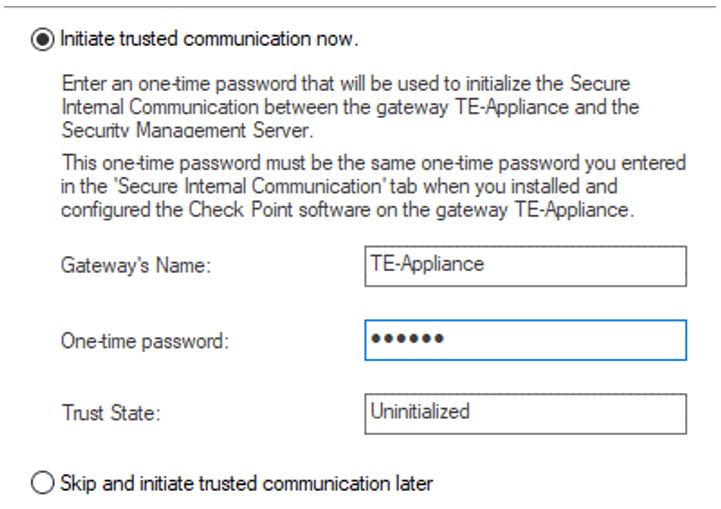
Enter the SIC password.
Note:Ensure that the Trust State is Initialized
-
-
Go to Gateway > Gateways and Servers > Network Object > New Gateway.
-
Install the Security Policy
-
In the Blades section, do these:
Navigate to the Main Menu in the SmartConsole and click Install Policy for the changes to appear.
To enable Threat Prevention Features:
-
In the Custom Threat Prevention section, enable Threat Emulation Blade.
-
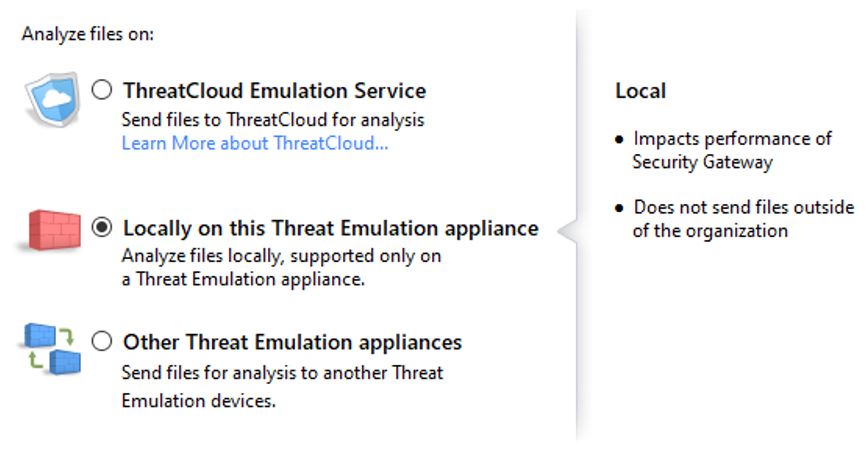
Set the Threat Emulation location to Locally on this Threat Emulation Appliance.
-
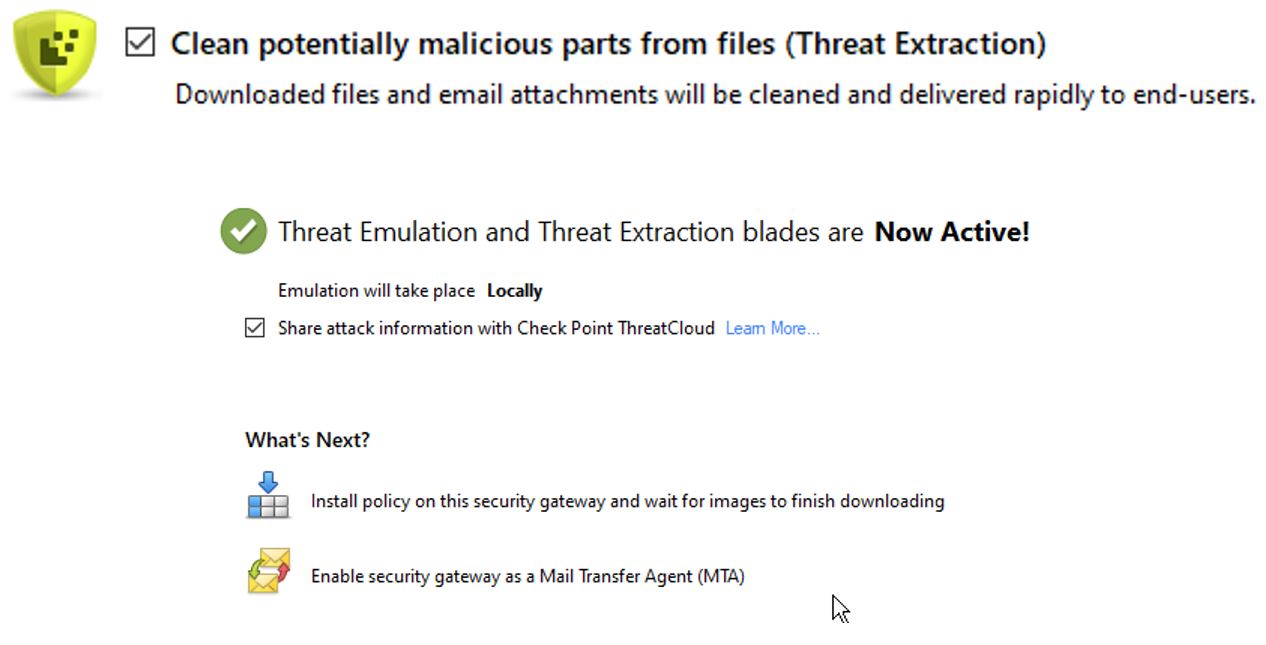
Enable Threat Extraction.
-
Save and close the settings.
-
-
In the Blades section, do these:
-
Configure UserCheck Settings on the TE Appliance
-
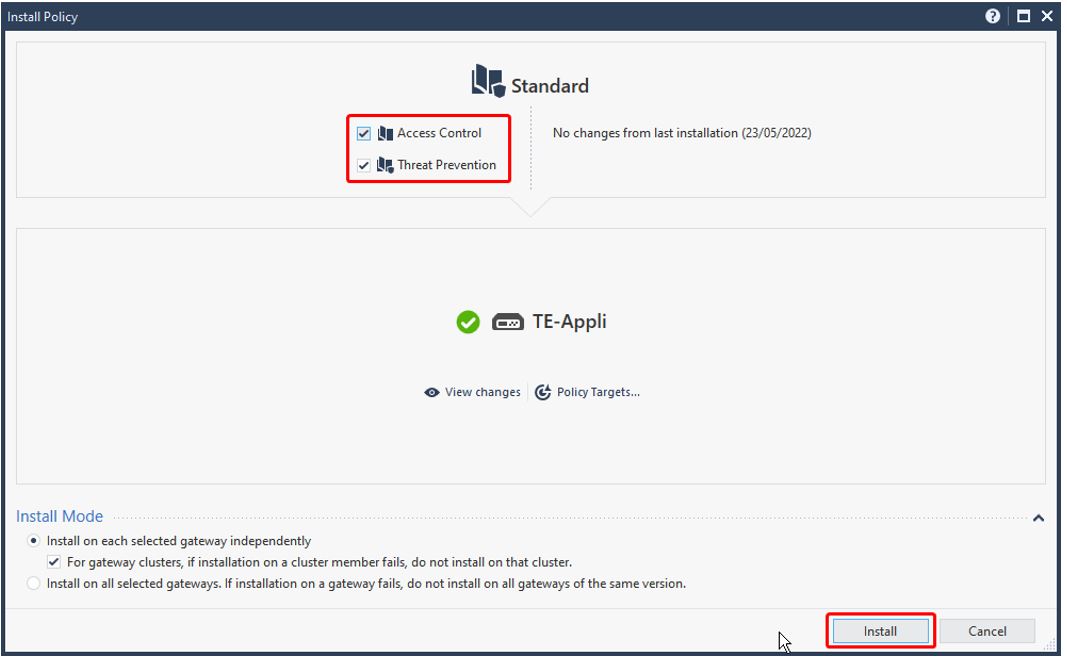
Install both policies on the TE
Appliance to apply the changes.
-
Install both policies on the TE
Appliance to apply the changes.