Step 1 - Configure the TE Appliance on SmartConsole

  1. Configure the Security Policies

    Configure the Firewall Rulebase as Accept to enable communication during the initial configuration.

  2. Add a new profile
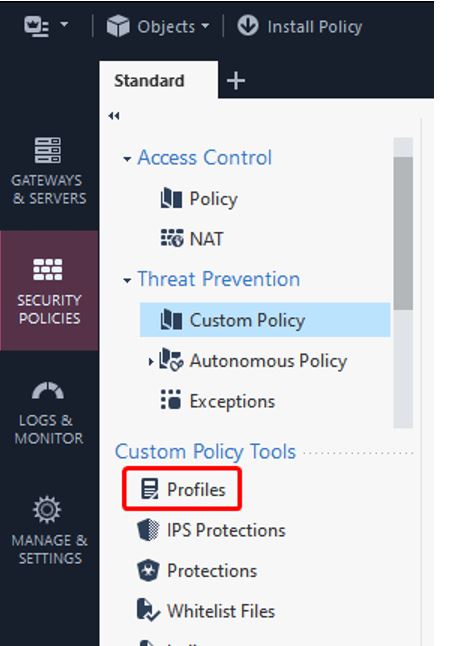
    1. Go to the Security Policies tab.

      ../../Images/Custom_Policy_Tools.jpg

    2. In the Custom Policy Tools section, click Profiles.
    3. Click New.

      ../../Images/Adding_a_Profile.jpg

    4. Enter a name for the profile. For example, TP_Profile.
    5. Enable Threat Emulation and Threat Extraction. Ensure that all other features are disabled.
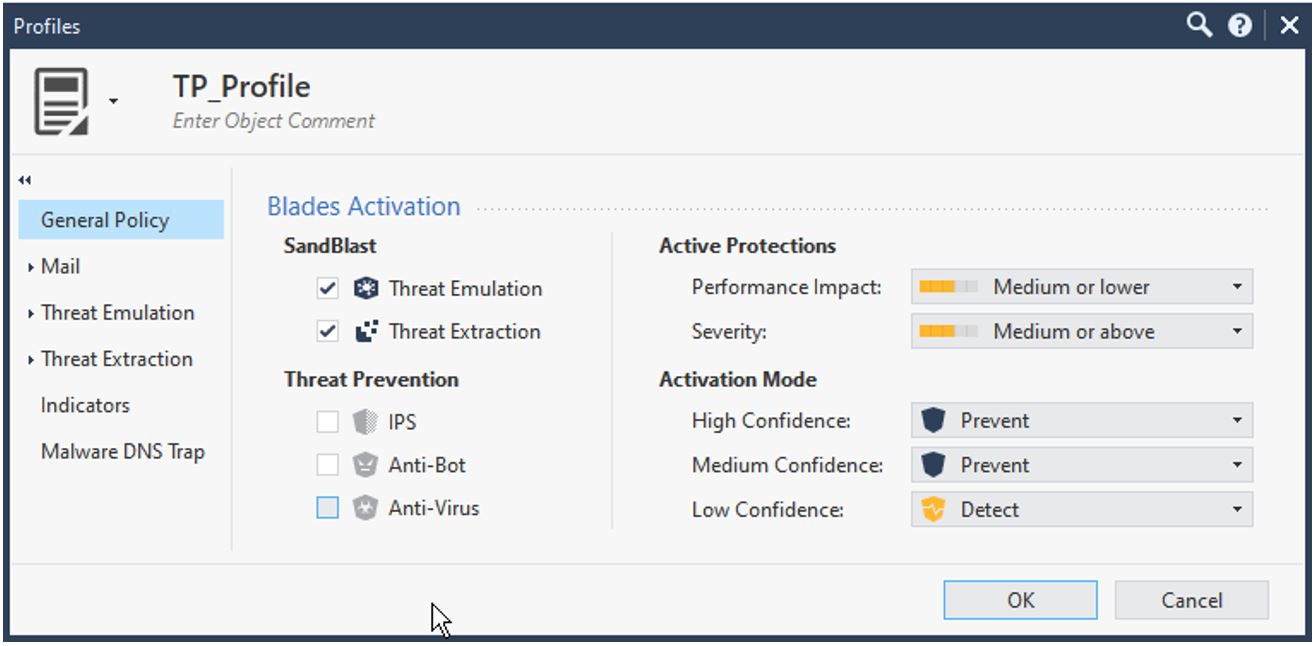
      ../../Images/Profiles.jpg

    6. Click OK.
  3. Set up a profile for Threat Prevention policy
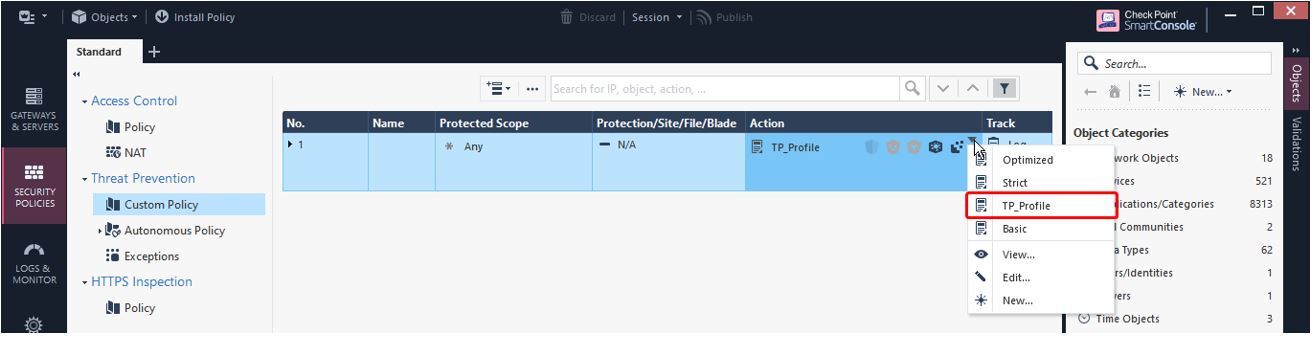
    1. Navigate to Threat Prevention > Custom Policy.
    2. Select the profile name you created while creating the new profile.
      ../../Images/Install_Policy-1.jpg

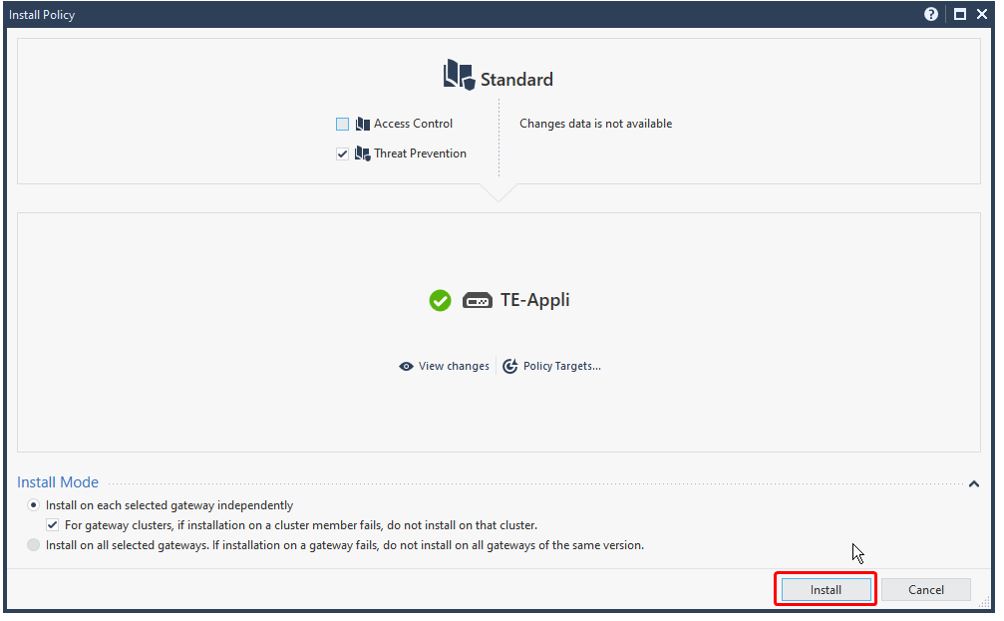
    3. Click Install to apply the changes to the TE Appliance.
      ../../Images/Install_Policy_Install_Mode.jpg

  4. Configure the Gateway Object for TE Appliance

    Set up the Secure Internal Communication (SIC)

    Note:

    SIC is auto-configured during the initial configuration. To reset the password, following these steps:

    1. Open SSH Client and type Expert mode.

    2. Enter cpconfig in the command line.

    3. Select Secure Internal Communication from the menu.

    4. Once prompted, set a new SIC password.