
Configuring Route-Based VPN between Check Point SASE (DAIP) and Check Point Spark Appliance (Locally Managed)
This task explains how to configure a route-based IPSec VPN tunnel between Check Point SASE and a locally managed Check Point Spark appliance and add the required route configuration.
Prerequisites
-
Spark Appliance version R81.10 and later
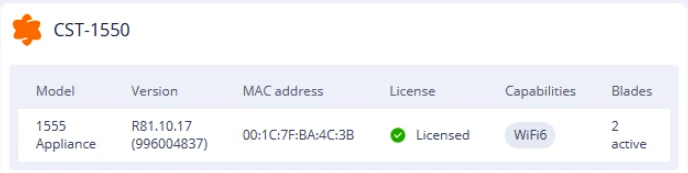
-
SmartConsole version R81.20 and later
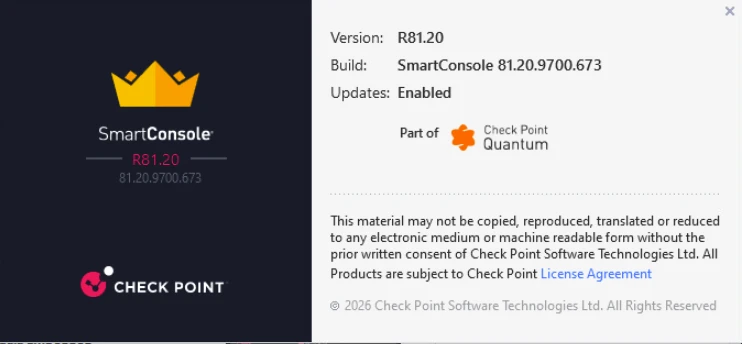
-
To create a VPN tunnel between Check Point SASE and Spark Firewall, you must have a Standard Network or Enhanced Network with at least one region and one gateway or Scale Unit.
Overview
This topic explains how to configure a route-based IPSec VPN tunnel between Check Point SASE and a locally managed Check Point Spark appliance.
Procedure
-
Go to Networks and select the applicable network.
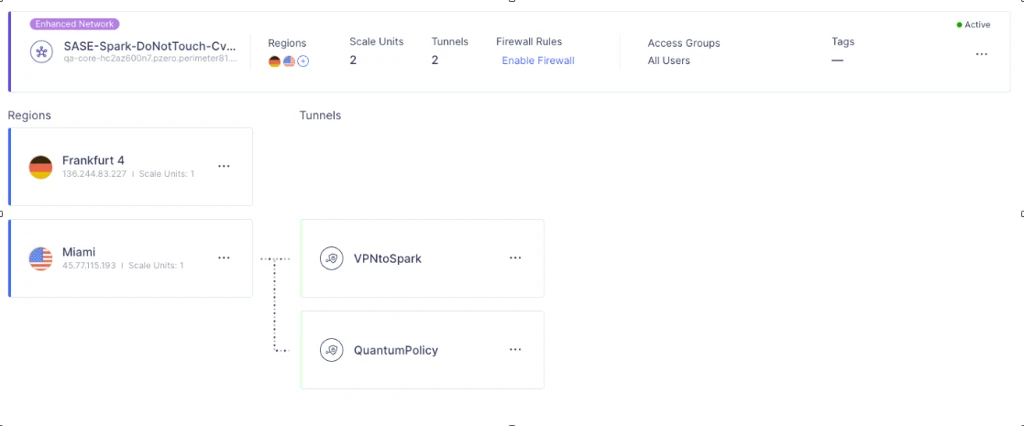
-
Create the tunnel based on the network type:
-
For a Standard Network, in the applicable gateway, click the options icon and select Add Tunnel. Select IPsec Site-to-Site VPN Tunnel, click Continue, select Single Tunnel, and click Continue.
-
For an Enhanced Network, in the applicable region, click the options icon and select Add Tunnel. Select Static Routing and click Continue.
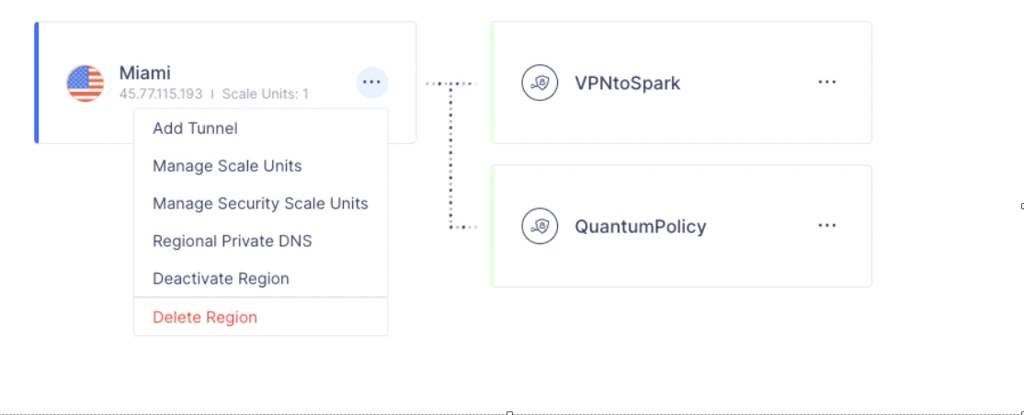
-
-
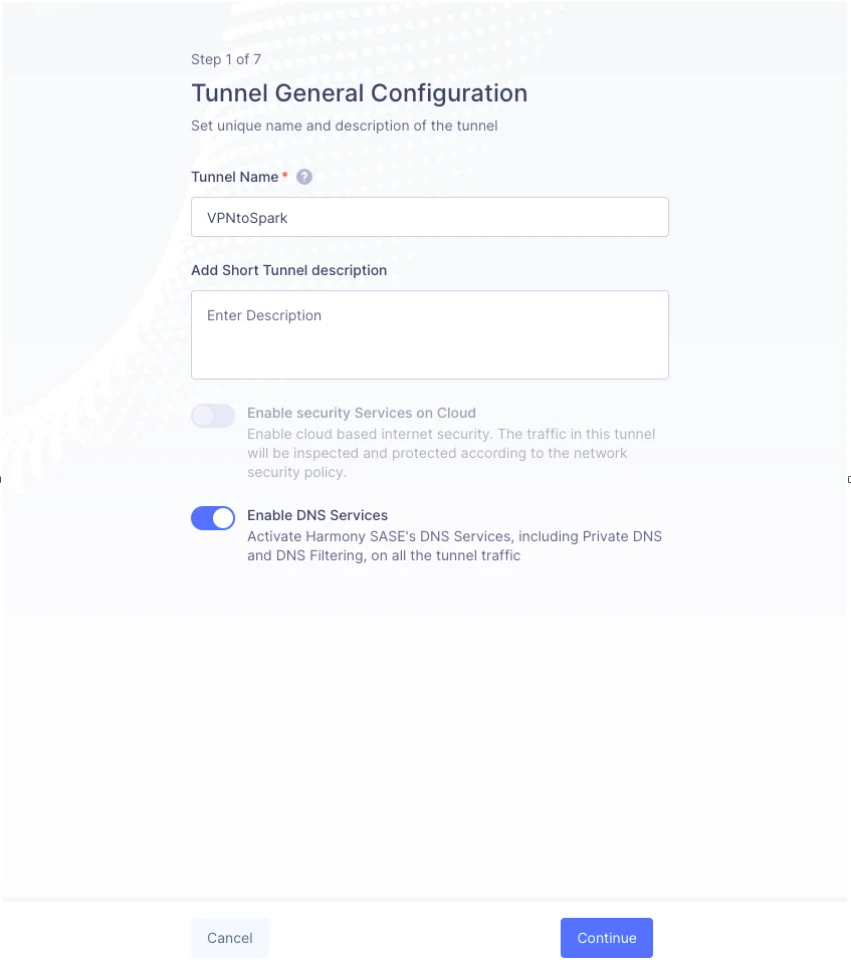
In the Tunnel General Configuration section, enter a name for the tunnel.
-
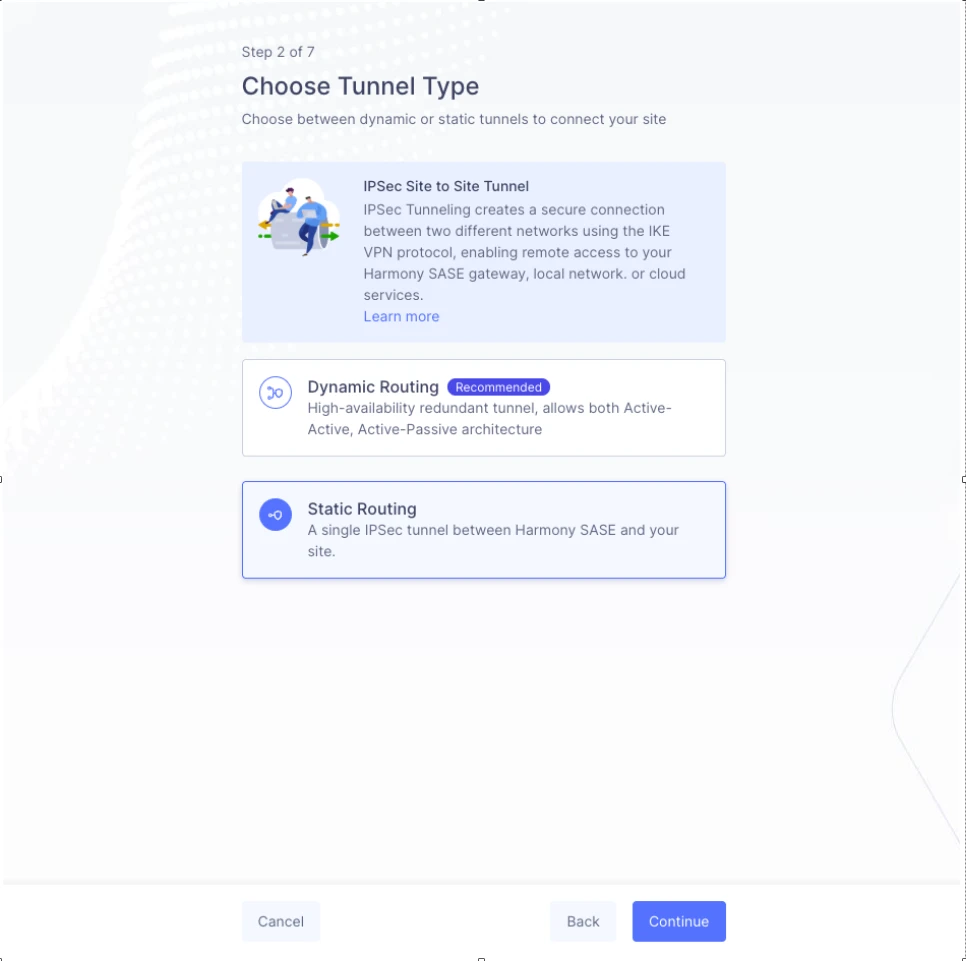
In the Choose Tunnel Type section:
-
For a Standard Network, select Single Tunnel.
-
For an Enhanced Network, select Static Routing.
-
-
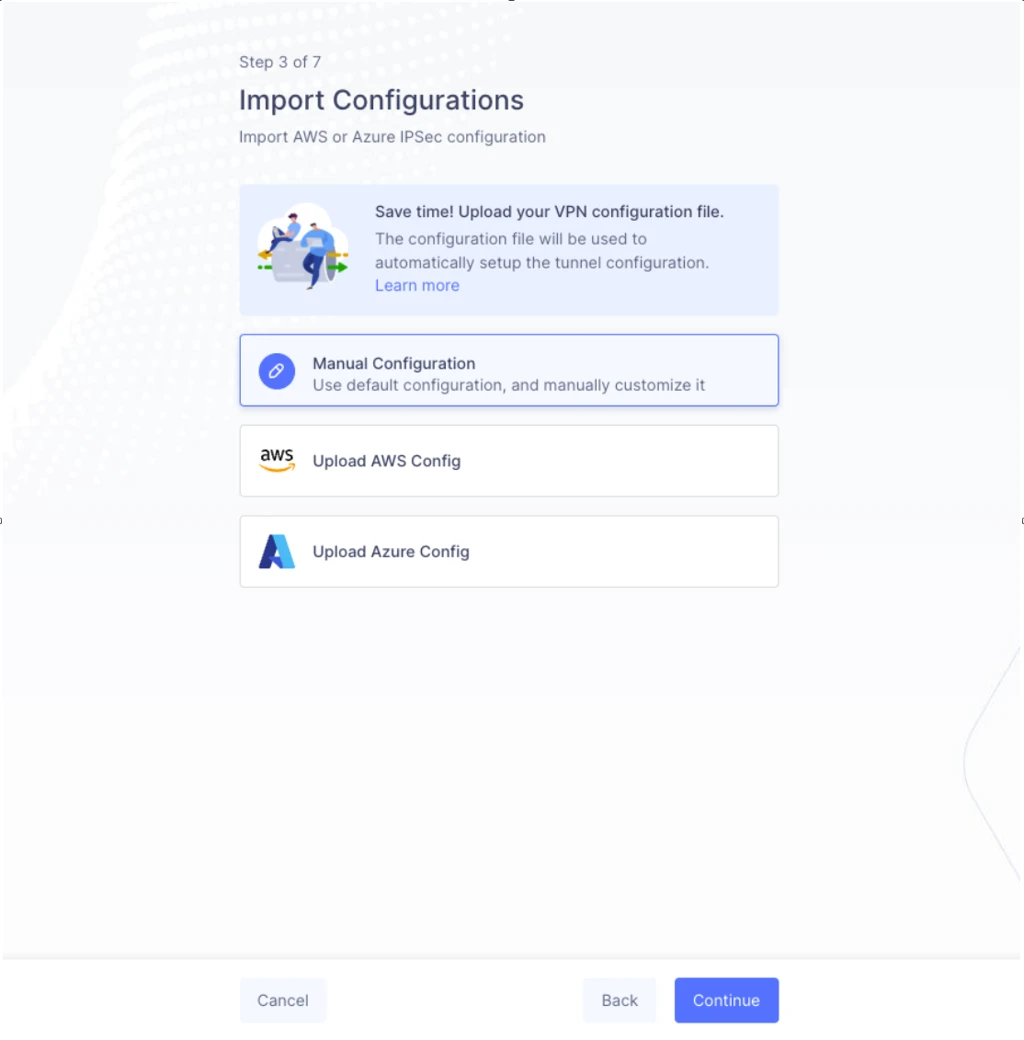
In the Import Configurations section, select Manual Configuration and click Continue.
-
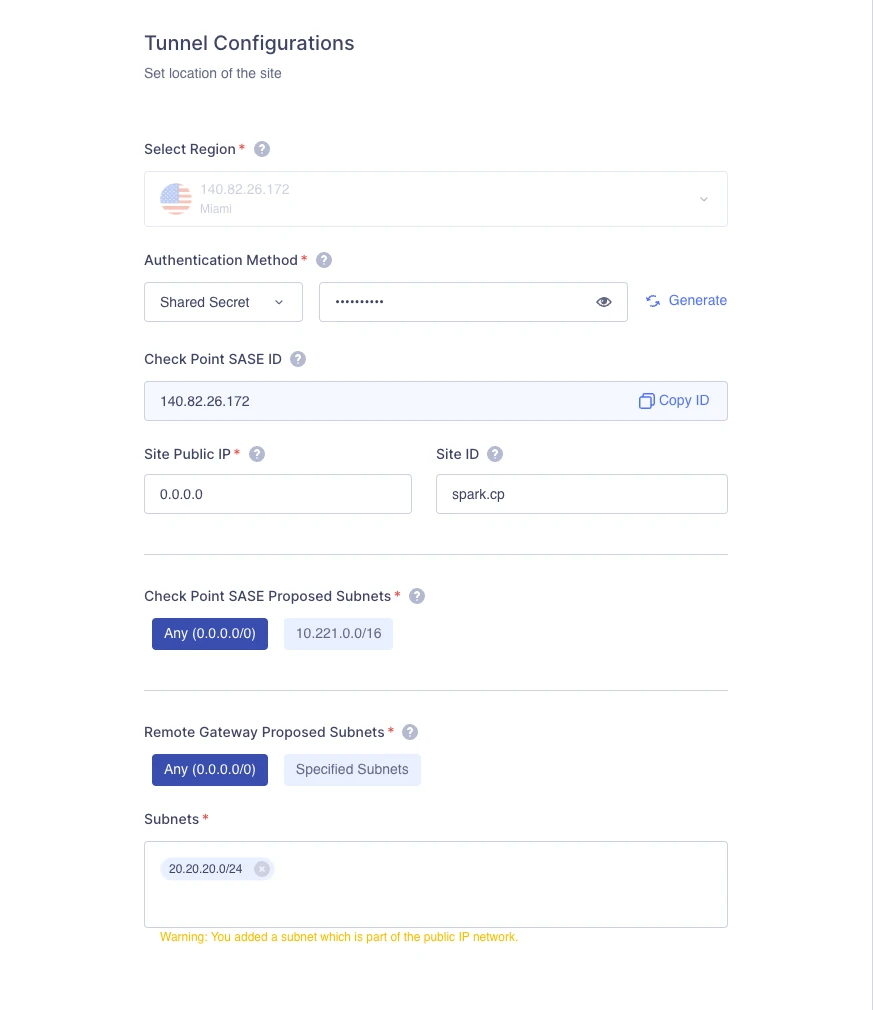
In the Tunnel Configuration section, configure these parameters:
-
In the Authentication Method field, select Shared Secret.
-
Add the Pre-Shared Key (PSK) identical to the one set on the Spark appliance.
-
In the Site Public IP field, enter the public IP address of the Spark appliance.
-
Select Check Point SASE Proposed Subnets as Any.
-
Select Remote Gateway Proposed Subnets as Any.
-
-
In the IPSec Configuration section, keep the default settings and click Continue.
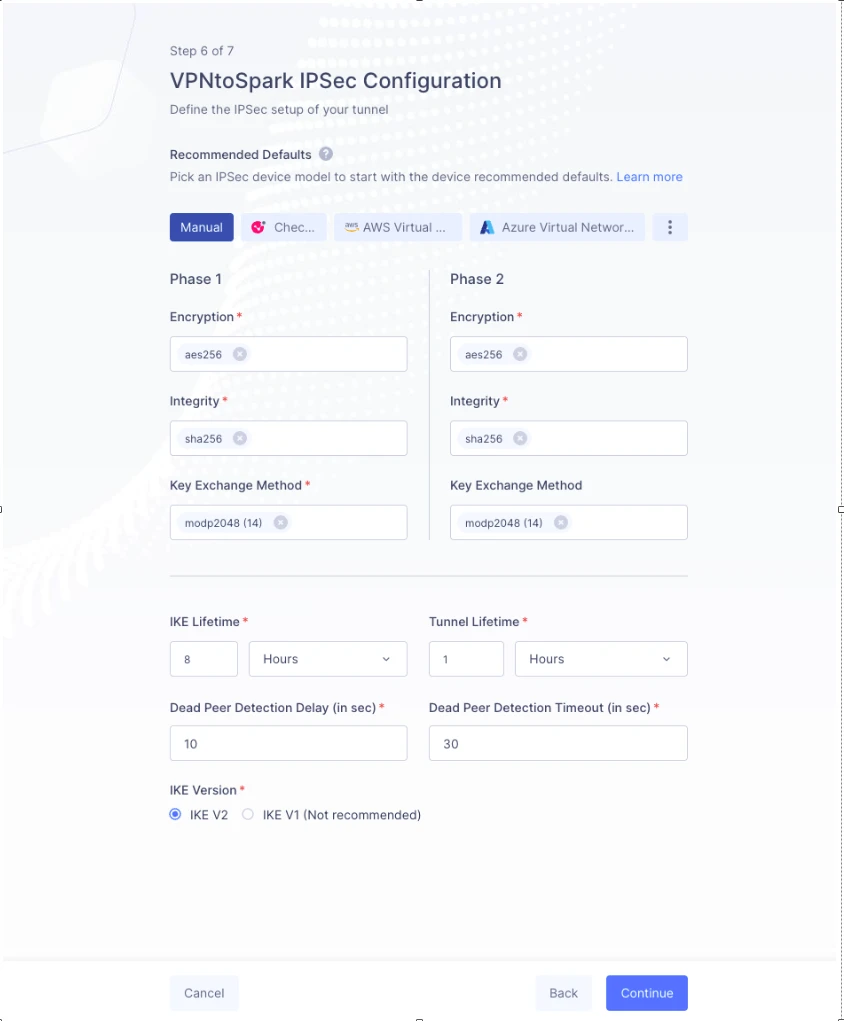
-
In the Tunnel Creation Summary section, verify the tunnel details and click Complete.
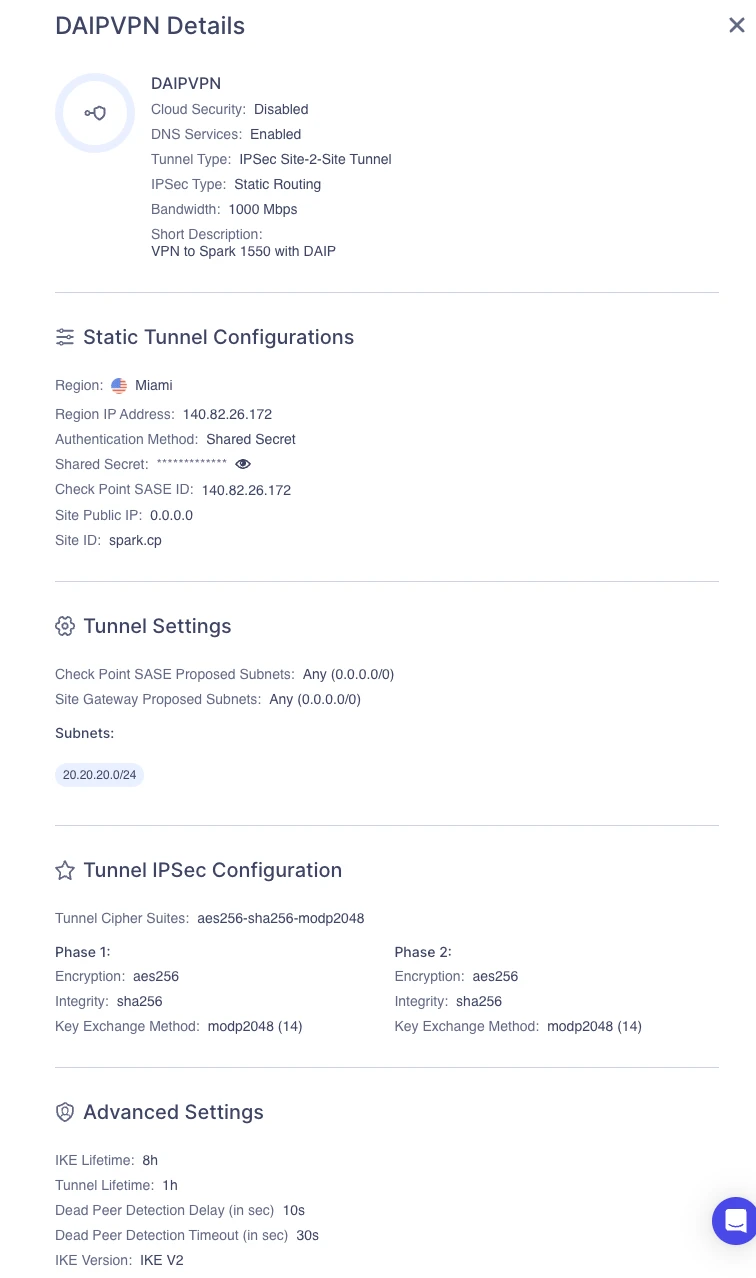
Adding the Route in the SASE Route Table
After you create the tunnel, add a route so that SASE sends traffic for the Spark Firewall network through the tunnel.
-
In the SASE Administrator Portal, go to Networks.
-
Click the options menu for the applicable network.
-
Select Route Table.
-
Click Add Route.
-
In the Destination Subnet field, enter the subnet behind Spark Firewall that SASE must reach through the tunnel. For example, 192.168.0.0/24.
-
Select the tunnel that you created.
-
Click Add Route.
-
Click Apply Configuration.
Result: SASE routes traffic for the Spark Firewall subnet through the IPsec tunnel.
For Standard Network, make sure that the route points to the Spark Firewall network behind the tunnel. For Enhanced Network, make sure that the route is associated with the correct region and static tunnel.