
Importing Objects from Microsoft Entra ID
To import objects from Microsoft Entra ID:
-
Expand AD Scanner and click Entra ID Scanners.

Section Description Directory Name Name of the directory. Directory (Tenant) ID Tenant ID from your Microsoft Entra ID portal. Status Status of the Microsoft Entra ID directory scan. Sync Period Frequency at which Endpoint Security initiates the scan to fetch the data from Microsoft Entra ID. Last Sync Date and time when Endpoint Security last synced with Microsoft Entra ID. Last Full Scan Date and time of the last full scan of the Microsoft Entra ID. - In the top right corner, click
 .
.
The Add Entra ID Scanner window appears.

-
Enter these:
Directory (Tenant) ID
-
Application Client ID
You can obtain these from your Microsoft Entra ID portal.

-
Secret ID

You can obtain the Secret ID from your Microsoft Entra ID portal.
-
Click Verify.
Note:
Make sure that the information you copy from the Microsoft Entra ID portal are entered accurately. If the verification fails, the following dialog box appears:

- Click Add.

The Microsoft Entra ID directory is added to the table.
-
To edit a directory, select the directory and at the top right pane, click
 .
.
-
To delete a directory, select the directory and at the top right pane, click
 .
.
-
To verify whether the Microsoft Entra ID is successfully imported:
-
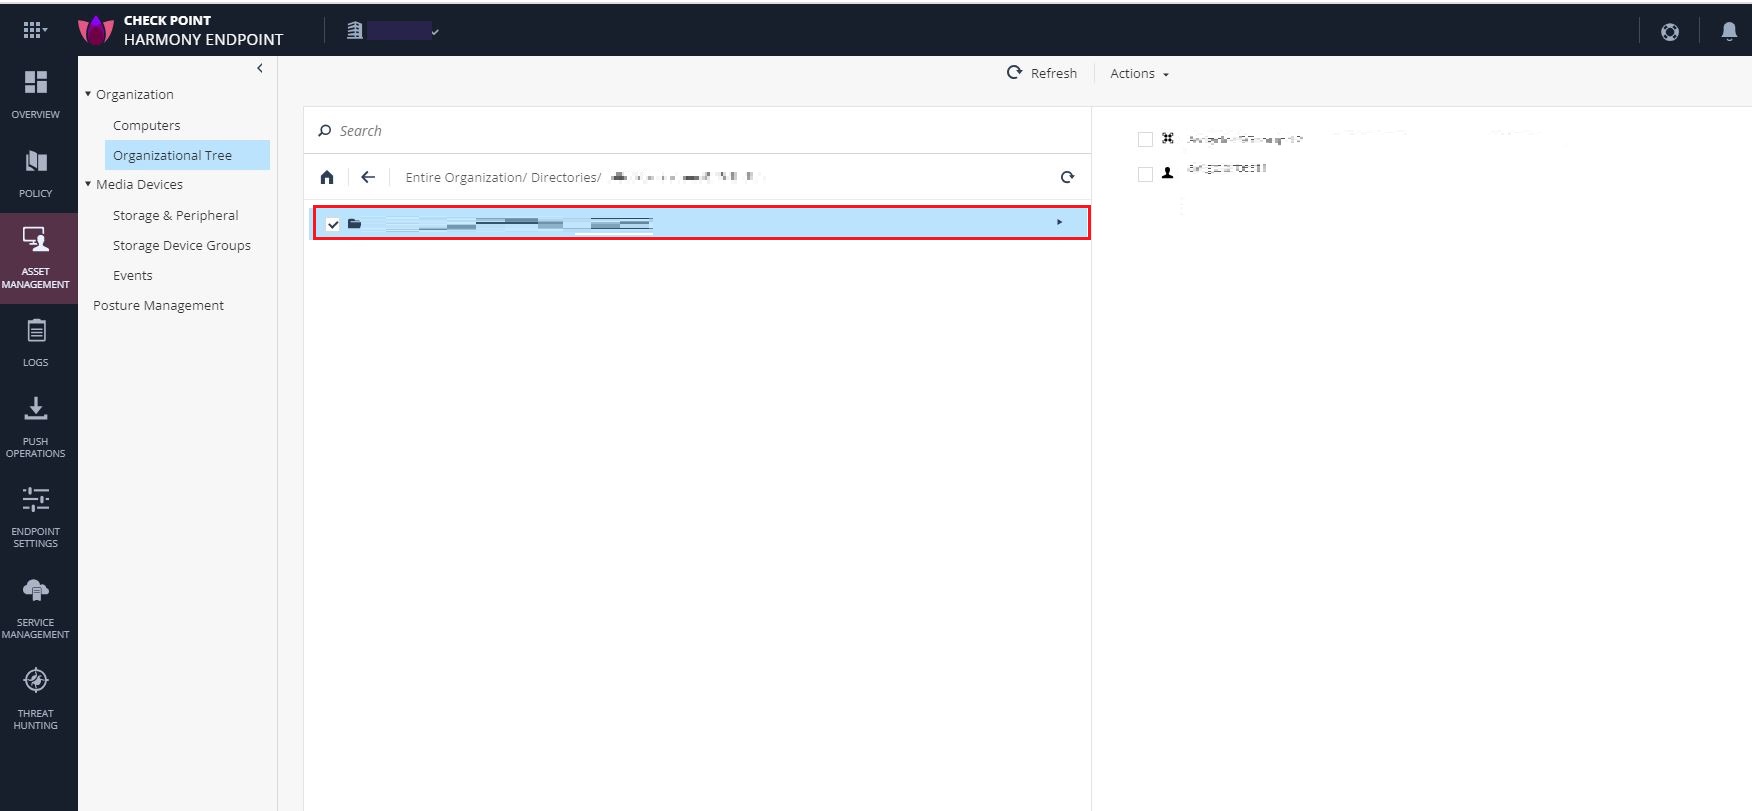
Go to Asset Management.
-
Expand Organization > Organizational Tree > Directories.
The root Microsoft Entra ID should be listed in the table.
-