
Configuring the Settings in the Microsoft Entra ID Portal
Before you can add Microsoft Entra ID to Endpoint Security, it is necessary to create the Microsoft Entra ID credentials.
Step 1: Register the Application
-
Log in to the Microsoft Entra ID.
-
From the toolbar select Azure Active Directory.
-
Select App registrations > click New Registration.
-
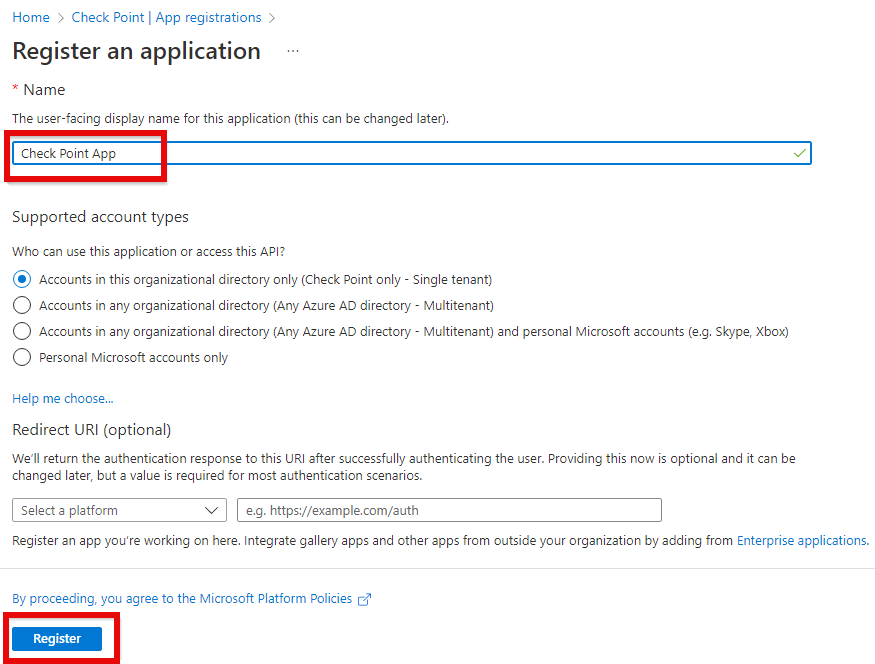
Below the Owned applications tab, enter the application's Name > select an Account type > click Register.
Step 2: Add Permissions to the Application
-
Add the necessary permissions to the application.
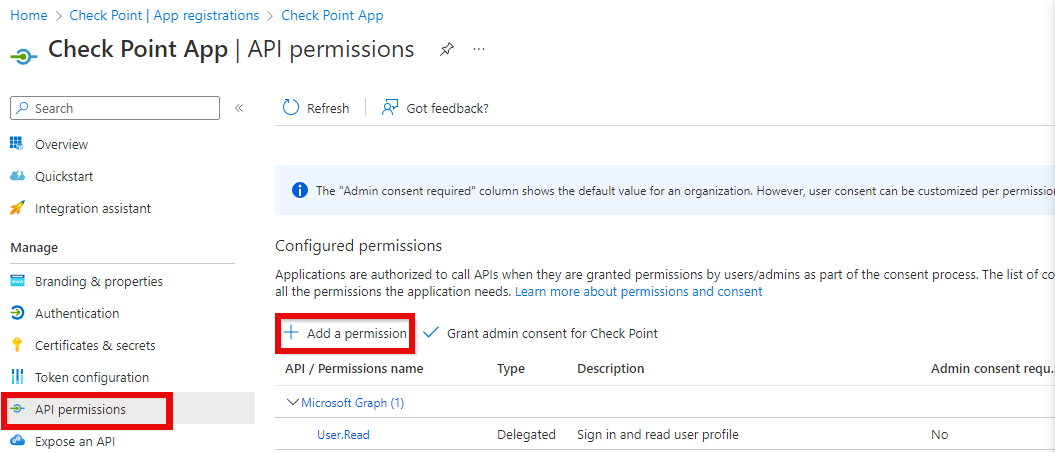
Go to the API permissions section and click Add a permission.
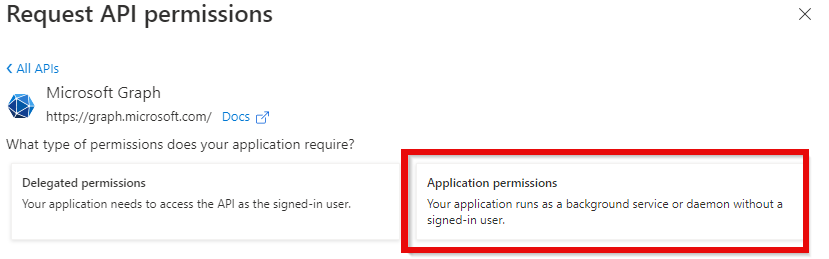
In the window that opens, select Microsoft Graph > Application permissions.
-
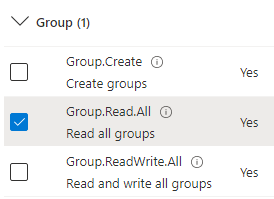
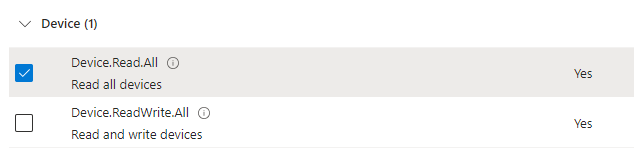
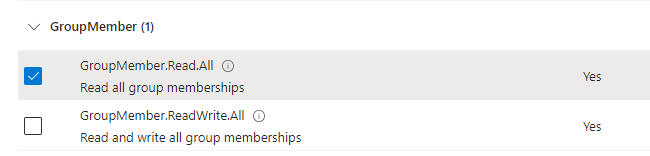
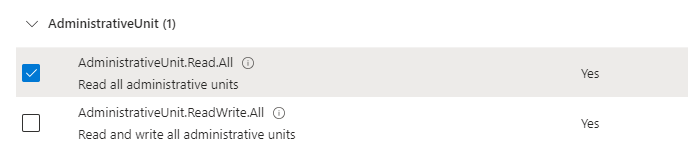
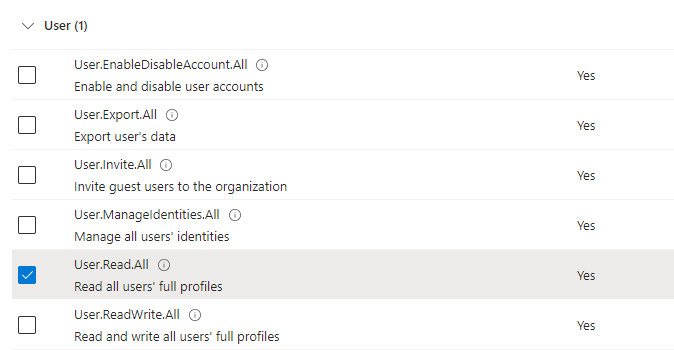
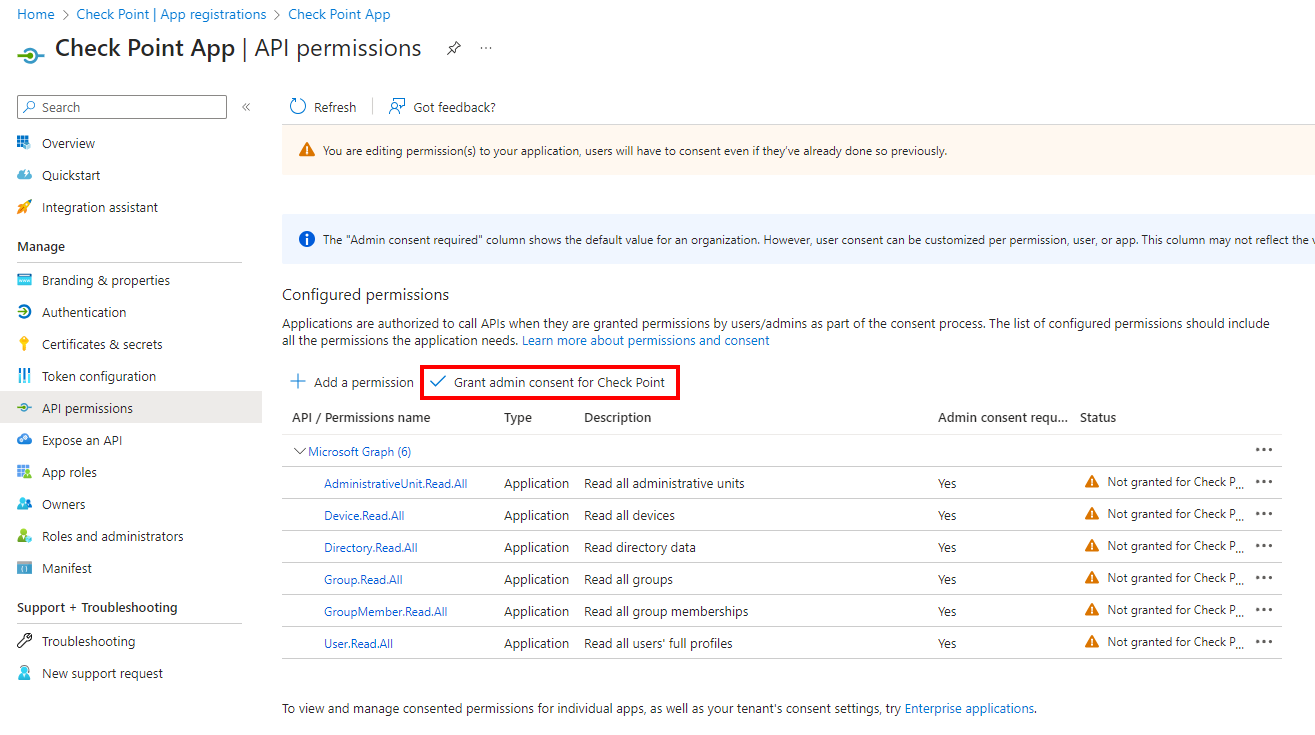
Select these permissions:
Groups.Read.All
API Permissions:
Device.Read.All
Directory.Read.All

GroupMember.Read.All
AdministrativeUnit.Read.All
User.Read.All
-
Give admin consent to the selected permissions.
Step 3: Finish Configuration in Microsoft Entra ID:
-
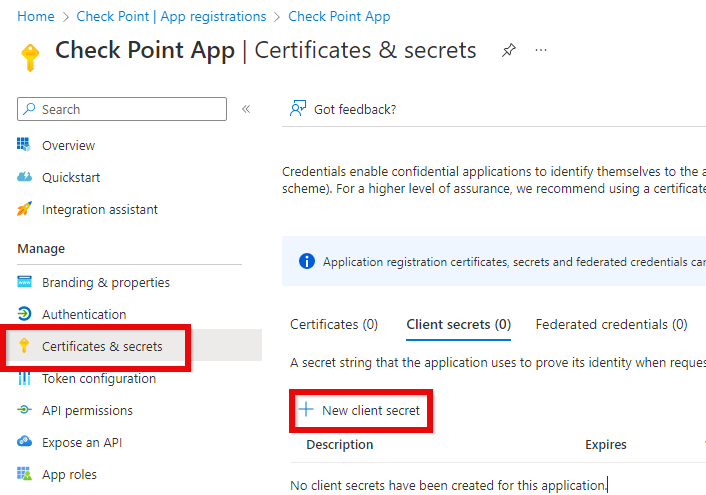
Create a secret key for the application.
Go to the section Certificates & secrets > click New client secret.
-
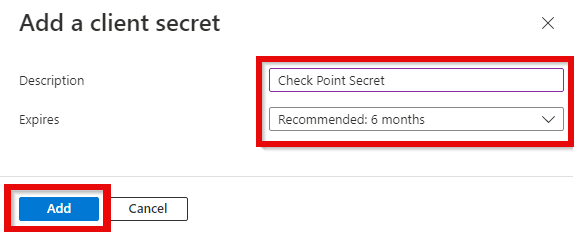
In the Add a client secret window, enter a Description and the date it Expires > click Add.
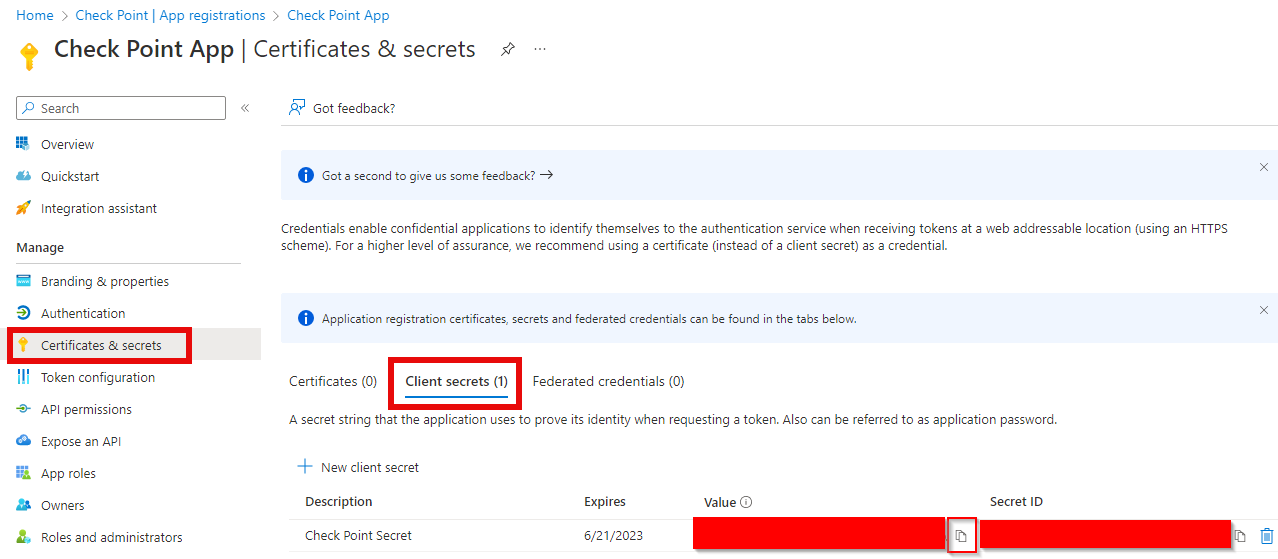
Copy the value of the secret key and keep it in a secure place. This key is necessary for the Endpoint Security portal integration with Microsoft Entra ID.
Go to the Overview section, copy these two values, and keep them in a secure place.
-
Application (client) ID
-
Directory (tenant) ID

-