


|
|
|
In This Section: |
A report has multiple views. Report can be customized, filtered, generated and scheduled.
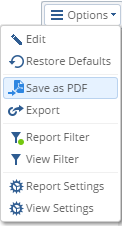
Customize your reports according to these options:

Click Edit to switch to the report edit mode.
To customize widgets, see: Customizing Widgets
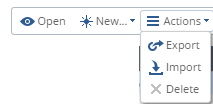
SmartConsole saves an administrator's customized reports. To share customized reports with other administrators, use the Export and Import options.
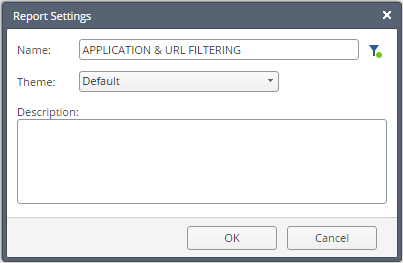
Report Settings
Reports can be configured according to these options:
You can also add or remove pages by clicking one of these:
![]()
Note -
See: Generating a Report
SmartEvent automatically downloads new predefined reports and updates to existing predefined reports. To use this feature, the SmartEvent client computer must be connected to the Internet.
You can configure reports to show your company logo on report cover pages. The Check Point logo shows on report cover pages.
To add a logo to your reports:
cover-company-logo.png.$RTDIR/smartview/conf directory on the SmartEvent server.Note: The best image dimensions are 152 pixels wide by 94 pixels high.
The Export option exports the view layout and widget definitions to a file. The file can be imported to another server, or imported by another administrator, using the Import option in the Catalog (new tab).
To schedule a report you need to define and edit it in the SmartEvent GUI client.
Note - Reports in the SmartEvent GUI client are different from reports in SmartConsole or the SmartView Web Application. To customize a report before scheduling, edit the report in the SmartEvent GUI client:
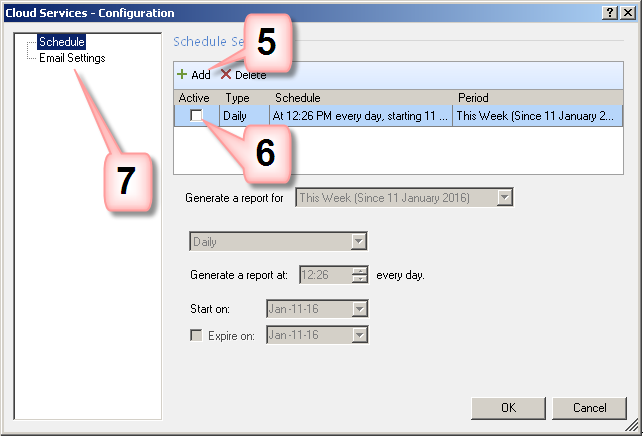
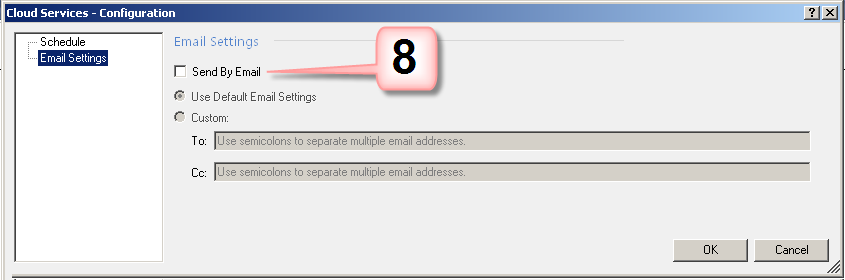
To schedule a report:
![]()
The Schedule and Email settings configuration window opens.
.
The Network Activity report shows important firewall connections. For example, top sources, destinations, and services. To create this report, SmartEvent must first index the firewall logs.
To enable the Network Activity Report:
Note - this configuration increases the number of events per day by about five times. To avoid a performance impact, make sure the hardware can handle the load.
To configure SmartEvent on a dedicated server, see the SmartEvent sizing guide.

