Creating a Custom Dashboard
https://app.guidde.com/share/playbooks/3VAiYBoscuXsQNot2LfBjN
-
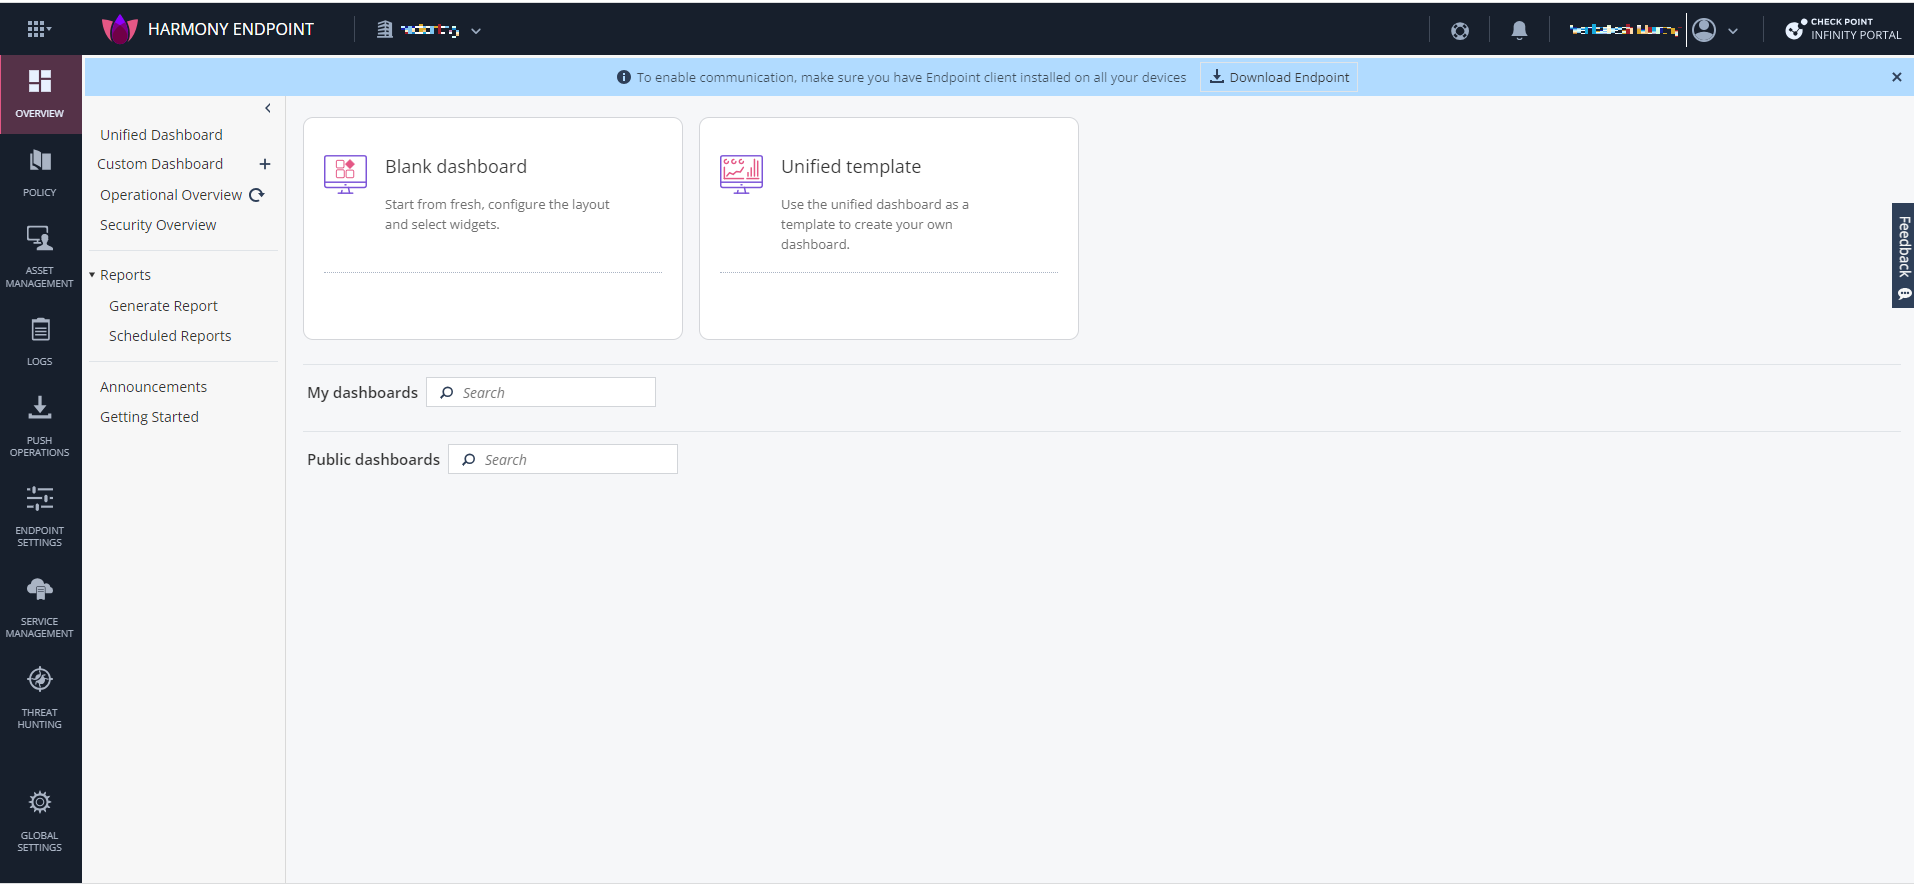
Go to Overview and click
 next to Custom Dashboard.
-
To create a new custom dashboard from scratch:
-
Hover over the Blank dashboard widget and click Add.

-
Hover over the Blank dashboard widget and click Add.
-
From the left pane, select the widget and click Add.
 Note:
Note:The Add button is disabled if the widget is already added to the dashboard.
-
To delete a widget, on the widget, click
 and click Delete.
The dashboard appears under Custom Dashboard on the left navigation pane, and it is also listed under My dashboards in the Custom Dashboard page.