Threat Prevention Policy Template
The template consists of predefined settings for Threat Prevention policy capabilities, such as Web & Files Protection, Behavioral Protection and so on.
Creating a Threat Prevention Policy Template
-
Access the Harmony Endpoint EPMaaS Administrator Portal with the MSSP account.
-
Click Policy > MSSP View > Template Repository > Threat Prevention.
-
Select the Default template and click Clone.
-
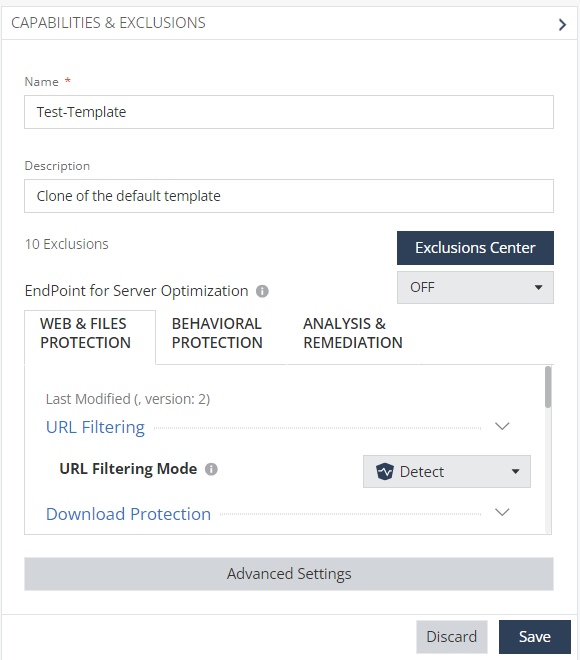
Select the cloned template and in the Capabilities and Exclusions pane, do these:
-
In the Name field, edit the name. For example, Default Settings for All Customers.
-
(Optional) In the Description field, enter a description.
-
To add exclusions, click Exclusions Center. See Adding Exclusions to Rules.
-
Configure these capabilities, including Advanced Settings:
-
-
Click Save.
Attaching the Threat Prevention Policy Template to a Child Account
-
Access the Harmony Endpoint EPMaaS Administrator Portal with the child account.
-
Go to Policy > Threat Prevention > Policy Capabilities.
-
Select the policy in the table.

Note - Make sure the rule
 Set of traffic parameters and other conditions in a Rule Base (Security Policy) that cause specified actions to be taken for a communication session. is for devices only and it is Connected. To view device specific rules, change the policy operation mode to Mixed. For more information, see Unified Policy.
 -
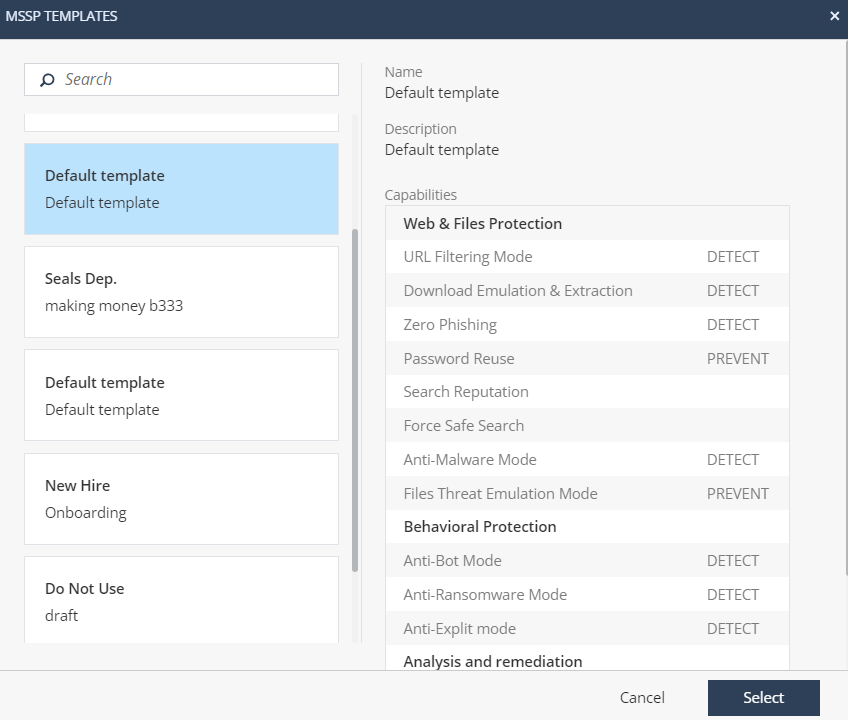
In the Capabilities and Exclusion pane, from the MSSP template list, select All templates.
The MSSP Templates window appears.
-
Select the template from the left pane and click Select.
-
Click Save & Install.
After the policy is installed, the policy capability settings are disabled (Read-only) and the changes to the template from the MSSP account are automatically applied to the child account.
Viewing the Accounts Attached to a Template
-
Access the Harmony Endpoint EPMaaS Administrator Portal with the MSSP account.
-
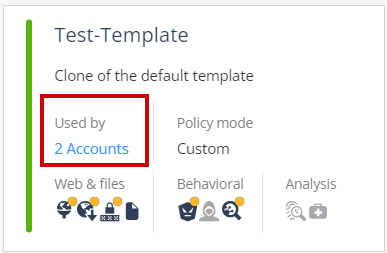
Click Policy > MSSP View > Template Repository > Threat Prevention.
Used by shows the number of child accounts attached to the template.
-
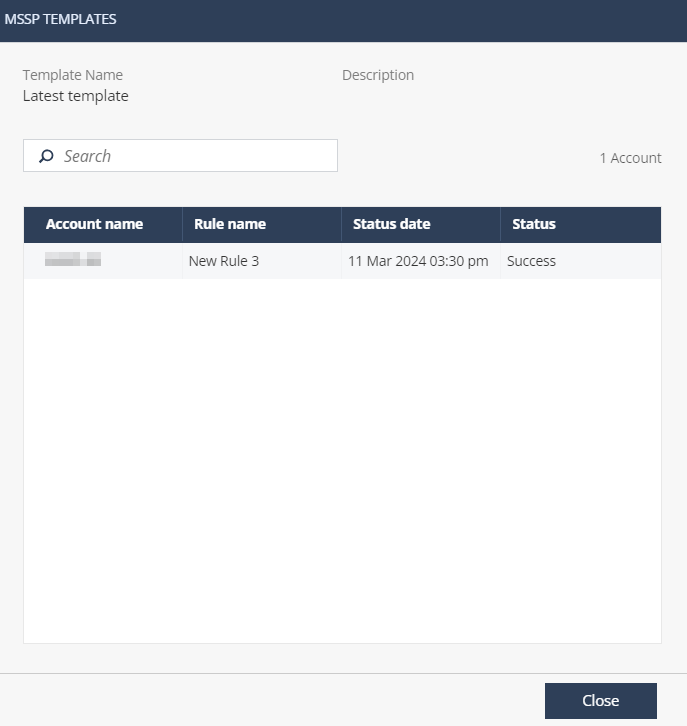
To view the child accounts, click the number. The MSSP Templates pop-up appears and shows the details:
Column Name
Description
Account name
Child account name.
Rule name
Policy rule name that uses the template in the child account.
Status date
Last date and time in the server when the child account checked for the template updates.
Status
Status of the last update.
-
Success - The child account received the latest updates from the template.
-
Failed - The child account failed to receive the latest updates from the template.
-


