Managing the Logs Table

  1. To view the details of a specific log, double-click the row.
  2. To view the default columns, right-click the table header row and click Default.
  3. To modify the table columns, right-click the table header row and click Columns Profile Editor.
  4. To add a new column to the table.
    1. Click +.
    2. Select the column from the list and click OK.

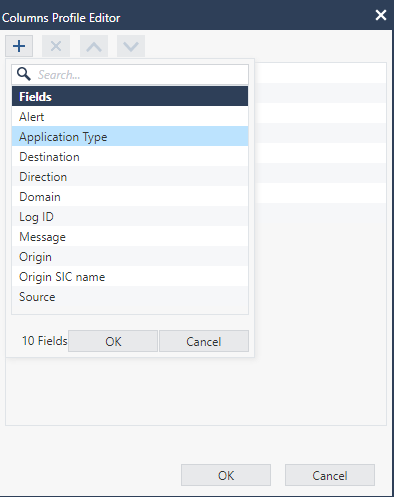
    The new column appears in the Logs table and in the Statistics pane.

  5. To remove a column from the table:
    1. Select the column you want to delete and click X.
    2. Click OK.

    The selected column is deleted from the Logs table and from the Statistics pane.

  6. To sort the columns:
    1. Select the column:
      • To move the column higher in the order, click .
      • To move the column lower in the order, click
    2. Click OK.

    The column position is updated in the Logs table and in the Statistics pane.