Activating Office 365 SharePoint

Important - To activate Office 365 SharePoint, make sure you have these:

00:04: This tutorial demonstrates how to activate protection for Office 365 SharePoint

00:09: with Check Point Email Security.

00:12: Log in to the Check Point Portal and access the Email Security Administration

00:17: Portal. If Office 365 SharePoint is the first product you are onboarding to

00:22: Email Security, the Welcome page appears.

00:25: If you already have a contract purchase from checkpoint, click already have a contract

00:30: and follow the on-screen instructions to add your user Center account.

00:33: Otherwise click Start free trial by default.

00:36: The trial is for 14 days and you can access all the features.

00:40: If "Welcome to Check Point" page appears, click "Let's Get

00:43: Started" and in the "SaaS Selection" page that appears, click "Start" for Office

00:48: 365 SharePoint. If you have already onboarded another SaaS application with Email

00:53: Security, the Overview page appears.

00:56: Click security settings and then click SAS applications.

01:00: Click Start for Office 365. SharePoint

01:03: In the confirmation pop-up that appears click Start to confirm

01:07: You are now redirected to the Microsoft login page, follow the on-screen

01:11: instructions and sign in with Microsoft Global administrator credentials.

01:16: Review the permissions requested by checkpoint and click accept to Grant the

01:20: permissions.

01:21: The Office 365 SharePoint SaaS is enabled, and Email

01:25: Security starts monitoring for security events. To prevent threats,

01:29: you must change the policy protection mode.

01:32: To do that. From the left navigation, panel, click policy.

01:37: Expand Office 365, SharePoint, and click the default threat protection ru.

01:42: Select the policy protection mode as detect and remed.

01:46: Scroll down and click Save and Apply.

01:48: Now, that the policy protection mode is changed to Detect and Remediate, Email

01:53: Security starts taking remedy actions.

To activate Office 365 SharePoint:

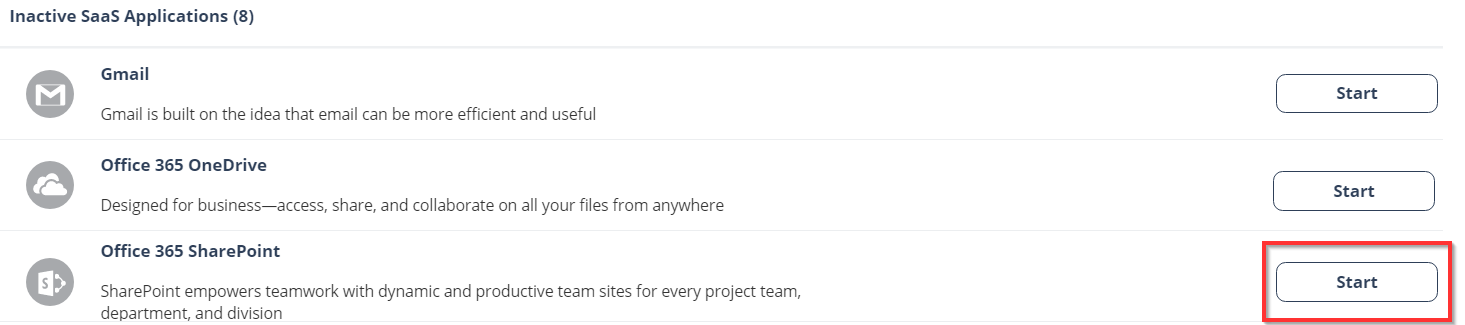
  1. From the Getting Started Wizard click Start for Office 365 SharePoint.

    Note - This wizard appears only when you are activating your first SaaS application in Email Security Administrator Portal.

    or

    Navigate to Security Settings > SaaS Applications and click Start for Office 365 SharePoint.

  2. Click Start in the pop-up screen that appears.

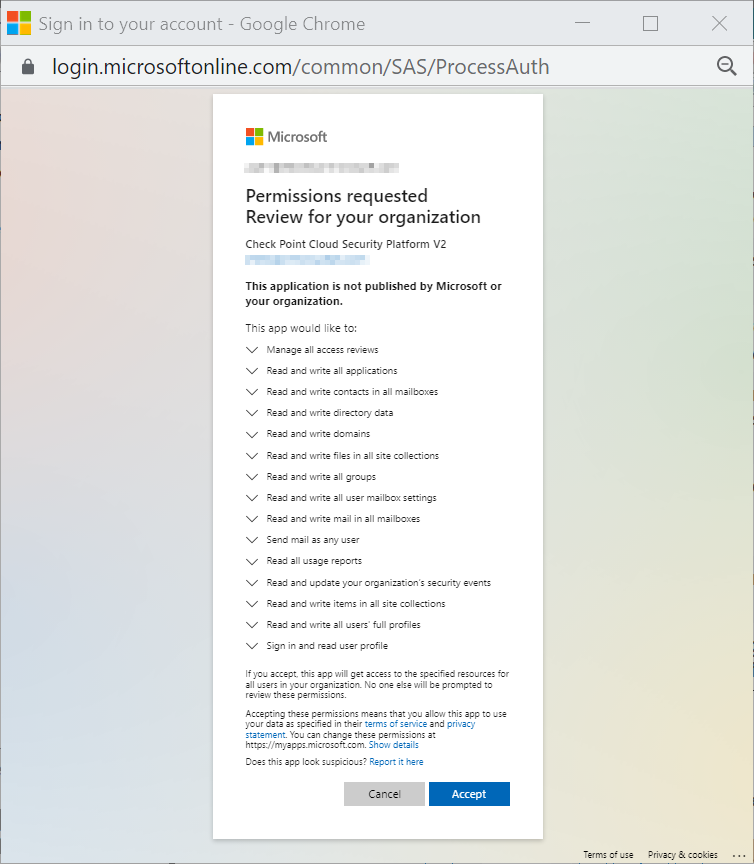
  3. In the Microsoft Sign in window that opens, sign in with your Microsoft administrator credentials.

    Note - Microsoft performs the authentication, and Check Point does not provide these credentials.

  4. In the authorization screen from Microsoft, click Accept to grant necessary permissions to Email Security.

    For the list of permissions requested from Microsoft, see Required Permissions.

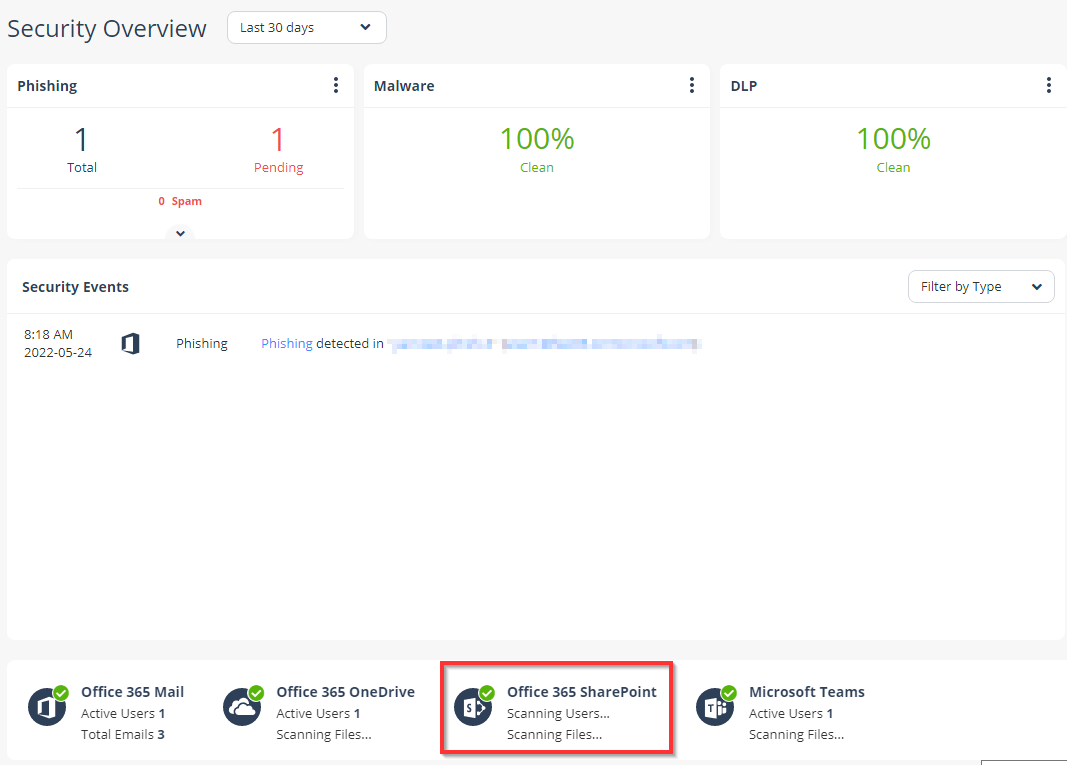
    The Office 365 SharePoint SaaS is enabled, and monitoring begins immediately.