Incidents - Insights & Forensics
The Insights & Forensics page shows the details of insights and forensics (processes, files, URL, domains and Registry involved in the insight) related to the incident.
To view the Insights & Forensics page:
-
Access XDR
 Extended Detection & Response and click Incidents > Incidents.
 -
Click the incident title or hover over the incident and click >.
-
Click Insights & Forensics.
To edit the columns in the table, click Edit columns and select the columns.
To export the data to an excel in CSV format, click Export All (CSV).
To search, in the Search field, enter the string. The table automatically filters and shows the content that matches with the string.
Creating an Advanced Exclusion from an Insight
-
Access XDR and click Incidents:
-
Click the incident title.
-
Hover over the incident and click >.
-
-
Click Insights & Forensics.
The Insights & Forensics page appears.
-
In the Insights table, hover over the insight for which you want to create the exclusion, click
 and then click Create Exclusion.
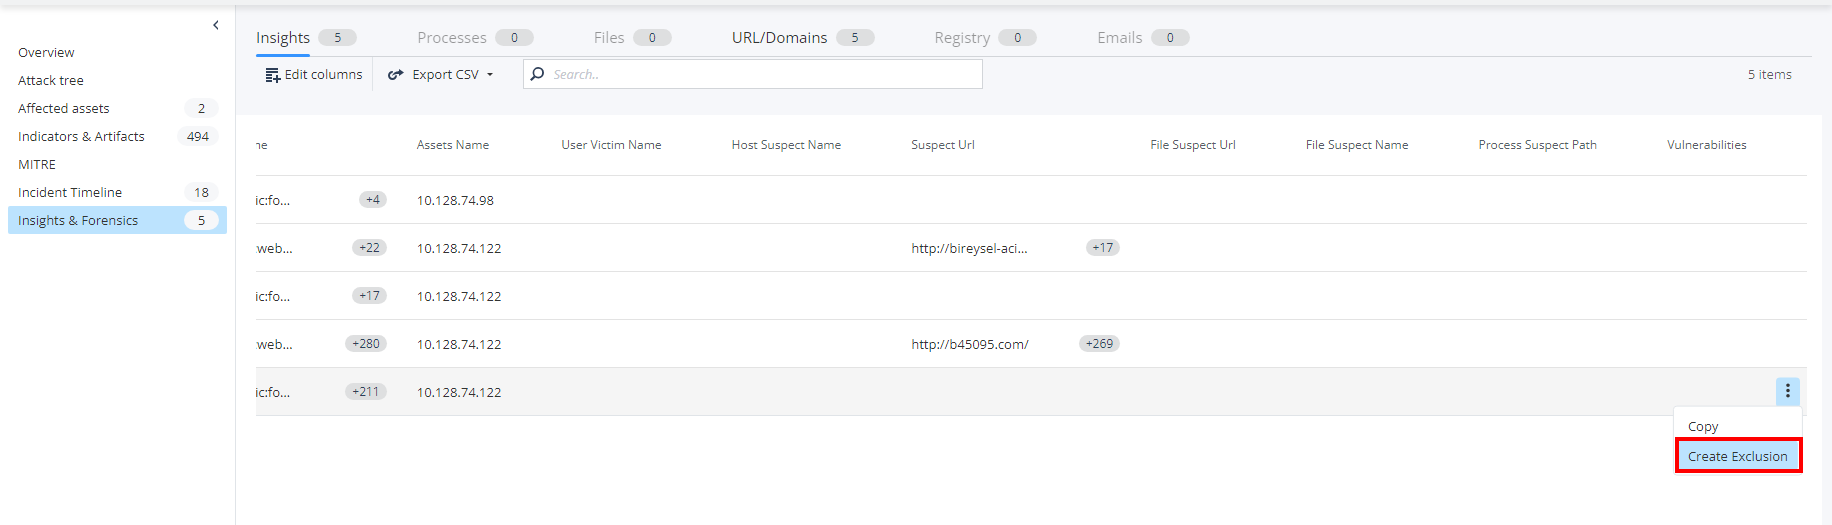
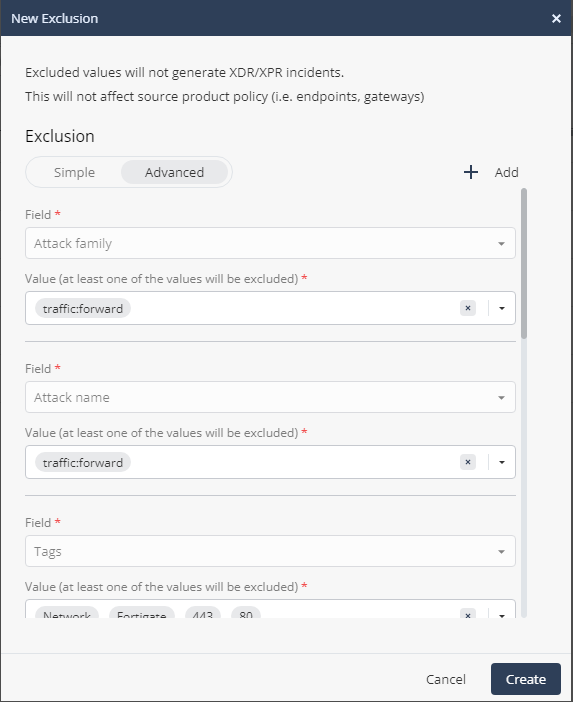
The New Exclusion window appears. The system automatically populates the field details of the insight.
-
For each Field, edit the values as required. XDR applies this exclusion on insights that contain all the above fields and any of these values.
-
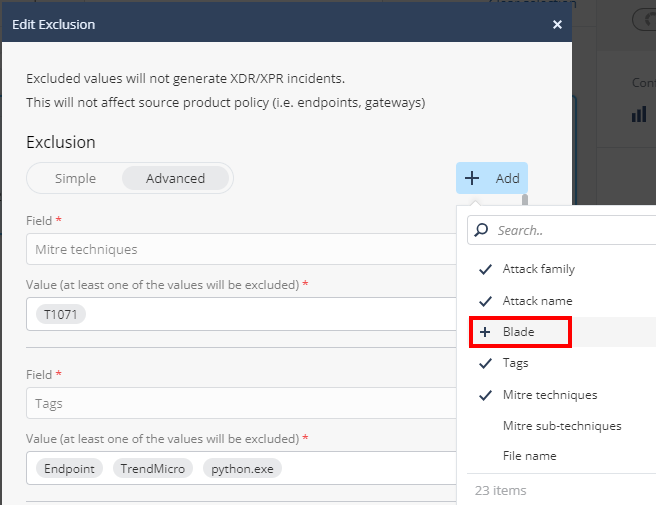
To add or remove a field, click + Add. The fields already selected are marked with
 .
.-
To add, hover over the field name and click +.
-
To remove an already selected field, click the field name.
-
-
(Optional) To exclude the incidents already generated based on this insight:
-
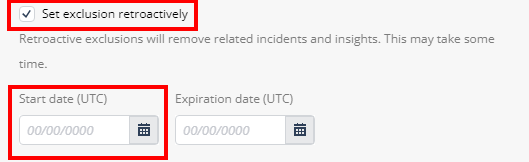
Select the Set exclusion retroactively checkbox.
-
In the Start date (UTC) field, select a date within the last 90 days. XDR excludes all the incidents that were generated from this date based on this insight. To revert the exclusion, see Reverting a Retroactive Exclusion.
-
-
(Optional) In the Expiration date (UTC) field, select an expiration date for the exclusion. After this date, XDR generates incidents for this insight. By default, there is no expiry date for an exclusion.
-
(Optional) In the Exclusion comment section, enter a description about the exclusion.
-
Click Create.
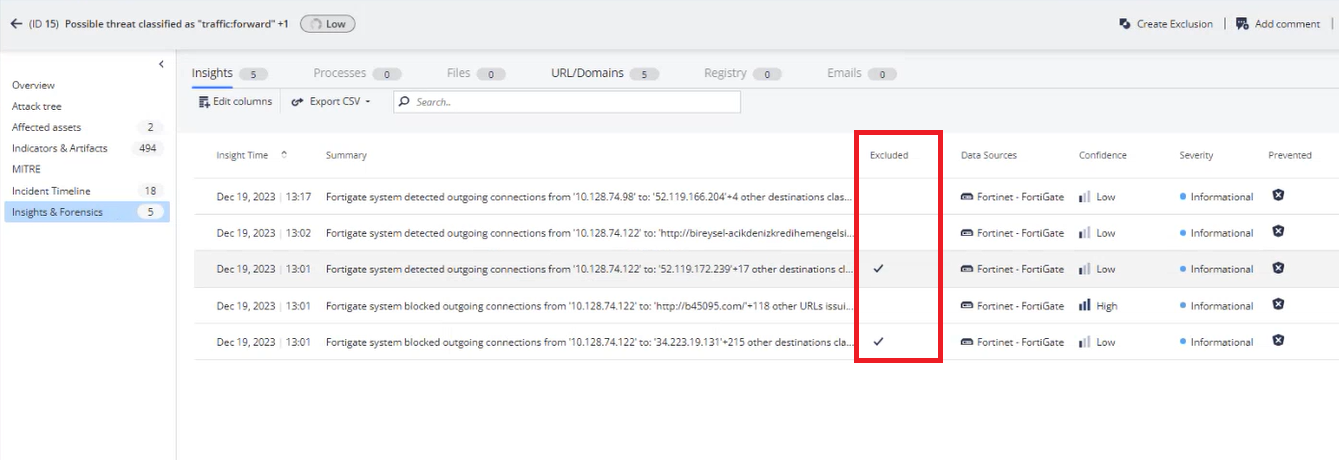
After the exclusion is created, the Excluded column in the Insights table is marked with for that insight.
The exclusion is added to the Exclusions table in Policy > Exclusions. See Advanced Exclusions.