Using the Configuration File for Tunnel Configuration
You can upload a configuration file generated from the cloud-based resource management portal containing the configuration settings into the Harmony SASE Administrator Portal. This eliminates the manual configuration in the Harmony SASE Administrator Portal.
The cloud-based resources that support a configuration file are:
Uploading the Configuration File in the Harmony SASE Administrator Portal
After you download the configuration file from the cloud-based resource management portal, upload the file in the Harmony SASE Administrator Portal.
-
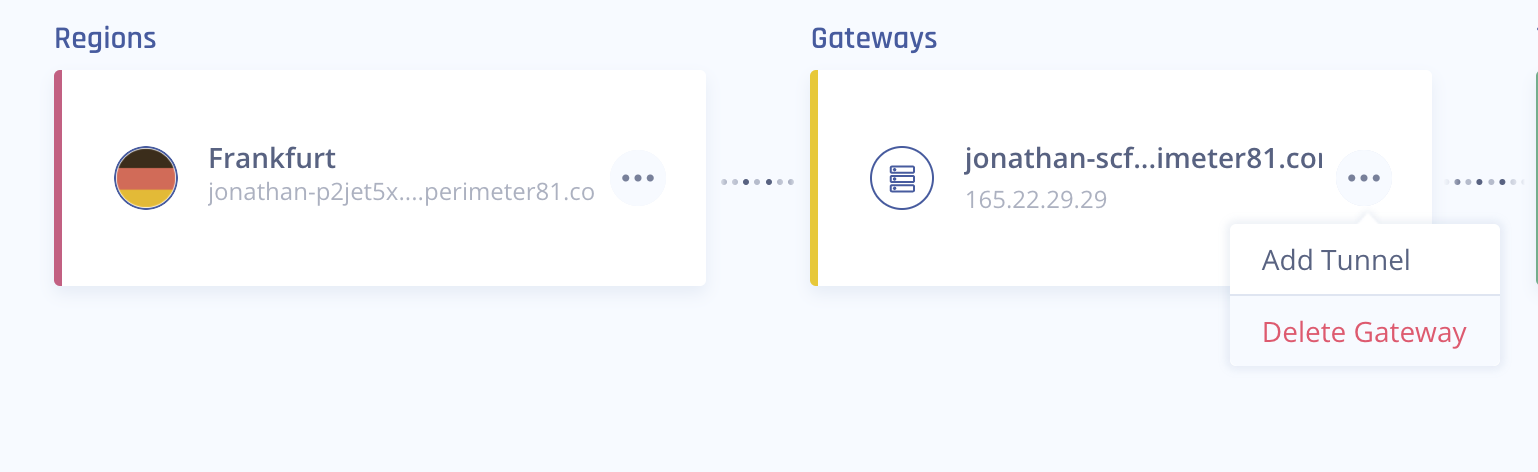
Access the Harmony SASE Administrator Portal and click Networks.
- Click the network where you want to create the tunnel.
-
In the required gateway, click
 > Add Tunnel.
-
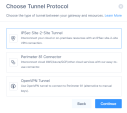
Click IPSec Site-2-Site Tunnel and click Continue.
-
Click Single Tunnel and click Continue.

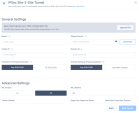
The IPSec Site-2-Site Tunnel window appears.
-
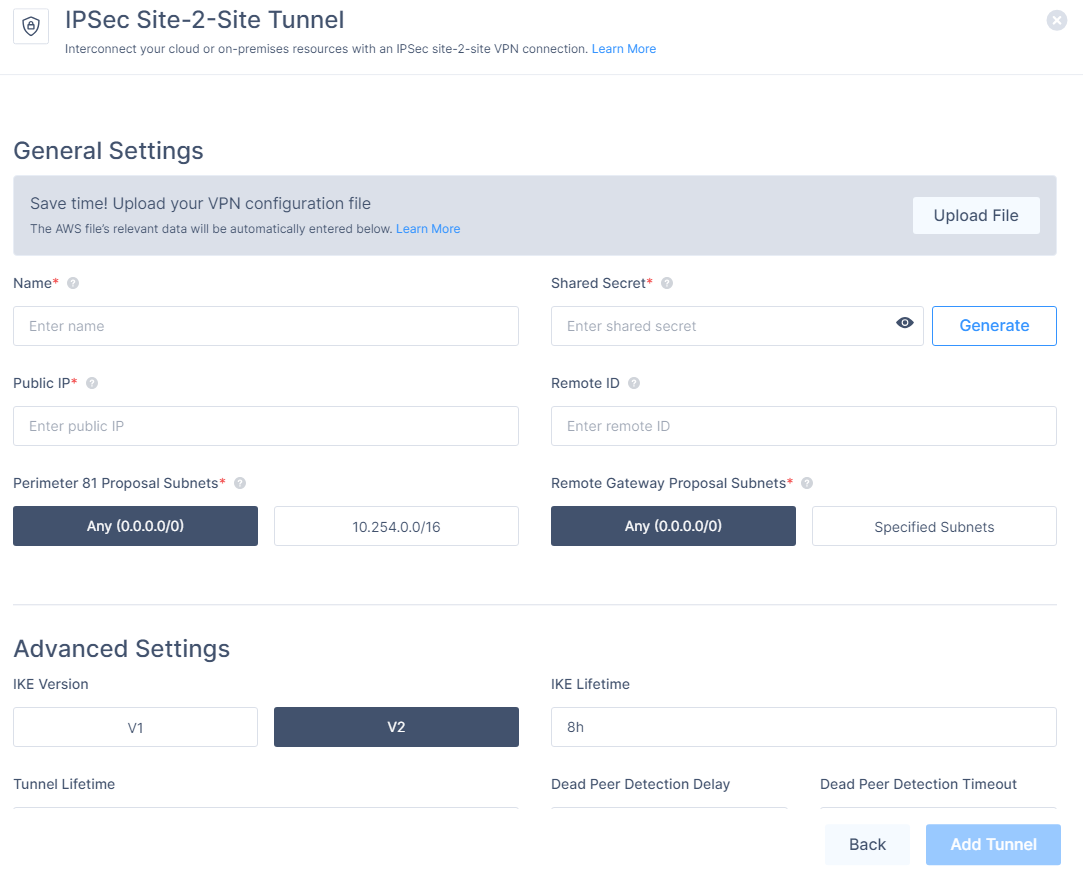
In the General Settings section, click Upload File.


Microsoft Azure
-
Access the Azure Management Portal and set up your Site-to-Site tunnel. For instructions, see Azure Virtual Network Gateway.
-
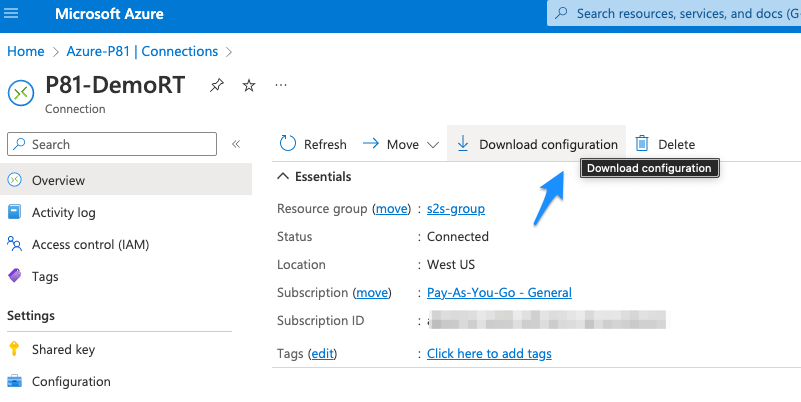
Go to your Virtual network gateway, click Connections and select your Harmony SASE connection.
-
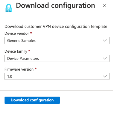
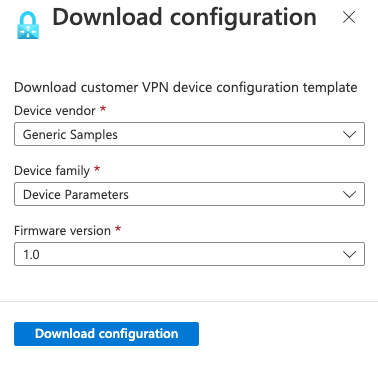
Go to Overview and click Download configuration.

The Download configuration window appears.
-
Enter these:
-
Device vendor - Generic Samples.
-
Device family - Device Parameters.
-
Firmware version - 1.0.
-
-
Click Download Configuration.
The system downloads the configuration file.
Tunnel Values
The tunnel values extracted from the configuration file are:
-
General Settings:
-
Shared Secret (Pre-Shared Key)
-
Harmony SASE Gateway internal IP
-
Remote Public IP
-
Remote ID
-
Remote Gateway internal IP
-
Remote Gateway ASN (for redundant tunnels)
-
Advanced Settings:
-
IKE Version
-
IKE Lifetime
-
Tunnel Lifetime
-
Dead Peer Detection Delay
-
Dead Peer Detection Timeout
-
Cipher Suites (Azure Only)
Uploading the Configuration File in the Harmony SASE Administrator Portal
-
Access the Harmony SASE Administrator Portal and click Networks.
- Click the network where you want to create the tunnel.
-
In the required gateway, click
> Add Tunnel.
-
Click IPSec Site-2-Site Tunnel and click Continue.
-
Click Single Tunnel and click Continue.
The IPSec Site-2-Site Tunnel window appears.
-
In the General Settings section, click Upload File.
-