
Okta (SCIM)
To integrate Okta and SASE, you must have these prerequisites:
-
Administrator access to both Okta and SASE Administrator Portal.
-
Active SASE Okta application configured for Single Sign-On.
-
If your account previously used a different Identity Provider (IdP), removing that IdP does not remove user-level IdP associations. Users provisioned through the previous IdP retain their former IdP linkage. If you enable Okta SCIM provisioning without first removing these users, they have dual IdP associations. This causes SCIM deactivation and sync failures.
-
Before configuring Okta SCIM, remove all users provisioned through the previous IdP from the SASE console, then reprovision them through Okta. No bulk removal operation is available - remove users individually.
SASE integrates with Okta using SCIM, ensuring automatic user synchronization, profile updates, and streamlined deactivation when users are removed from the Okta SCIM Application.
-
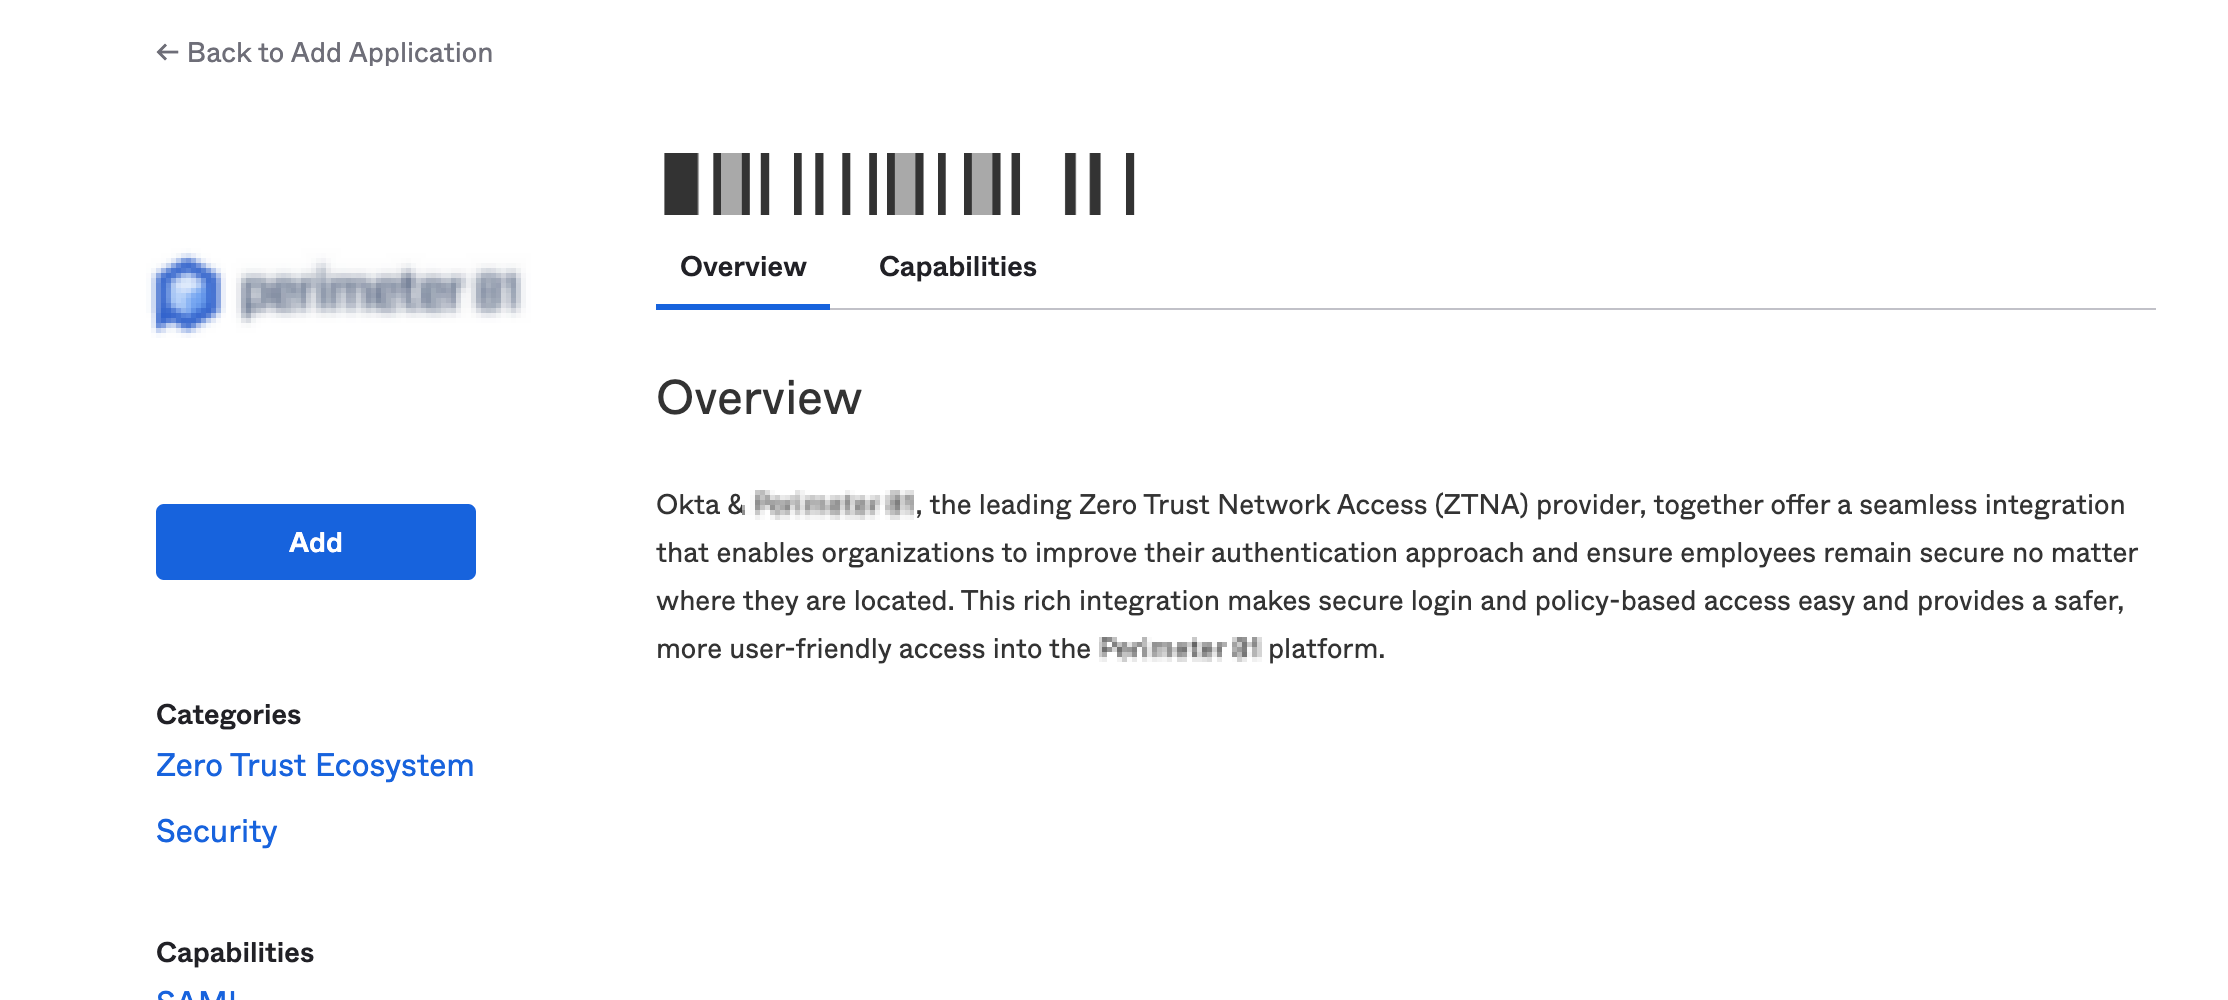
Search and select your application and click Add.
-
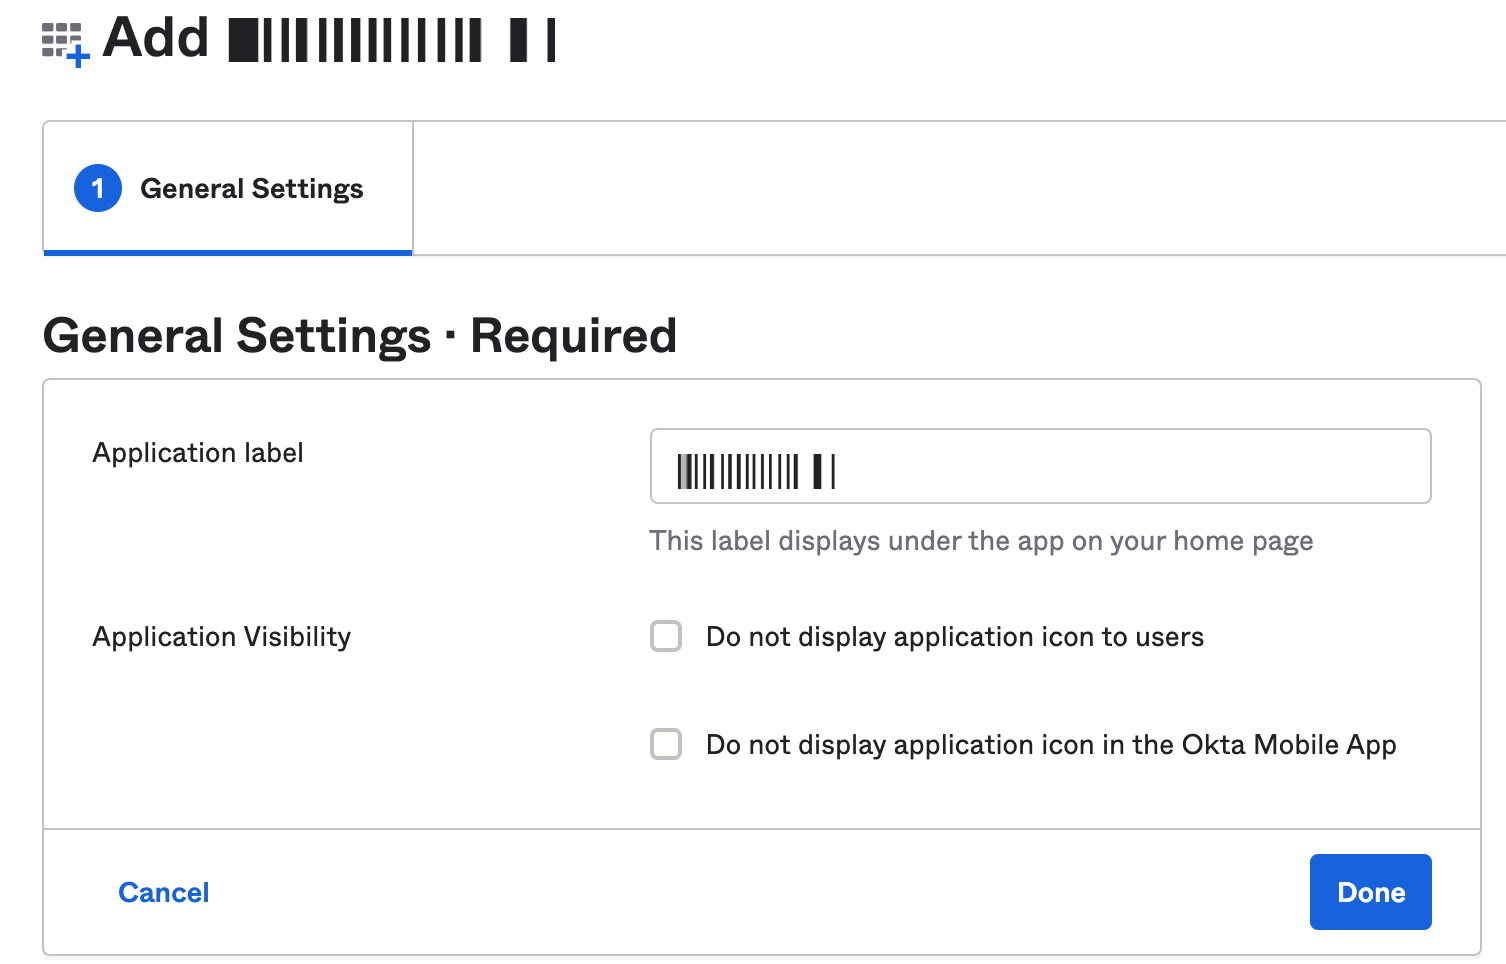
Click Done.
-
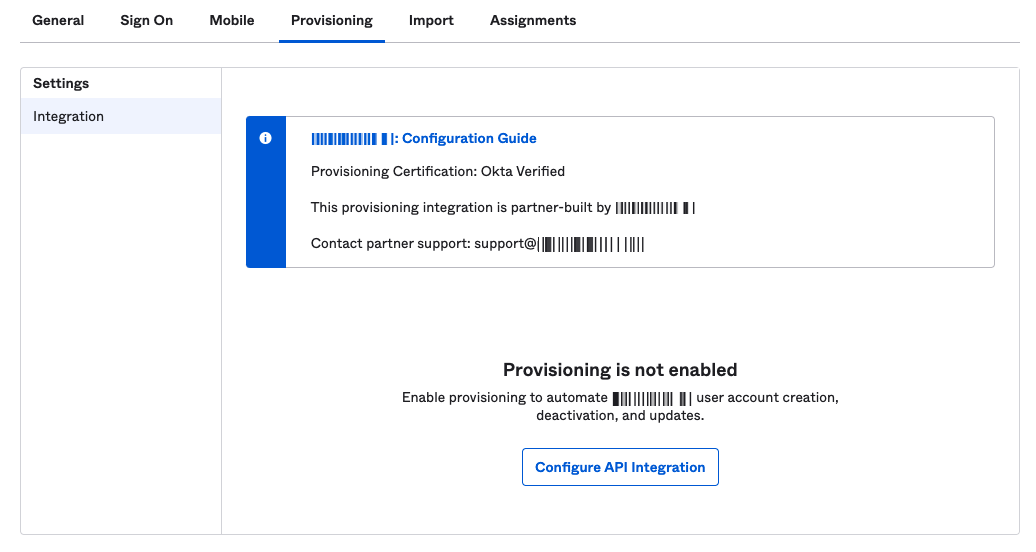
Go to the Provisioning tab and click Configure API Integration.
-
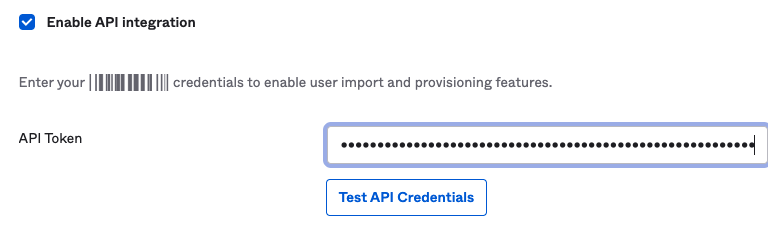
In the API Token field, enter the generated token. To get the generated token:
-
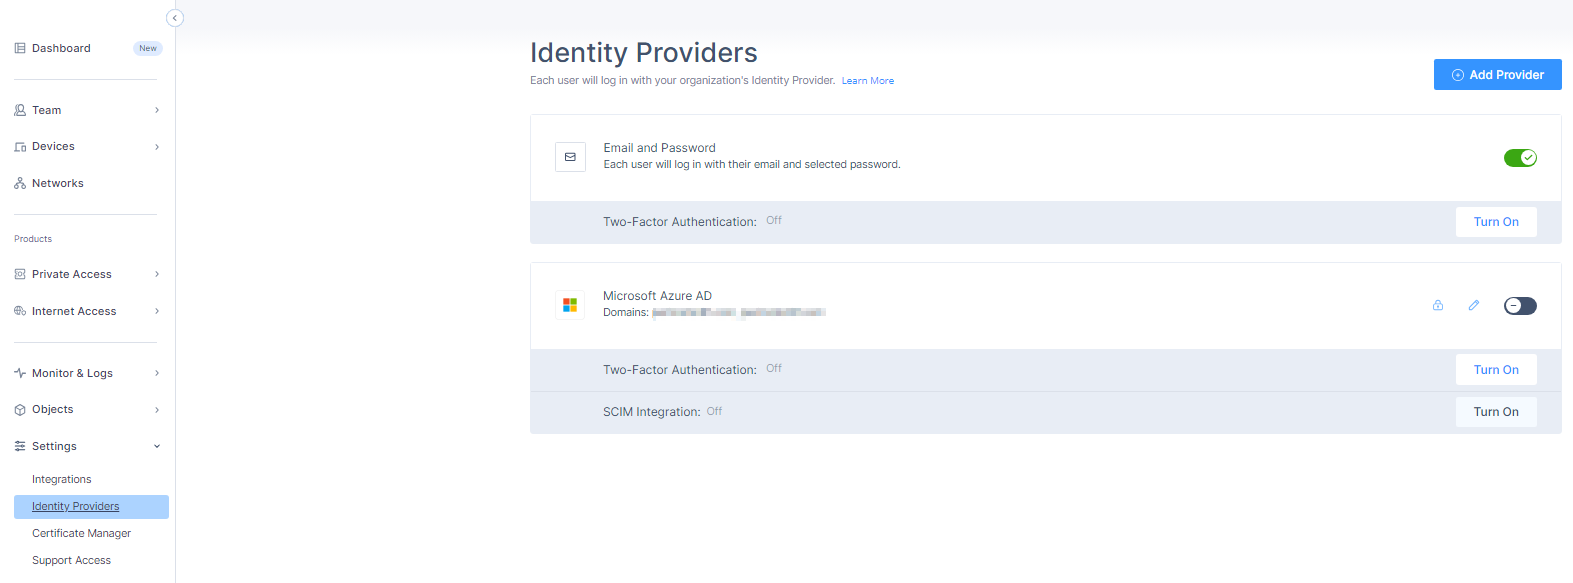
Access the SASE
Administrator Portal and click Settings > Identity Providers.
The Identity Providers page appears.
-
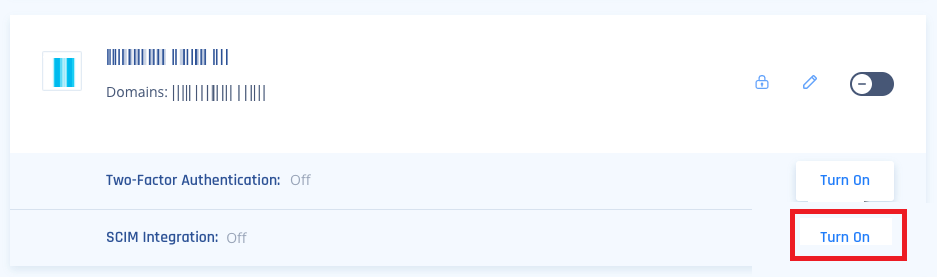
Click Turn On in the SCIM Integration section.
-
Click Settings in the SCIM Integration section.

-
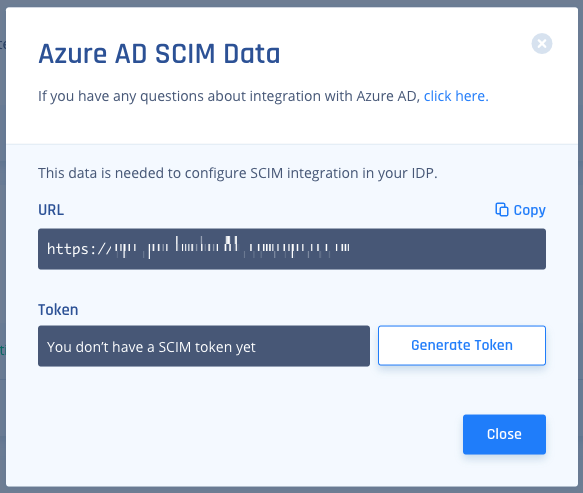
Click Generate Token.
-
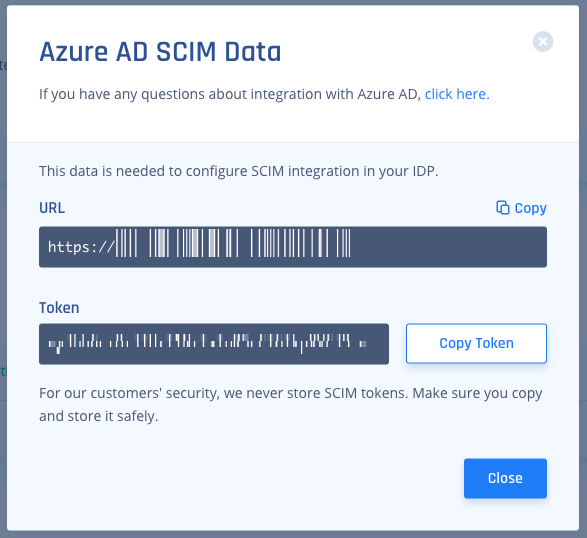
Click Copy Token.
-
Access the SASE
Administrator Portal and click Settings > Identity Providers.
-
Click Test API Credentials.
-
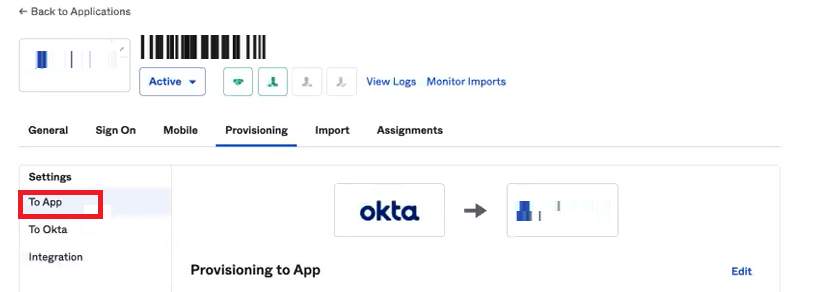
Go to Settings > To App.
-
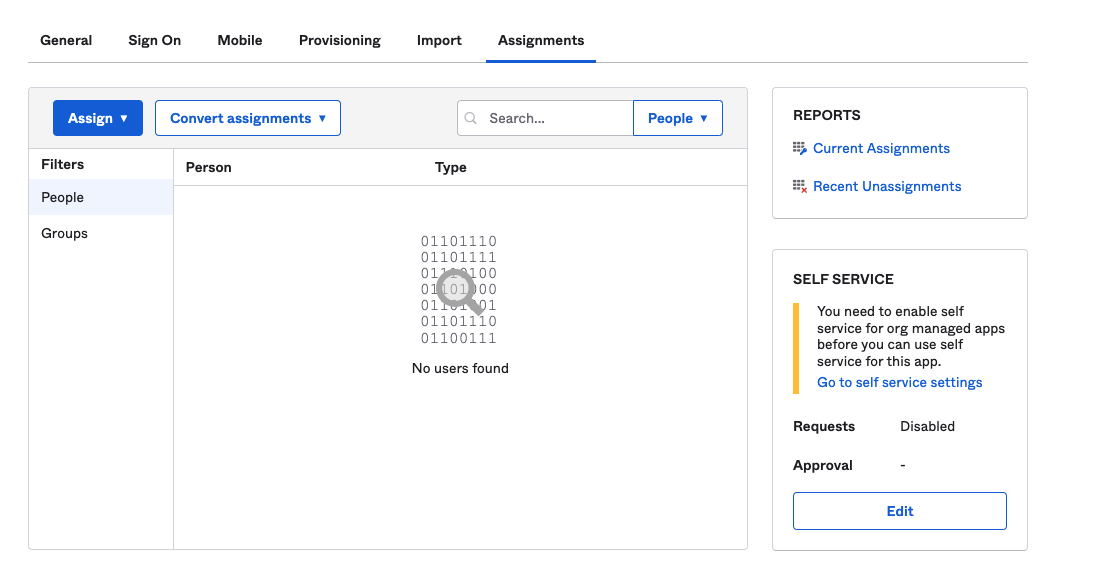
To provision users and groups:
-
Go to Assignments tab.
-
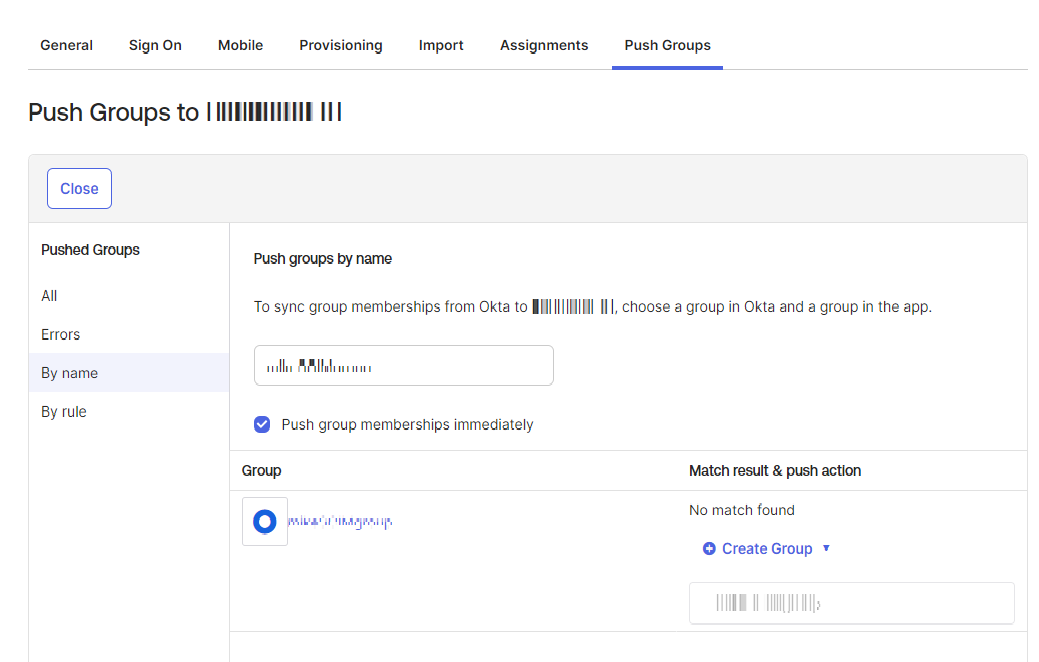
To push groups, click the Push groups tab and select By name.
These SAML attributes are supported:
Application Attribute Identity Bridge Attribute or Literal Value email user.email given_name user.firstName family_name user.lastName groups Configured in the app UI. See Group Support section. -
Go to Assignments tab.