Creating a Group
-
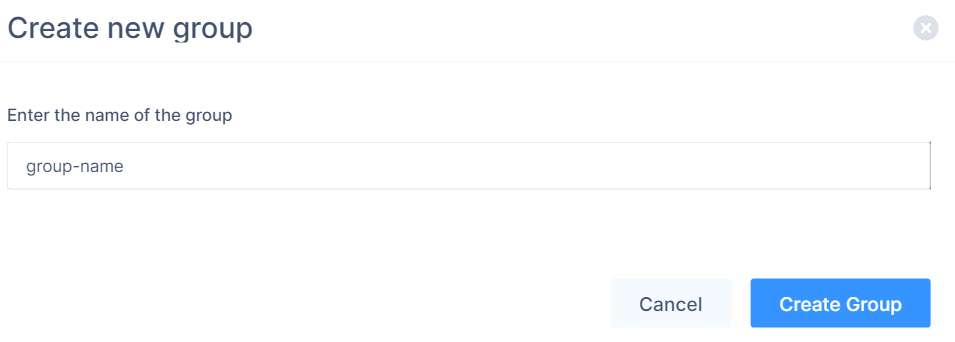
Click Add Group.
The Create new group window appears.
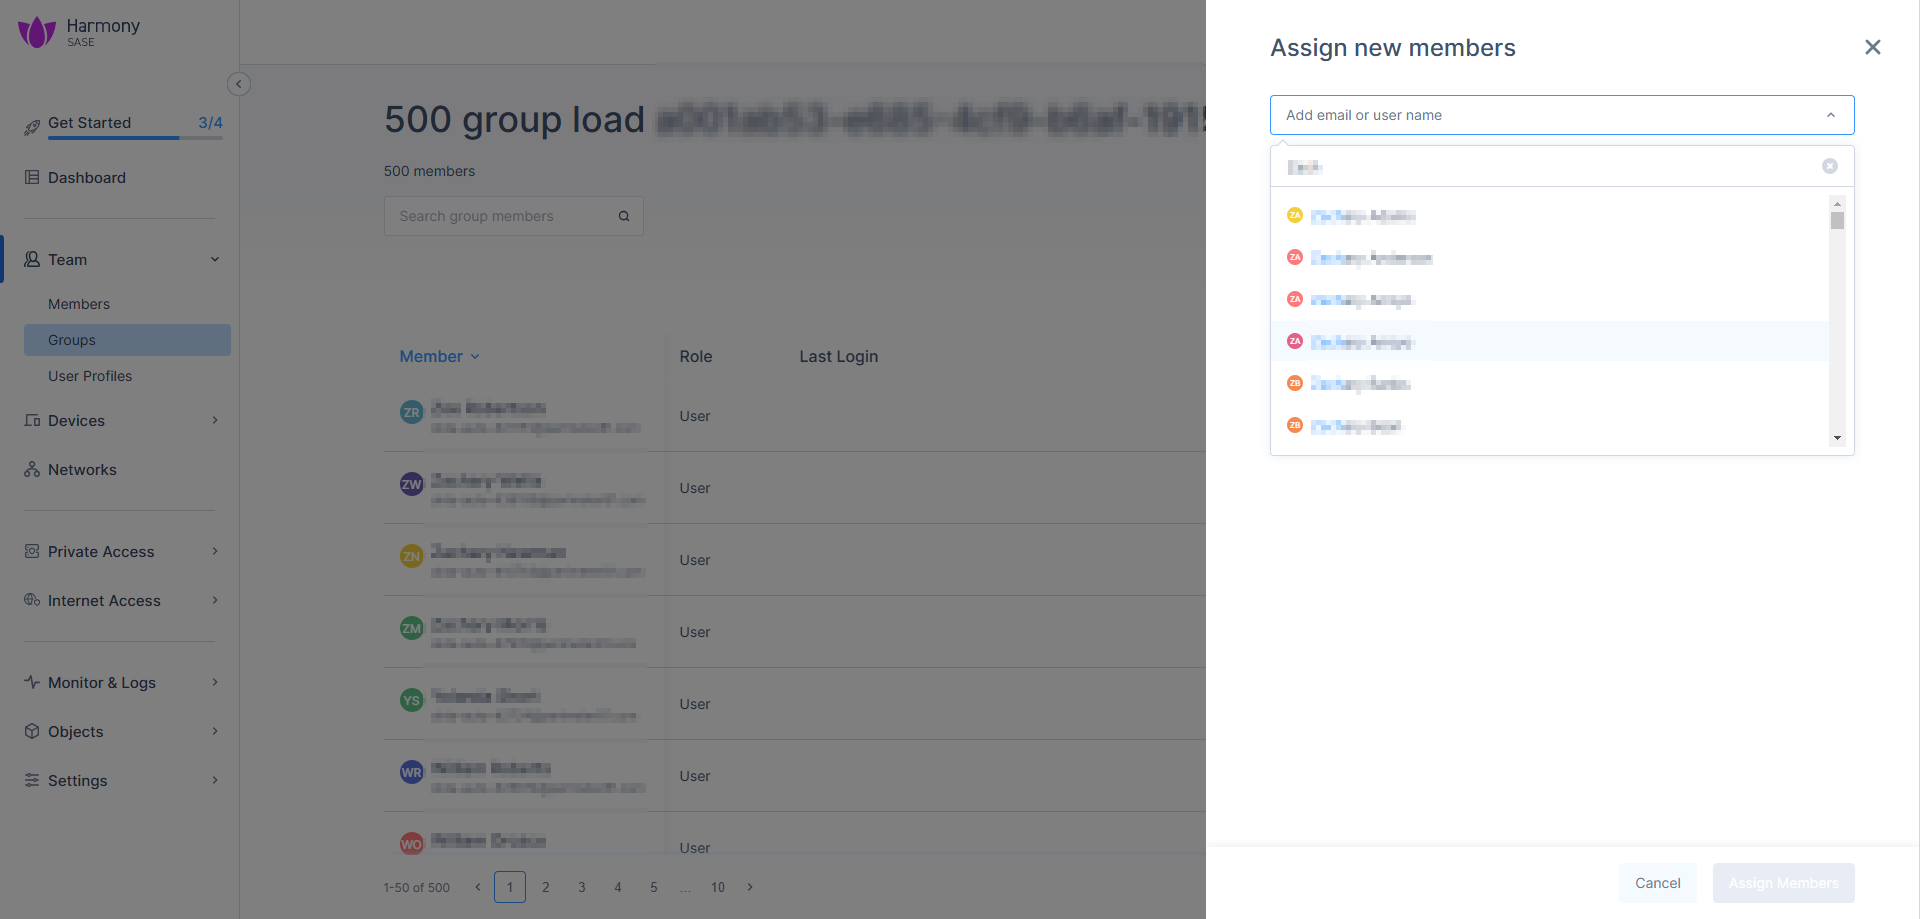
Note:You can search and select users in the Assign new members section in the right-pane.
-
To add members to the group:
-
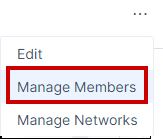
Click the
 icon in the last column of the group and then select Manage Members.
-
Click the
-
To add networks to a group or to grant access to a network segment:
-
Click the icon in the last column of the group and then select Manage Networks.
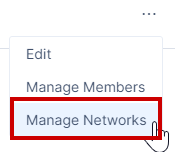
The Assign Network to Group pop-up appears.
-
Select the network and click Done.
Note:
-
A group can also be automatically created as a result of an IDP sync over SCIM, and associate users with it.
-
When a group is deleted in the Identity Provider (for example, Okta), it remains in any policies or configurations where it was previously used. It appears greyed out and when you hover over it, Deleted Group message is displayed.

-
You cannot add the deleted group in any policies, but it can be removed from the existing policies.
-
When the deleted group is re-enabled, it is restored without any members. To add members again, you must manually assign them through the IdP.
The members can access only the selected networks from the Check Point SASE Agent.
-
-
Click the
-
To delete a group, hover over the group that you want to delete and click
 .
.

The Delete Group window appears. Click Delete Group to delete it.