Using the SASE Agent
Before you begin, contact your System administrator for your workspace URL.
-
Open the SASE Agent.
-
Click Sign In.
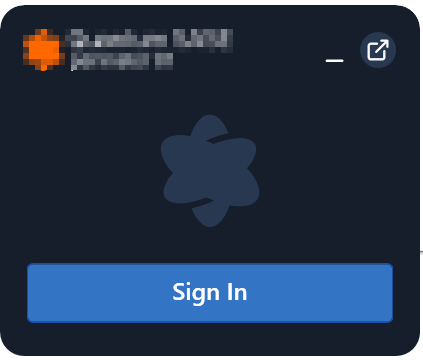
The system opens a web browser for authentication.
-
In the Workspace URL field, enter the workspace URL and click Continue.
-
Enter your credentials and click Sign In.
If you do not know your credentials, contact your System Administrator.
A prompt appears.
-
Click Open SASE.
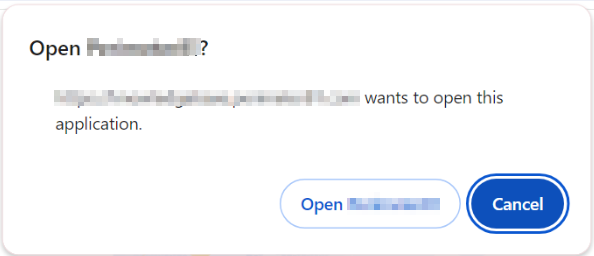
The SASE Agent opens and automatically connects to a Network.
-
For macOS devices, if internet access is enabled, then do these (otherwise, skip the step):

Note - If you download the Secure Web Gateway (SWG) root certificate, skip the step. For more information, see Certificates.
-
Install and sign in to the SASE Agent.
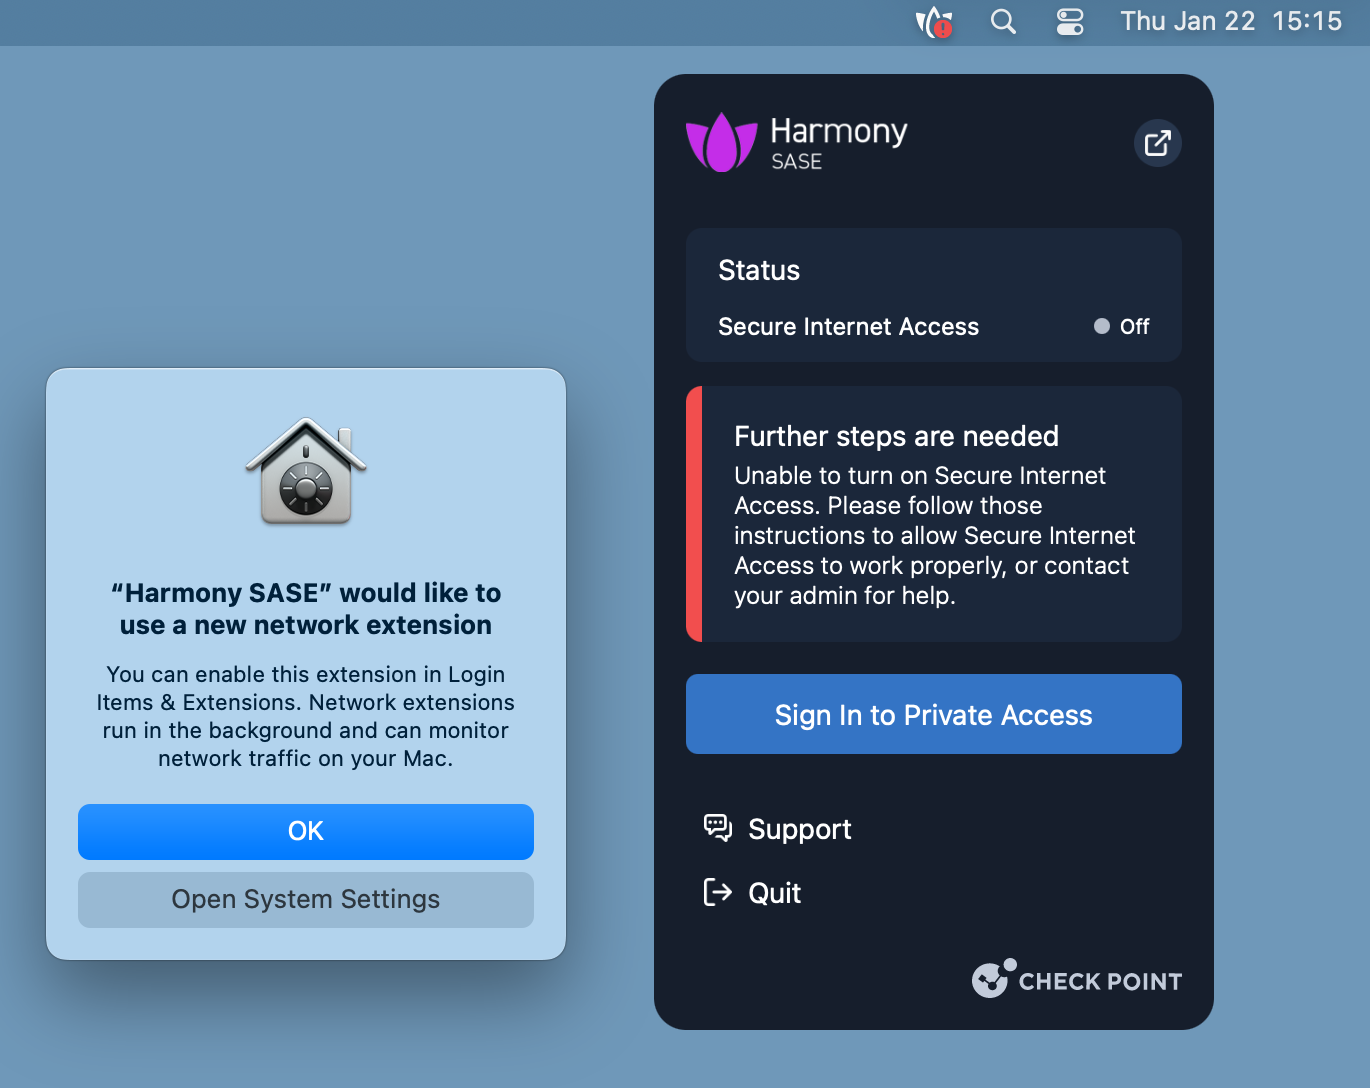
"Check Point SASE" would like to use a new network extension popup appears. -
Click Open System Settings.
Alternatively, go to: System Settings > General > Login Items & Extensions > Network Extensions.
-
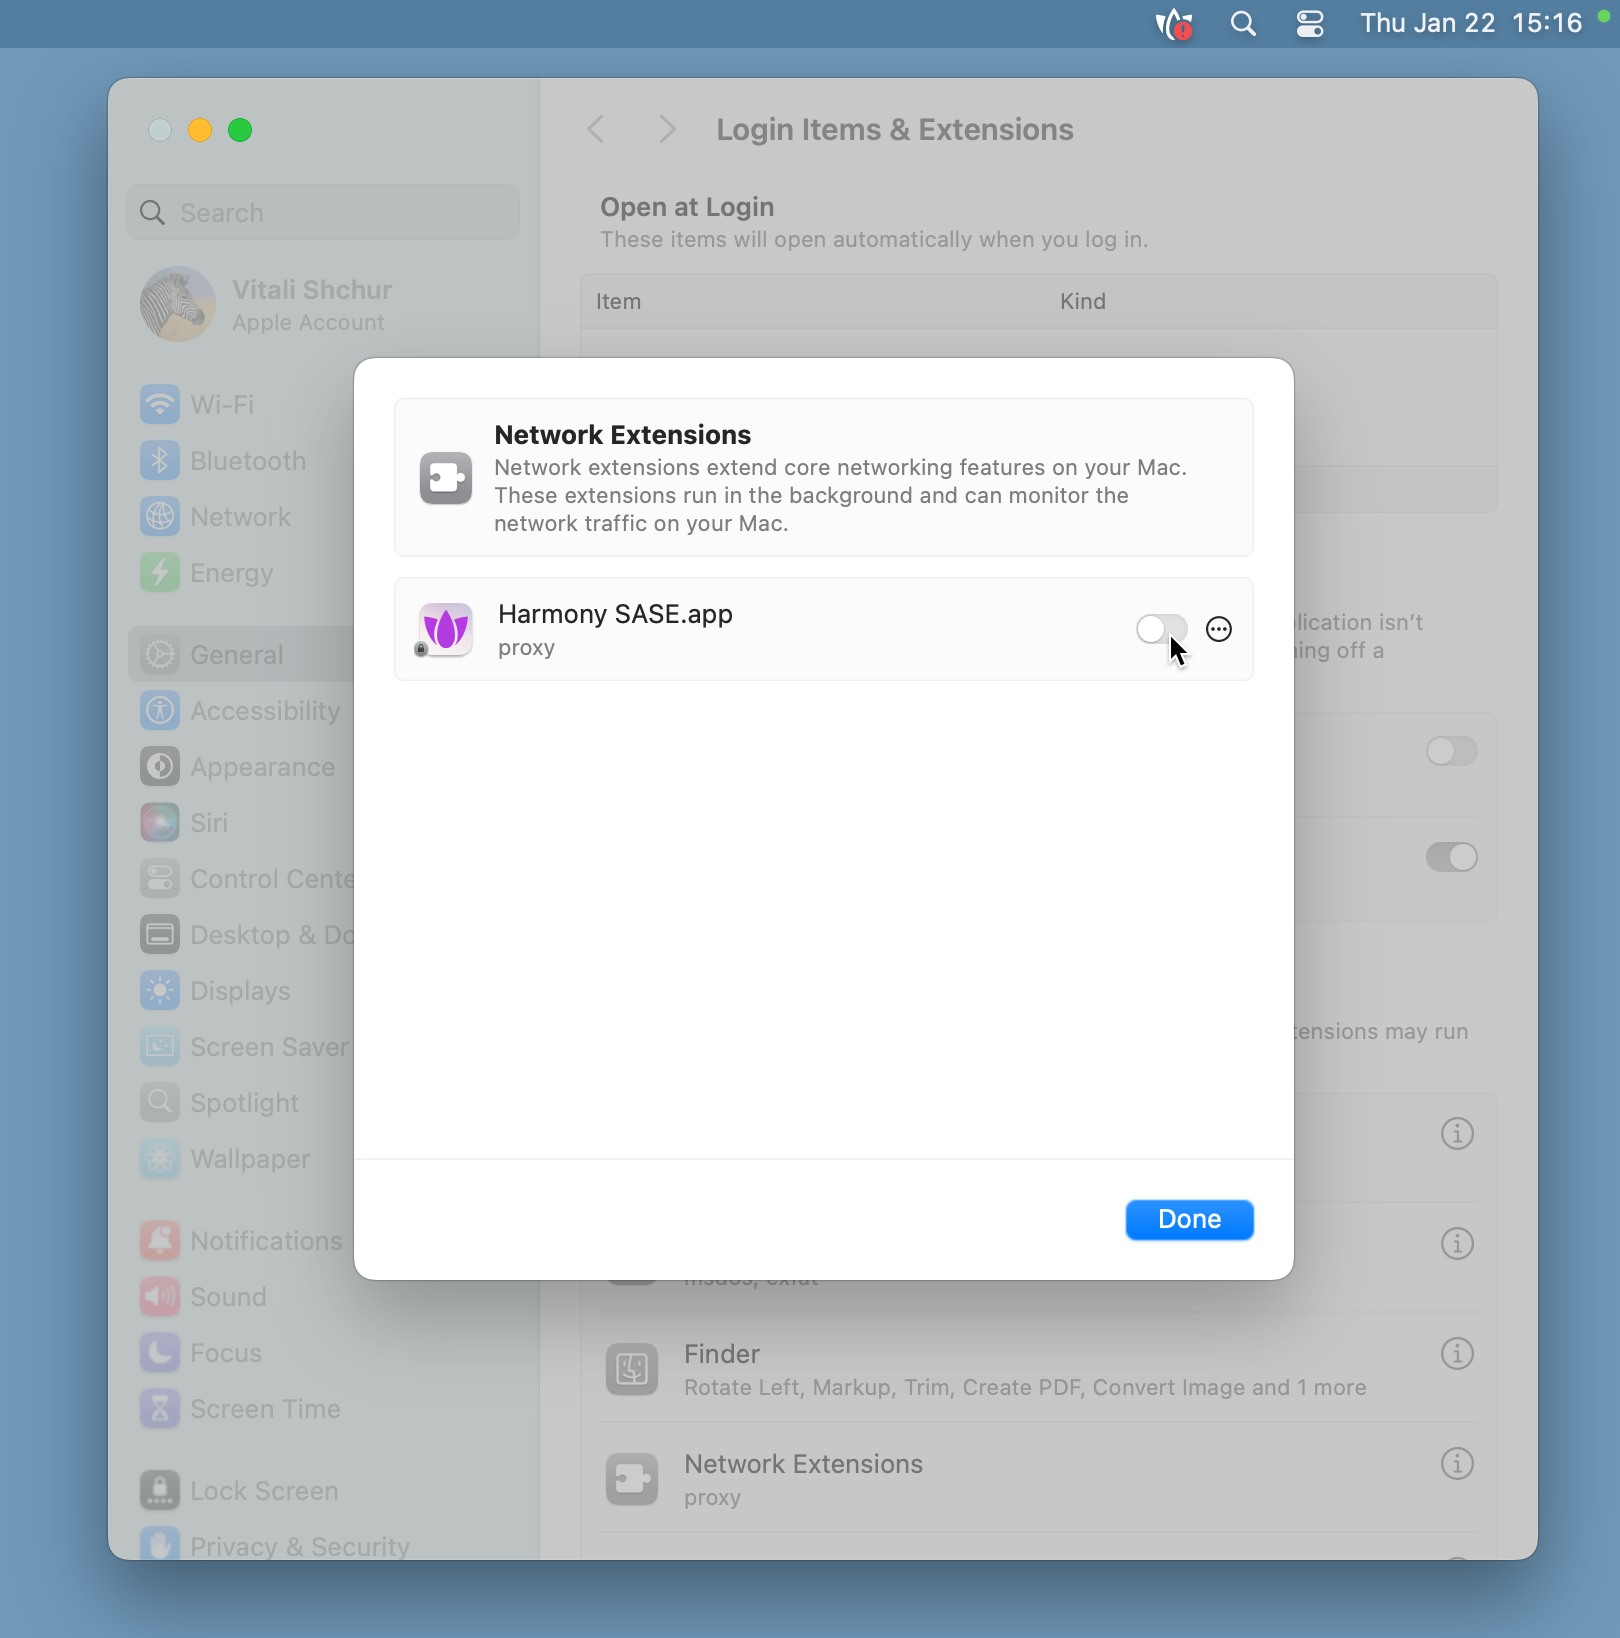
In the Network Extensions section, enable the toggle for SASE.app.
-
Click Done.
-
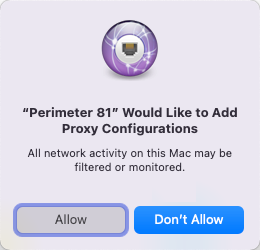
At this prompt, click Allow.
-
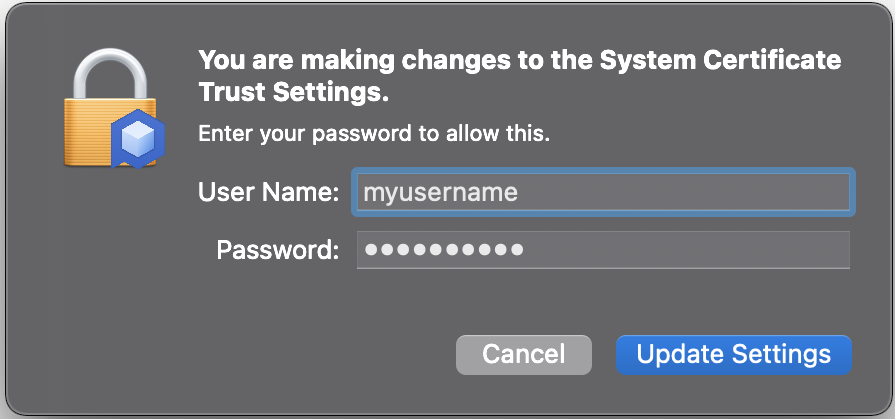
When the system displays the certificate trust dialog, enter your macOS password.
-
Enter your device credentials and click Update Settings.
-
-
To connect to a specific network, on the Home tab, click Change Network and then select a network.
-
To make changes to the SASE Agent, click the
 icon at the bottom left.
Setting
Description
General tab
Connect of Launch Automatically starts the SASE Agent when the device starts and connects to the most recent network. Enable Notifications when Connected/Disconnected Shows a pop-up notification on the device when the SASE Agent connection status changes.
Enable Notification when Reconnecting Shows a pop-up notification on the device when the SASE Agent reconnects with the network. Check For Updates Checks and shows the latest version of SASE Agent if available. Automatic Updates Automatically upgrades to the latest version of the SASE Agent.
Note - Available only if the System Administrator has enabled it. See Agent Upgrades.
Snowplow report.
Sends the Snowplow (user tracking) data to SASE.
Use VPN Interface DNS
Sets the device DNS server as the SASE server. The agent uses this DNS server for DNS requests specified on the VPN network interface.
If this is disabled, then the DNS resolver is set to the DNS used by your local adapter. This is useful if you use other DNS providers.
Network tab
Always-On VPN
Automatically connects to the VPN when an internet connection is available.
Automatic Wi-Fi Security
The SASE Agent automatically connects to SASE VPN if the device connects to an unsecured Wi-Fi.
Trusted Wi-Fi Networks
The SASE Agent does not enable Automatic Wi-Fi Security if the device connects to a trusted Wi-Fi network.
Note - This option shows only the trusted networks added by the administrator. See Network Configuration.
Protocols tab
Default
Automatically connects to the network using a protocol configured by the administrator. See Network Configuration.
WireGuard
Connects to the network using WireGuard protocol.
OpenVPN
Connects to the network using OpenVPN protocol.
-
Go the Support tab and do these:
-
To sign out of the agent, click the
 icon.
icon.If this option is disabled by the administrator, the agent prevents the member from signing out without a sign-out code. For more information, see Disable Sign-Out.
-
To exit the agent, click the
 icon. This disables the agent and stops the secure private and internet access.
Troubleshooting System Extension Installation on macOS
If the member does not complete the system extension installation during the agent installation:
-
Sign out and sign in to the agent.
-
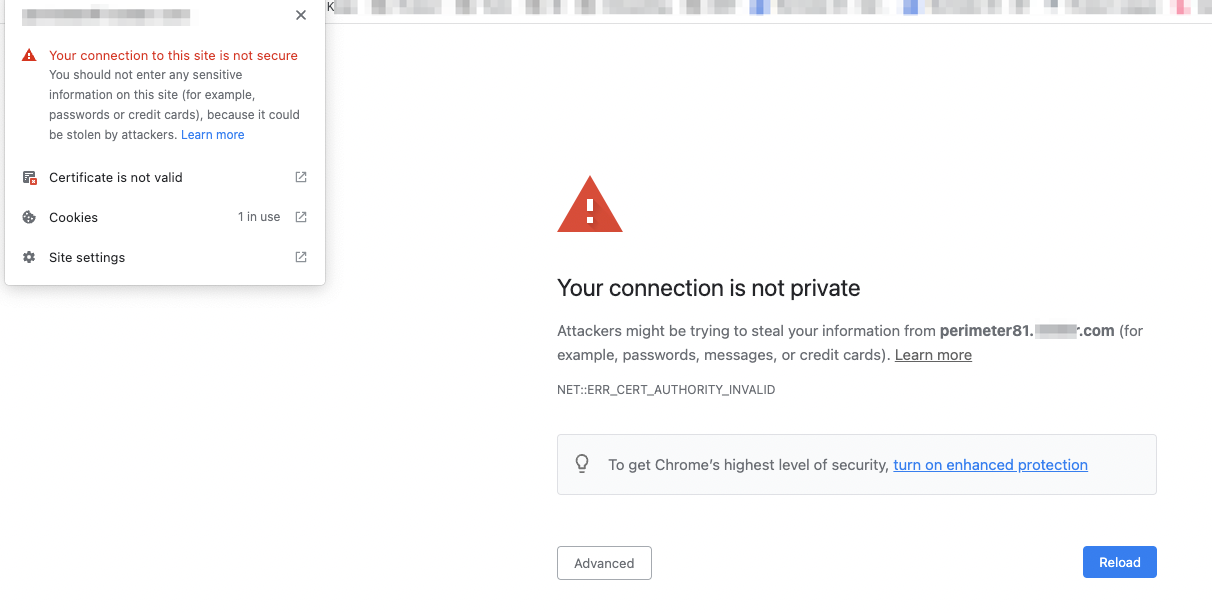
If the Secure Web Gateway certificate installation is blocked, then this error message appears.
-
Open Keychain Access (Press Cmd + Space, then search for Keychain Access).

-
Right click SASE Secure Web Gateway 2 certificate and click Get Info.
-
Modify the permission to Always trust.
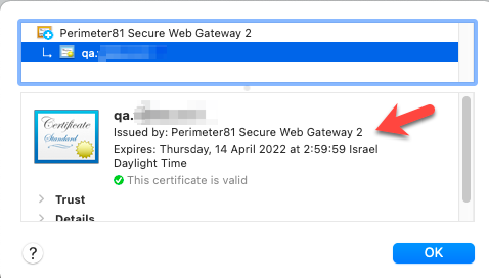
Refresh the web page. The site should load without certificate warnings.