Configuring GRE Integration
You can route the traffic from a Citrix SD-WAN device to the Internet through GRE tunnels. Check Point inspects the traffic in these tunnels and secures the users in the office.
To configure Citrix SD-WAN GRE on your SD-WAN Device perform these steps:
Configuring the First GRE Tunnel
Log in to the Citrix SD-WAN main screen.
-
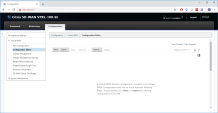
On the Citrix SD-WAN main screen go to Configuration > Appliance Settings > Virtual WAN > Connection Editor.
Example:
-
Click New > Connections.
-
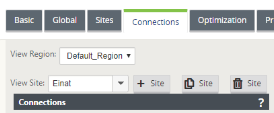
Select these settings:
-
View Region - Select Default Region
- View Site - Create a new Site. See Creating a New Site.
Example:
-
-
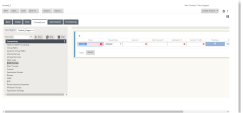
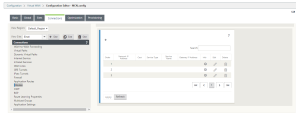
Go to Configuration page > Connections tab > GRE Tunnels.
-
On the right pane of the window click [+] to create the first tunnel.
-
Set these parameters:
-
Name - An alias for this tunnel. For example, to_check_point_1
-
Source IP - Select and set to the external IP address of your branch device.
-
Destination IP - Set to the Check Point tunnel destination address.
-
Tunnel IP / Prefix - - Set to the tunnel internal subnet.
Example:
-


Creating the Second GRE Tunnel
-
Click [+] to create a second tunnel.
Repeat Steps 1-6 to create the second WAN link for the second the to_check_point_2 tunnel.
-
Set these parameters:
-
Name - An alias for this tunnel. For example, to_check_point_2
-
Source IP - Select and set to the external IP address of your branch device.
-
Destination IP - Set to the Check Point tunnel destination address.
-
Tunnel IP / Prefix - - Set to the tunnel internal subnet.
Example:

-
-
Click Apply.
-
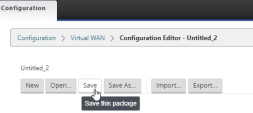
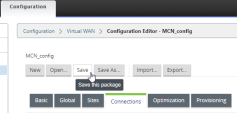
To save your configuration, go to Configuration Editor. Click Save.
Example:

Routing Traffic through the GRE Tunnels
-
On the Connection tab select Routes.
Example:
-
On the right pane of the window click [+] to create the first route.
-
In the Add window set these parameters:
-
Network IP Address - Set to 0.0.0.0./0
-
Service Type- Set to GRE Tunnel
-
Gateway IP Address - Set to the first Check Point GRE tunnel destination address.
-
-
Click Add.
-
Click [+] to create a route for the second tunnel.
-
In the Add window set these parameters:
-
Network IP Address - Set to 0.0.0.0./0
-
Service Type- Set to GRE Tunnel
-
Gateway IP Address - Set to the second Check Point GRE tunnel destination address.
-
-
Click Add.

Note - To activate the tunnels, add a route to reach the GRE Tunnel destination IP address. This service type can be Internet or Intranet.

Deploying Changes
-
To save your configuration go to Configuration tab > Configuration Editor > MCN Config.
-
Click Save.
Example:
-
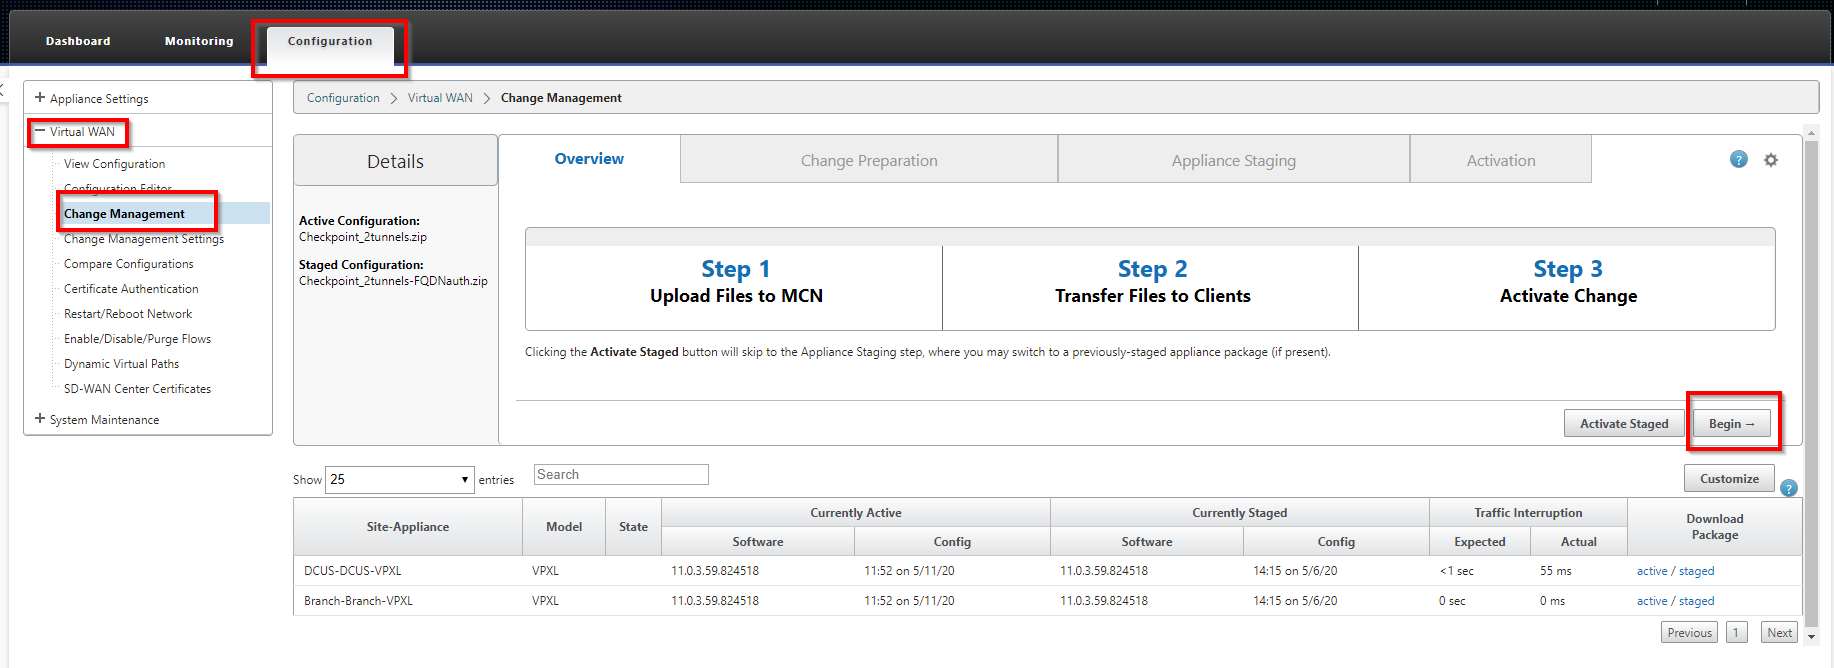
Go to Configuration tab > Virtual WAN > Change Management.
Example:
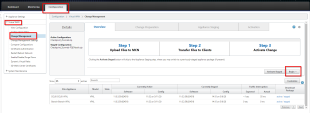
-
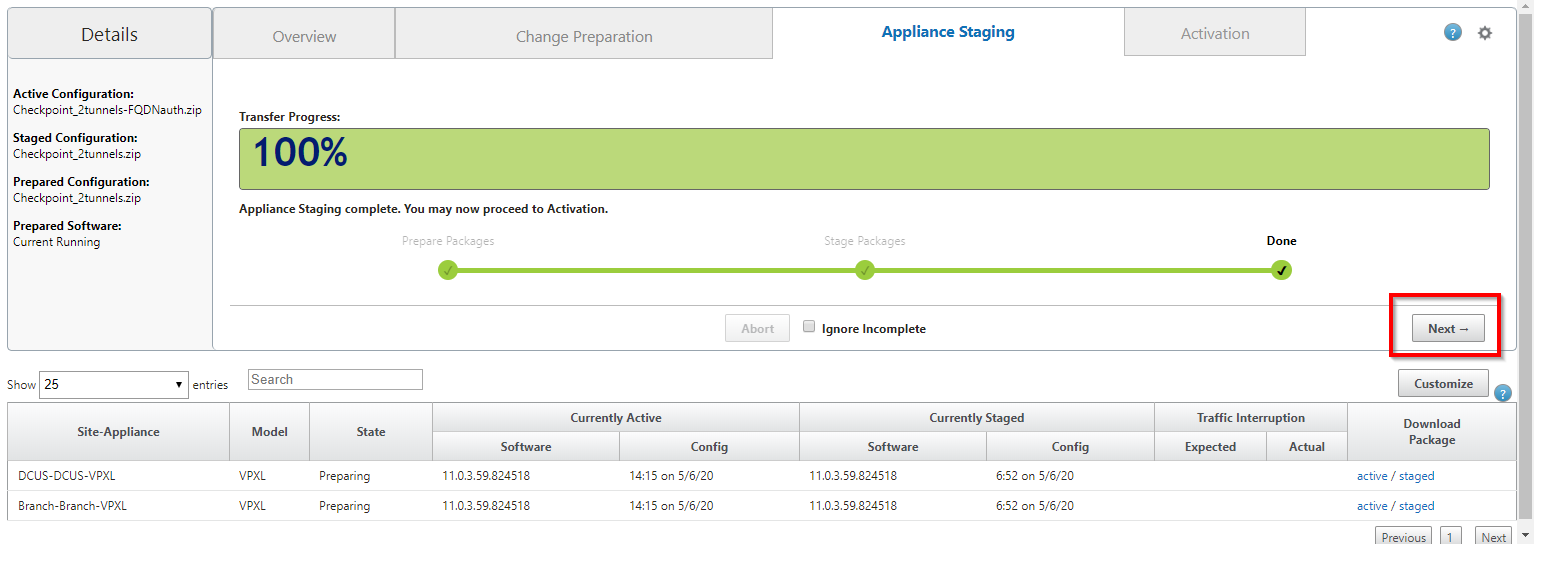
Click Next.
Example:

-
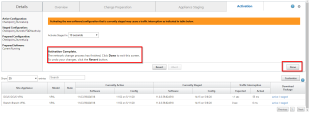
Click Activate Staged.
Example:
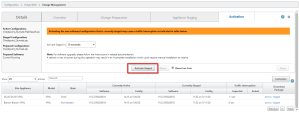
-
Wait for the activation to complete.
Example:


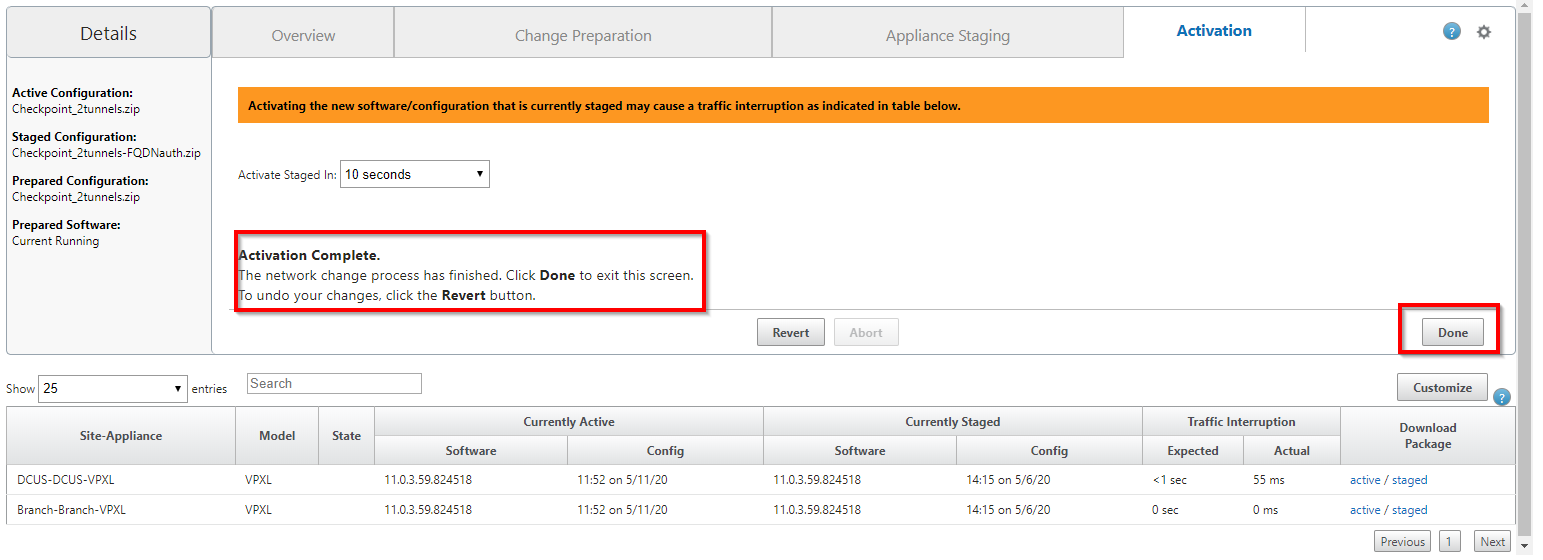
To test your Harmony Connect configuration see Testing your Configuration.