Agent Deployment
Agent Deployment allows to control the distribution of the Harmony Connect Agent:
-
Distribute different versions of the agent to different user and device groups. For example, when a new agent version is released, you can test the agent with a selected group of users.
-
Automatically upgrade agents to the latest or recommended version.
|
|
Note: You can use the Agent Deployment Manager role to provide write access only to the Agent Deployment and read-only access to all the other pages. |
Creating a New Agent Deployment Rule
|
|
Notes -
|
-
Go to Settings > Agent Deployment.
The Agent Deployment page appears.


Note - Default settings for the entire organization is the default rule
 Set of traffic parameters and other conditions in a Rule Base (Security Policy) that cause specified actions to be taken for a communication session.. It ensures that a minimum version of the agent is installed for all users and devices. You cannot delete the rule, however, you can edit the Name, Agent for Windows and Agent for Mac. It is always placed last in the table.
 -
By default, the Automatic agent deployments toggle button is turned on for new tenants. To disable automatic agent deployment, turn off the toggle button.
Note - If you have disabled the feature on existing tenants by contacting Check Point Customer Support, then the toggle button is turned off by default.
-
Click
 to add a rule before the default rule.
A new row appears in the table.
-
In the Name column, enter a name for the rule. For example, Version 1.3.4 to R&D.
-
In the Apply to column, click
 :
:-
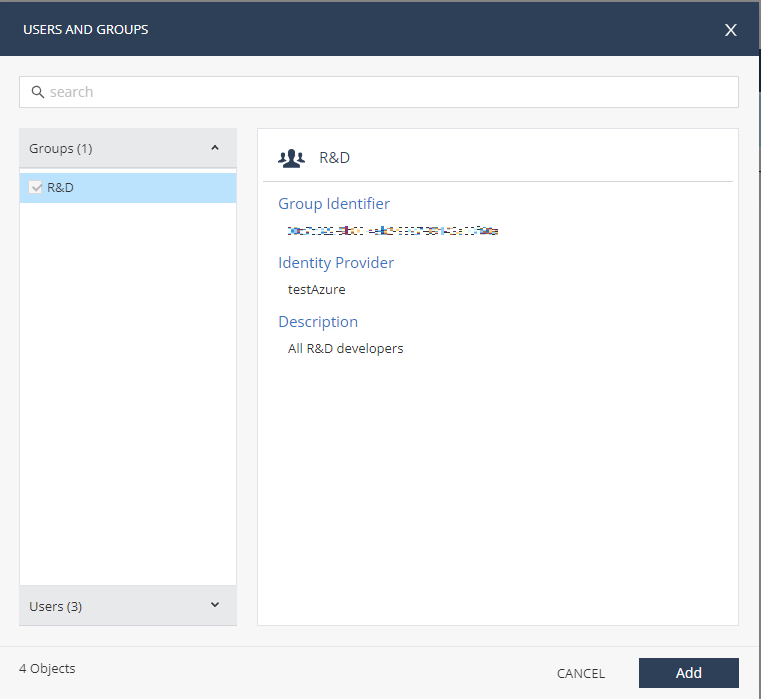
To apply the rule to users and groups, select Users and Groups.
-
Click New.
-
Select Group to add a new user group, or select User to add a new user.
- In the Name field, enter the name of the user or group.
-
In the User Name field, the unique identifier of the user in the Identity Provider.
Note - This option is available only when you are adding a new user.
-
In the Group Identifier field, enter the group identifier.
Note - This option is available only when you are adding a new user group.
-
Select the Identity Provider from the list.
-
(Optional) In the Comments field, enter comments.
-
Click Add.
The new user group or user is added to the list.
-
Select the user group or user and click Add.
-
-
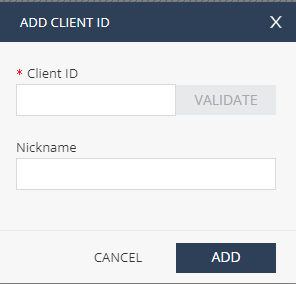
To apply the rule to a specific agent, select New Client ID.
-
Enter Client ID and click Validate.
Note - To get the client ID, in the Harmony Connect Agent, click Settings.
-
In the Nickname field, enter the name of the user.
-
Click Add.
-
-
-
In the Agent for Windows column, select a version for Windows.
-
In the Agent for Mac column, select a version for macOS.
Note - If you select Automatic deploy recommended or Automatic deploy latest, the system automatically upgrades the agent when the user logs into the device or exits the agent. Optionally, the user can manually upgrade the agent. For more information, see Harmony Connect Agent User Guide.
-
Click Save Changes.
The system deploys the agent version to all the endpoints specified in the rule.
Order of Agent Deployment Rules
The order (sequence) of rules determines the priority of rule. For example, when a user or device is associated with multiple rules, the rule positioned higher in the order takes precedence.
To change the order, drag and drop the rule.
Verifying the Agent Deployment
-
Go to Assets > Devices.
-
Check the version in the Version column.