Encrypting Outgoing Emails
Organizations often opt to encrypt outgoing emails to share sensitive information securely with the intended recipients while preventing access to others.
Harmony Email & Collaboration supports these two methods of secure email transmission:
Selecting between Check Point's SmartVault and Microsoft 365 Email Encryption
When deciding between Microsoft 365 Email Encryption and SmartVault, consider these factors:
-
Maintaining user experience - If you already use Microsoft 365 Email Encryption, triggering it through the Check Point DLP policy might be a good idea to have the same experience for your end users and external recipients.
-
Price and quality - If you are unsatisfied with Microsoft 365 Email Encryption regarding price or quality, Check Point's SmartVault is highly recommended.
Microsoft Encryption for Outgoing Emails
Microsoft 365 provides the ability to encrypt the outgoing emails using Microsoft 365 Email Encryption. Encryption can be applied automatically for emails detected as sensitive by the DLP engine.
|
|
Note - The Microsoft 365 Email Encryption is available only for the outgoing emails. |
For more information about the Microsoft 365 encryption mechanism, see the Microsoft Documentation.
Required License for Encrypting Outgoing Emails
In Monitor only mode, you can use the existing license of Office 365 as the minimum requirement. However if you want to use Microsoft Encryption as an action in policy, you must have license with Office 365 Message Encryption (OME) capabilities. For more details, see Microsoft plans with OME capabilities and Microsoft Documentation.
Encrypting Outgoing Emails
Select the required DLP workflow that has encryption (Email is allowed. Encrypted by Microsoft or Email is blocked and user can resend as encrypted). Based on the workflow defined, the emails are encrypted automatically.
All outgoing emails that has data leak will be sent with a header:
-
Microsoft Encryption: X-CLOUD-SEC-AV-Encrypt-Microsoft: True
Encrypting Outgoing Emails using Check Point's SmartVault
Check Point's SmartVault allows you to send emails containing sensitive information in a secured manner so that the external recipient can see the email in a secured portal, while the email and its content are stored only in the Check Point's tenant.
Activating SmartVault
To activate SmartVault:
-
Create or edit an existing Office 365 Mail DLP policy. For more information, see DLP Policy for Outgoing Emails.
-
Set the policy protection mode as Prevent (Inline).
-
Under Scope, select Direction as Outbound.
-
Select a DLP workflow for SmartVault as required. For the supported workflows, see SmartVault Workflows.
-
Click Save.
|
|
Note - By default, the Check Point logo appears on the SmartVault web pages and email notifications. To customize the logo, see Custom Logo. |
Accessing SmartVault Encrypted Emails
Validating the Identity of the External Recipient
When an external recipient receives a secured email notification from SmartVault, the recipient must validate to view the email.
To validate the identity, the external recipient must do these:
-
Click the link in the email notification to access the secured portal.
By default, the link is valid only for 10 hours.
-
Click Authenticate to receive the one-time authentication code.
The recipient receives the authentication code through email. By default, the authentication code is valid only for 10 minutes.
-
Enter the code and click Submit.
-
After successful authentication, the recipient can view and respond to the email.
Also, Harmony Email & Collaboration adds a cookie to the browser. By default, it remains valid for 30 days, and the recipient is not required to authenticate again from the same browser. After the cookie expires, the recipient must authenticate again.
To configure the default time and validity of the cookie, see Configuring SmartVault Parameters.
External Recipients Interacting with Emails Vaulted by SmartVault
After successful authentication, the email opens in a secured portal and allows the recipient to:
-
Read the email
-
Download the attachments (if any)
-
Reply to the sender.
Storage of Emails by SmartVault
Harmony Email & Collaboration stores the secured emails by SmartVault only in the Check Point servers associated with the data residency region of your Infinity Portal tenant. The email and its attachments are stored encrypted by SSE-S3 encryption.
By default, these emails will be available only for 14 days, and you cannot access them later. To change the number of days they are available, see Configuring SmartVault Parameters.
Configuring SmartVault Parameters
You can configure the security and retention parameters of the SmartVault security engine. To do that:
-
Click Security Settings > Security Engines.
-
Click Configure for Check Point SmartVault.
-
Under From, select from address for the SmartVault email notification.
-
Original Sender
-
Single Custom Address

Note - If you use the default sender or any email address under your domain, to prevent SPF and DMARC fail, you must add include:spfa.cpmails.com to your SPF record.
-
-
Under Subject, enter the email's subject in the SmartVault email notification.
-
Under Body, enter the required information in the email notification.
-
Under Email lifetime in days, enter the number of days before the emails expire. By default, SmartVault emails expire after 14 days.
-
Under Code expiration in minutes, enter the expiration time for the authentication code. By default, the code expires in 10 minutes.
-
Under Cookie expiration in days, enter the expiration for the cookie. By default, the cookie expires after 30 days. After this period, the recipient must authenticate again.
-
Under Link expiration in hours, enter when the secured link in the email notification expires.
By default, the link is valid only for 10 hours. After this period, the recipient cannot access the vaulted email using the encrypted link. However, the recipient can request a new link from the old encrypted link.
-
Click Save.
Emails Encrypted by SmartVault - End User (External Recipient) Experience
When Harmony Email & Collaboration detects sensitive information in an email, the email is vaulted, and the recipient receives an email notification from SmartVault.
To view the secured email, the external recipient must do these:
-
Click the secured link in the email notification.
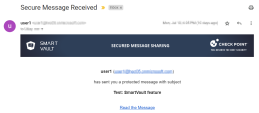
Note - By default, the secured link is valid only for 10 hours. After it expires, you must request a new link. To do that, click Send link from the Encrypted Link Expired page.

You will receive an email with the new secured link.
-
To read the email, click Read the Message.
The secured portal opens and requests for authentication.
-
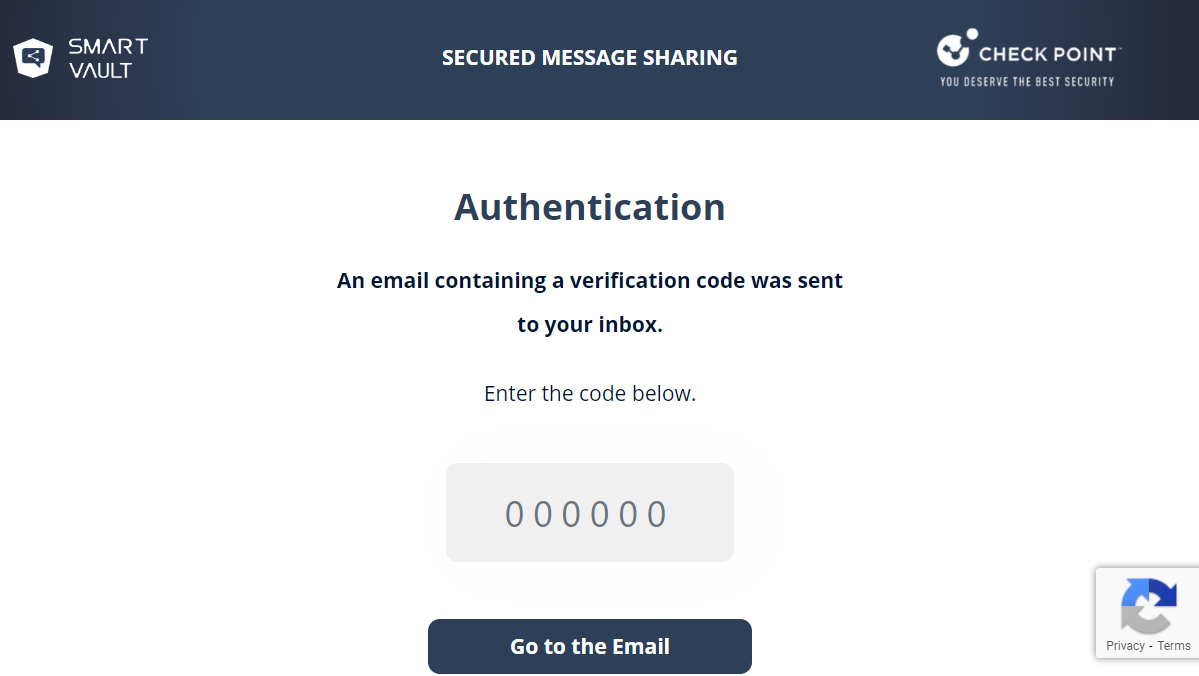
Click Get Authentication Code.
The recipient receives an authentication code through an email.
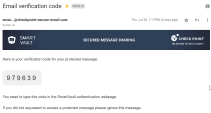
-
Enter the authentication code in the secured portal and click Go to the Email.

-
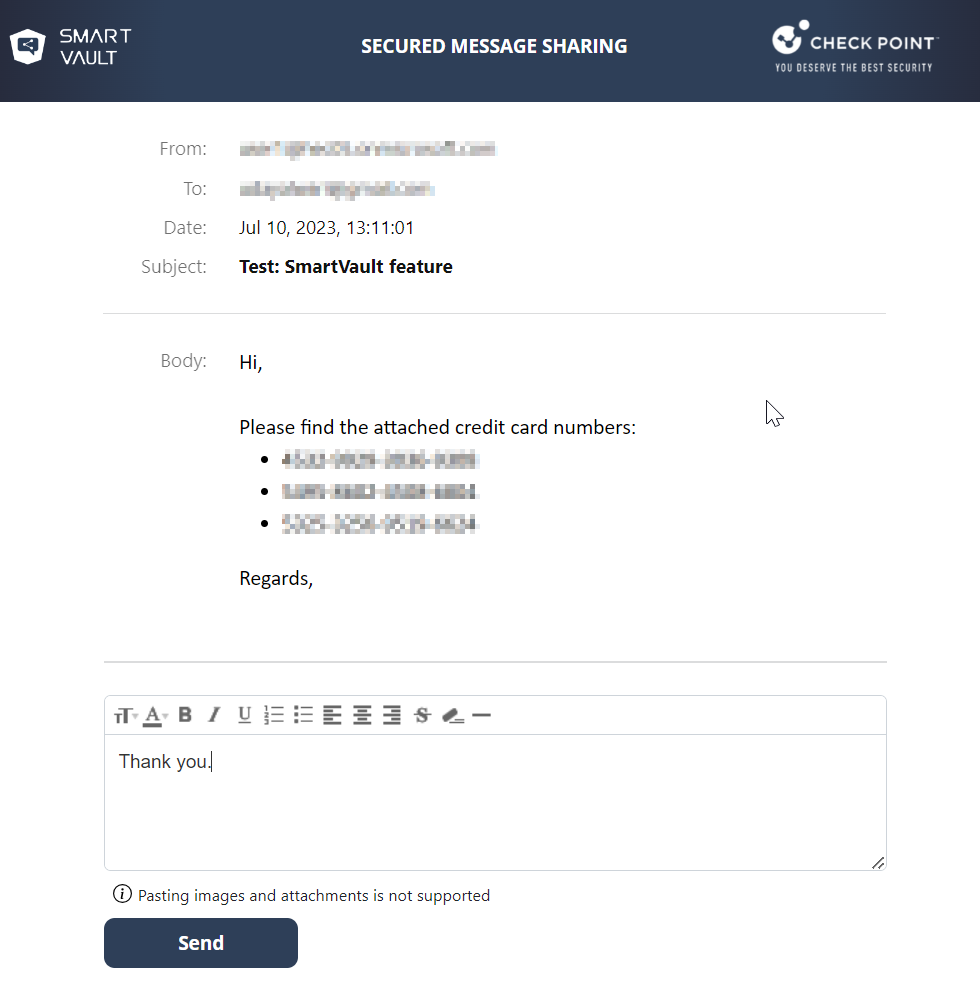
After successful authentication, the original email appears.
-
To reply to the email, click Reply to Sender.
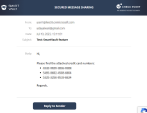
-
Enter the required information and click Send.

The response is sent as an email to the original sender and the secured portal shows the email delivery status.