


|
|
|
In This Section: |
If necessary, restore the appliance to its factory default settings or select a new image.
|
Important - If you restore factory defaults or select a new image, all information on the appliance is deleted. |
Use the Gaia Portal to restore the appliance to the factory default settings. You can select one of the software images on the appliance.
To restore a Gaia appliance with the Gaia Portal:
https://<appliance_ip_address>The Factory Defaults window opens.
The appliance reboots and installs the selected version from scratch.
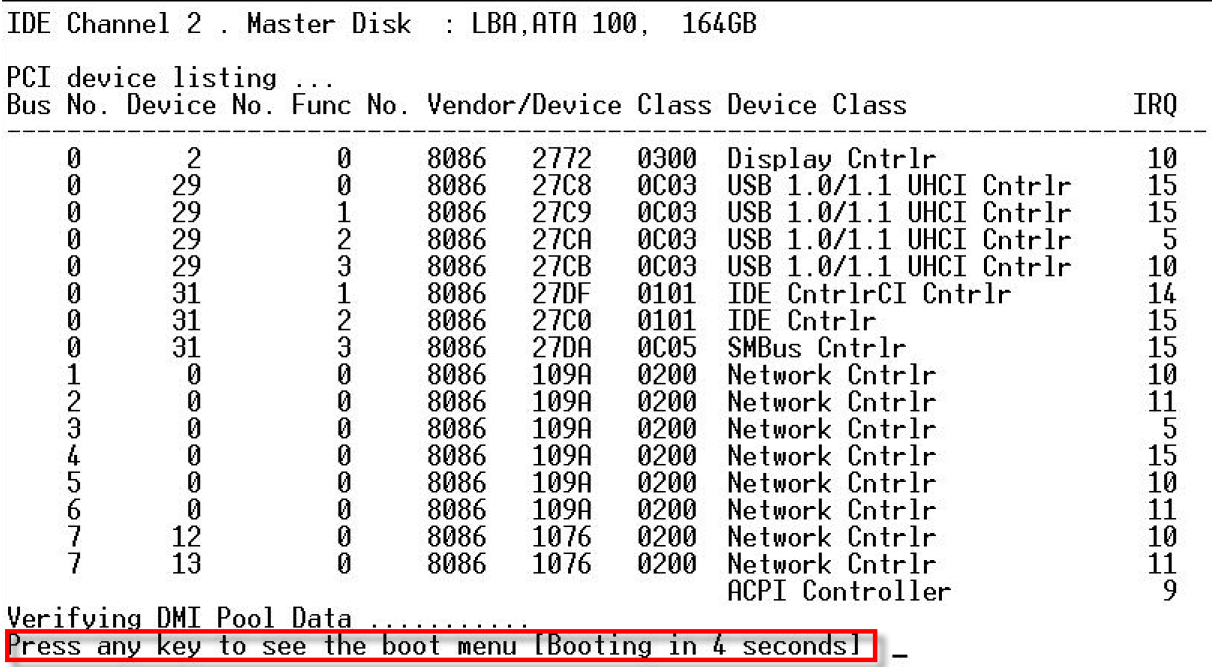
To restore the appliance using the console boot menu:
The appliance initializes and status messages are shown in the terminal emulation program.
To restore the appliance using the LCD Panel keys:
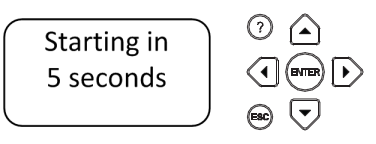
The Boot menu appears.
Pressing any other button causes the Action Canceled message to display:
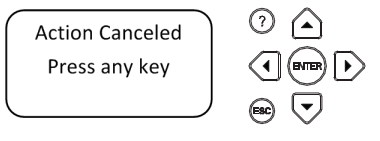
At this point, pressing any key returns you to the boot menu.
During the restore, a message shows continuously: Reverting image. Do not turn off.
When the appliance is restored to its default factory configuration, it reboots. On Gaia the Reverting message shows.
To restore the appliance through the CLI:
set fcd revert <image_name>
For example: set fcd revert Gaia_R80.10
A reverting to factory defaults message is shown.
Server123> set fcd revert Gaia_R80.10Warning! This command will erase all the current configuration on this appliance and will revert it to the selected image.Are you sure you want to continue such action? (Yes/No) [No]YES
Reverting to factory defaults Gaia_R80.10Server123>Broadcast message from admin (Wed May 10 16:59:23 2017):
The system is going down for reboot NOW!INIT: Sending processes the TERM signal
For example: set fcd revert Gaia_R77.30
A reverting to factory defaults message is shown.
Server123> set fcd revert Gaia_R77.30reverting to factory defaults Gaia_R77.30Server123>Broadcast message from admin (Sun Oct 11 12:26:28 2015):
The system is going down for reboot NOW!INIT: Sending processes the TERM signal

