Configuring a Dedicated Logging Port
Description The 61000/41000 Security System logging mechanism lets each SGM forward logs directly to a logging server over the SSM's management ports. However, management ports can experience a high load when a large number of logs are forwarded. Load on the SSM management ports can be significantly reduced by:
- Setting up a dedicated SSM port for logging
- Assigning the dedicated logging port to each SGM
To set up a dedicated logging port:
- Install a log server and create an object for it in SmartDashboard.
- Connect the log server directly to a management port on the SSM.
Important - Do not use the same port which connects to the Security Management server.
- In
gclish, run the set interface command to configure the port as a dedicated logging port:
Syntax
|
set interface <interface> ipv4-address <IP> mask-length <length>
|
|
Parameter
|
Description
|
interface
|
The interface that connects directly to the log server.
|
ipv4-address
|
IPv4 address of the logging server
|
mask-length <length>
|
mask length
|
|
|
Example
|
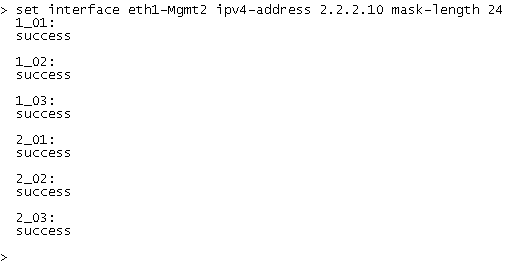
set interface eth1-Mgmt2 ipv4-address 2.2.2.10 mask-length 24
|
Output
|
|
Notes
|
- For each SGM,
eth1-Mgmt2 is set as a unique logging port 2.2.2.0/24 is the logging server network or leads to the logs server network.
|
Connecting to the logging server:
- Open SmartDashboard.
- Open the Single Management Object (SMO ) for the 61000/41000 Security System.
- On the Logs and Masters > Log Servers page, select Define Log Servers.
- Select the dedicated log server.
- Install policy.

|
Note -
- The SMO in SmartDashboard makes sure that return traffic from the logging server, such as ACKS, reaches the correct SGM.
- 61000/41000 Security System can be configured to send logs to more than one log server.
|
|
|

