Notifications
You can send email, Slack and Microsoft Teams notifications when the system generates an incident with a specified priority.

To send notifications for XDR incidents:
-
Log in to the XDR
 Extended Detection & Response Administrator Portal.
 -
Go to Settings > Notifications.
-
Enable the toggle button.
-
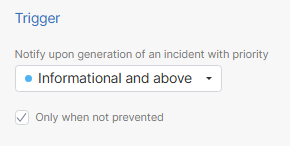
In the Trigger section:
-
Select the priority level to trigger notifications. The system sends a notification when a generated incident matches the selected priority level.
-
To send notifications only for incidents that were not prevented, select the Only when not prevented checkbox. If not selected, the system sends notifications for all incidents that match the selected priority level.
-
-
In the Content section, choose if you want to include tenant name in email notifications.
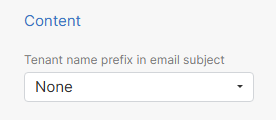
Select one of these:
-
None - No prefix is added.
-
Predefined tenant name - Adds the Check Point Portal tenant name as a prefix.
-
Custom - Adds a custom tenant name as a prefix.
Enter a name in the Tenant name field.

The tenant name appears as a prefix in the email Subject. Adding the tenant name helps to easily identify the account associated with the generated incident.
-
-
Select these:
-
Related assets - Choose whether to include the number of related assets or list their names (up to 5) in the notification.
-
Related indicators - Choose whether to include the number of related indicators or list their names (up to 5) in the notification.

-
-
Click Save Changes.
Sending Email Notifications
-
Enable the Email toggle button.
-
Enter the email addresses of users and/or distribution lists.
-
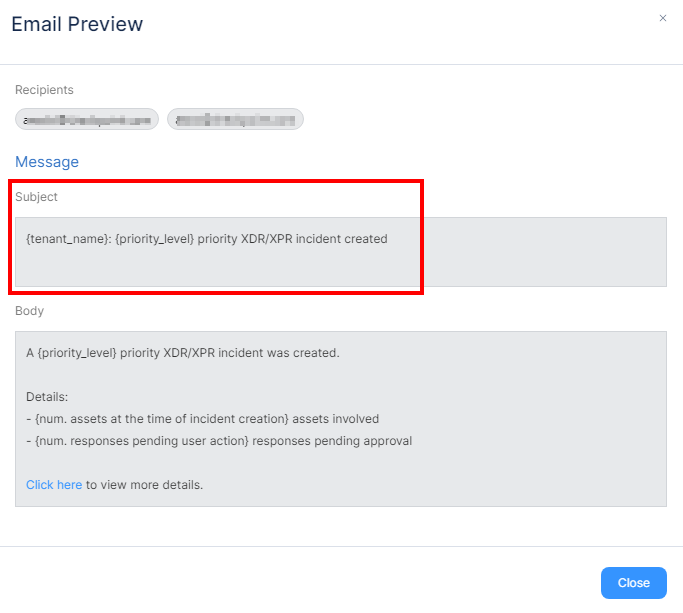
To view how the email subject and body appears, click Preview Email.
-
Click Save Changes.
Sending Slack Notifications
-
Enable the Slack toggle button.
-
Click Edit.
Slack Channels pop-up appears.
-
Enter the Channel name and its URL.
To add multiple channels, click Add Channel and enter the Channel name and its URL.
-
Click Save.
-
To view how the Slack notification appears, click Preview Message.
-
Click Save Changes.
Sending Microsoft Teams Notifications
-
Create a workflow in Microsoft Teams:

Note - As a prerequisite, create a team and channel in Microsoft Teams to receive notifications.
-
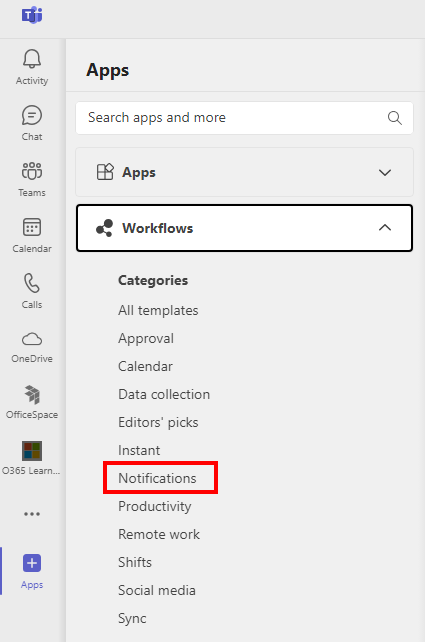
Open Microsoft Teams and click + Apps.
-
Expand Workflows and click Notifications.
-
Select the Send webhook alerts to a channel workflow.

The workflow window appears.
-
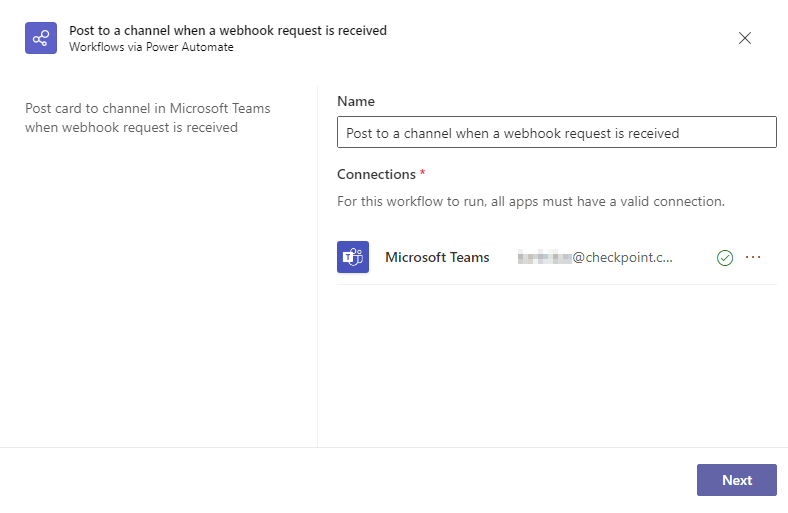
In the Name field, enter a name for your workflow.
-
Click
 and select your Microsoft Teams account.
 -
Click Next.
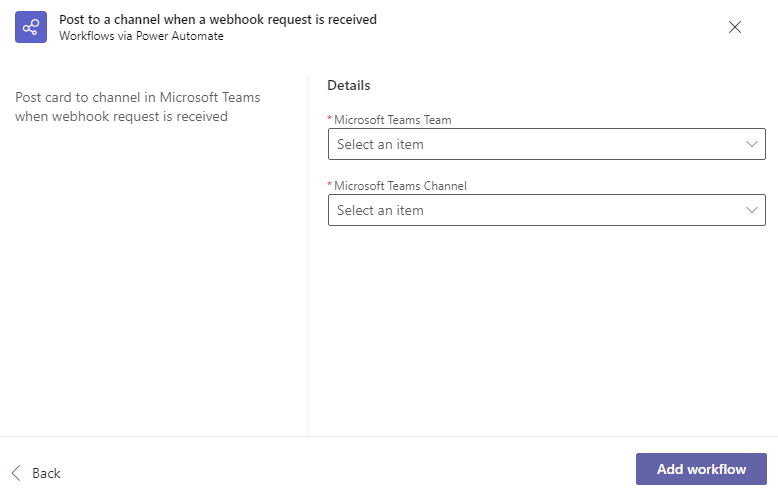
The workflow Details window appears.
-
From the Microsoft Teams Team list, select your team.
-
From the Microsoft Teams Channel list, select your channel.
-
Click Add workflow.
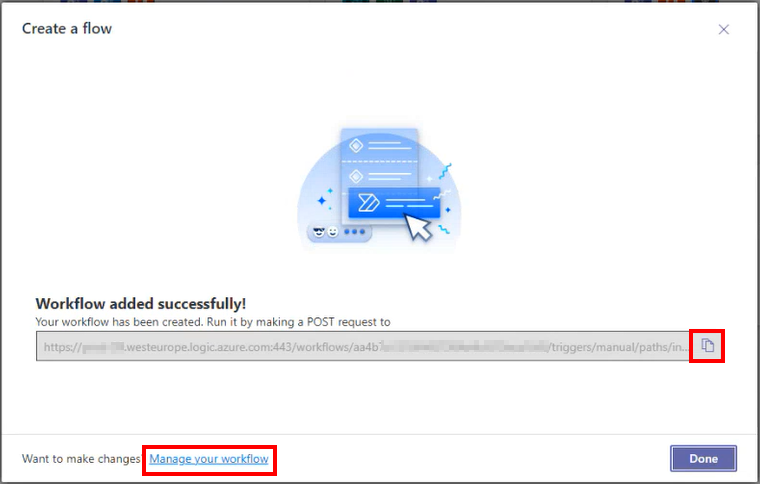
The system creates the workflow.
-
Copy the workflow link and click Manage your workflow.
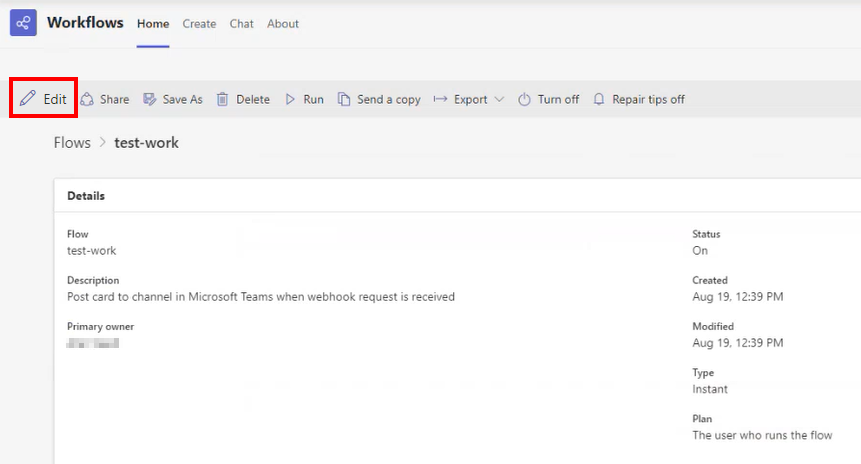
The Home tab in the Workflows page appears.
-
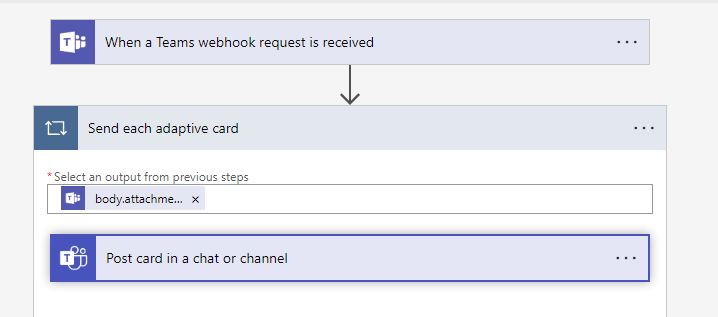
Click Edit.
-
Click Send each adaptive card > Post card in a chat or channel.
-
From the Post as list, select User.
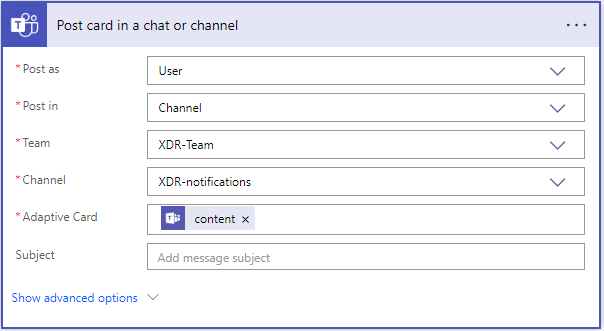
-
In the Adaptive Card field, select Current item.
-
Click Save.
-
-
In the XDR Administrator Portal, go to Settings > Notifications and enable the Microsoft Teams toggle button.
-
Click Edit.
Teams Channels window appears.

-
Enter the Channel name and in the URL field, paste the workflow URL copied in step 1.j.
-
Click Save.
-
To view how the Microsoft Teams notification appears, click Preview message.
-
Click Save Changes.
Testing Notifications
To test the configured email, Slack, and Microsoft Teams notifications:
-
Click Settings > Notifications.
-
Click Send Test.
-
In the Test Platforms section, select the platforms you need to test (Email, Slack, Teams).
-
In the Test section, select the users.
-
To send the notifications to all the configured email addresses or channels, click All recipients.
-
To send the notifications to specific users or channels, click Specific and enter the required Recipients.
-
-
Click Send.