Network Inventory
The Network Inventory page allows you to add details about your organization's internal networks. This information helps Check Point XDR![]() Extended Detection & Response to:
Extended Detection & Response to:
-
Identify trusted internal traffic and distinguish it from external or suspicious activity.
-
Make more informed decisions when analyzing events.
Events involving internal networks could appear in incidents; however, the system classify them as artifacts rather than Indicators of Compromise (IoCs). This distinction ensures that internal artifacts do not trigger automatic blocking actions via IOC management, helping to avoid disruptions caused by blocking trusted internal resources.
To view the Network Inventory page, access the XDR Administrator Portal and go to Settings > Network Inventory.

|
|
Note - You can also access the Network Inventory page from Settings > Getting Started. |
Private Networks
The Private networks tab displays the details of internal IP addresses or IP ranges (CIDR) used within your organization.
Adding a new Private Network
To add IP addresses or a network range (CIDR) manually:
-
Go to Settings > Network Inventory.
-
Click New.


Note - If you have not added any network, you can click New network.

The New network window appears.

-
In the IP/CIDR field, enter a single IP address (example, 192.168.1.10) or a network range in CIDR notation (example, 192.168.1.0/24) corresponding to your internal network.
-
(Optional) Enter a description for the network for easy identification.
-
Click Save.
To add a list of IP addresses or a network range (CIDR) from a CSV file:
-
Click Upload file.
The Upload network window appears.
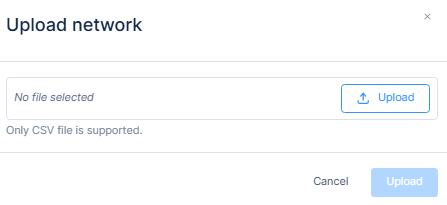
-
Click Upload and select the CSV file that contains the list of IP addresses and/or ranges.

Important -
-
The CSV file must contain two columns: one for the IP address or CIDR, and one for a description (can be empty or up to 200 characters).
-
The file must not include a header row. Otherwise, the system displays an error.
-
-
Click Upload.

The system adds the IP addresses from the CSV file to the Private networks table.
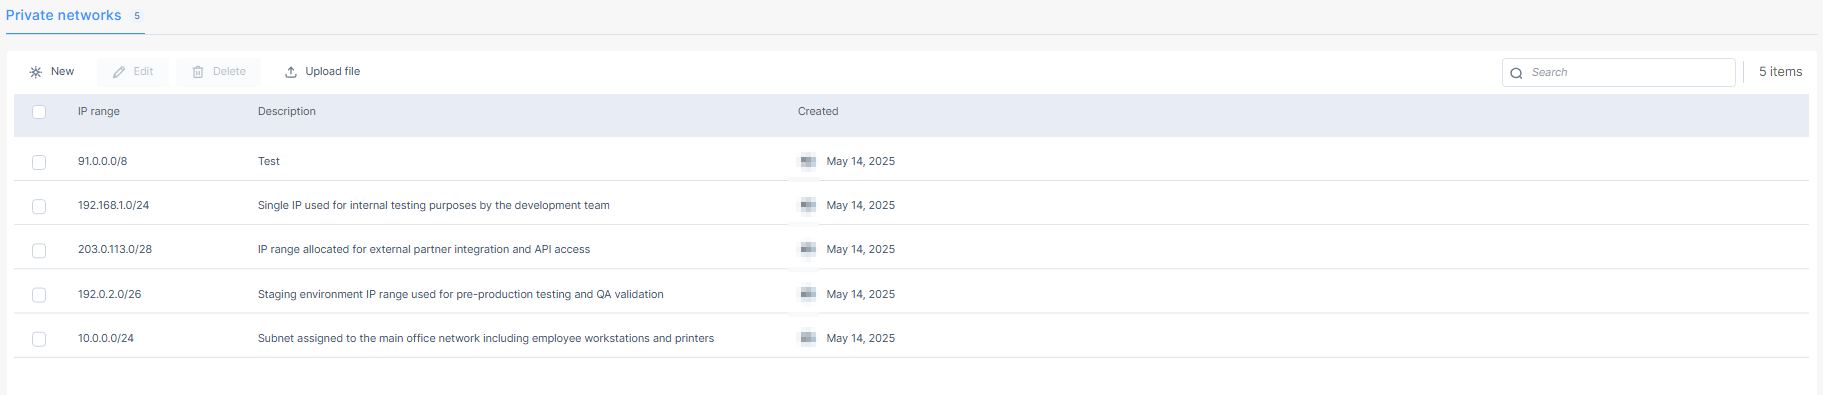
The Private networks table shows:
|
Item |
Description |
|---|---|
|
IP range |
IP address or CIDR of the private network. |
|
Description |
Description of the private network. |
|
Created |
Shows the user who added the network and the date of creation. |
You can search for an IP address, range, or creator by entering the relevant text in the Search box above the table.
Managing Private Networks
-
To edit the details of a network:
-
Select the network in the table and click Edit.
-
Make the necessary changes and click Save.
-
-
To delete a network:
-
Select the network in the table and click Delete.
-
Click Yes in the confirmation box.
-