Fortinet FortiGate Next Generation Firewall
Check Point XDR![]() Extended Detection & Response analyzes the syslogs from FortiGate Next Generation Firewall for malicious activity and enforces the preventive or corrective action through the firewall.
Extended Detection & Response analyzes the syslogs from FortiGate Next Generation Firewall for malicious activity and enforces the preventive or corrective action through the firewall.
Integrating FortiGate Next Generation Firewall
-
Log in to the XDR Administrator Portal:
-
Log in to the FortiGate Next Generation Firewall Administrator Portal:
-
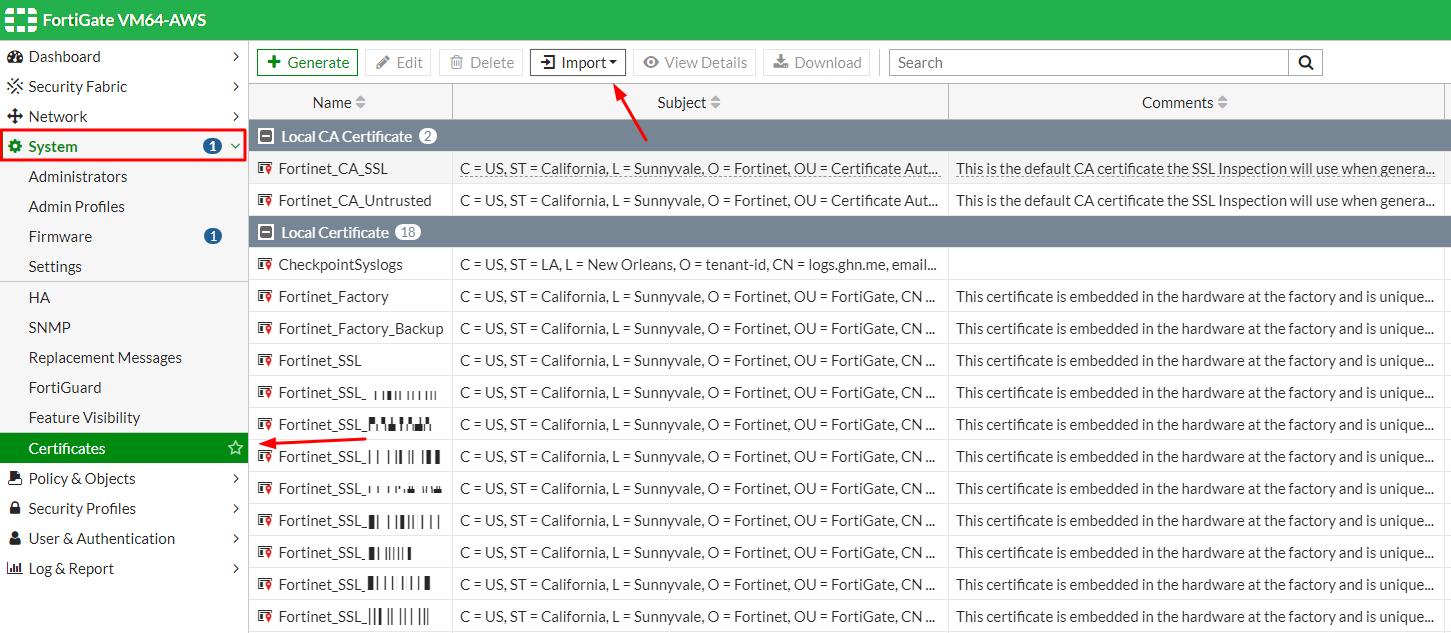
Go to System > Certificates.
-
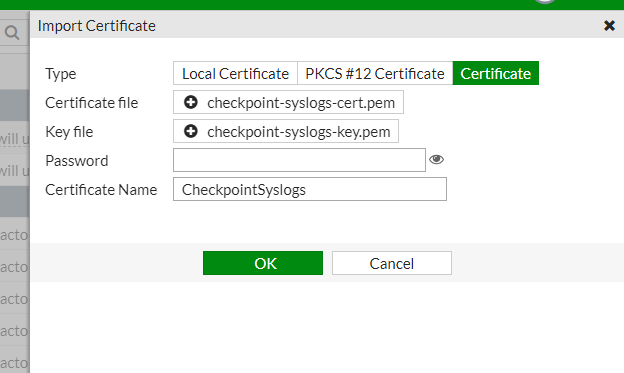
From the Import list, select Local Certificate:
-
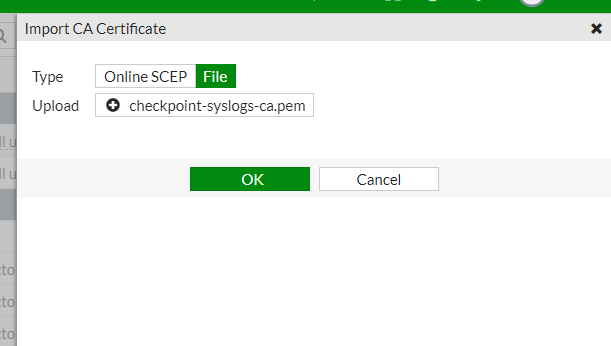
From the Import list, select CA Certificate:
-
In the Type field, select File.
-
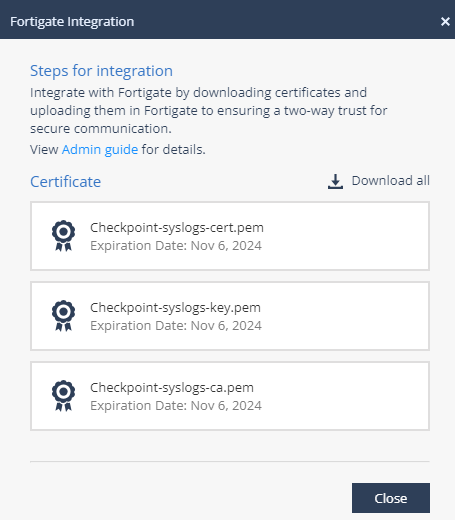
In the Upload field, click
 and upload the checkpoint-syslogs-ca.pem file.
 -
Click OK.
-
-
Click
 icon in the right top corner to open the CLI terminal and run:
config log syslogd setting
Note - If you have used
syslogdwith another integration, usesyslogd2,syslogd3, orsyslogd4.set status enableset format cefset server<Production server IP address of the region. For EU, it is 20.76.50.141. For US, it is 20.22.126.247. For UAE, it is 20.174.45.149>set mode reliableset enc-algorithm highset certificate CheckpointSyslogs
Note - Make sure the certificate name matches the name entered in the Certificate Name field. See step 2.b.iv in Integrating the Fortinet FortiGate Next Generation Firewall.
set port 6514end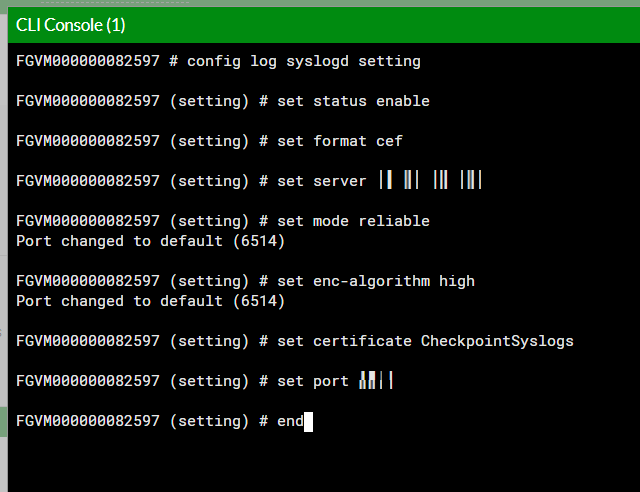
-
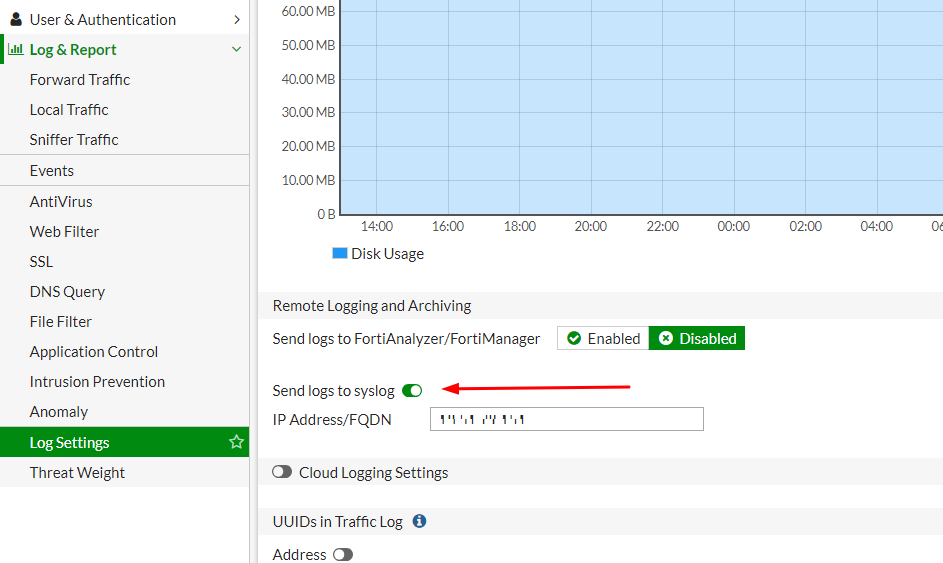
Go to Log & Report > Log Settings in the left pane and make sure the Send logs to syslog toggle button is turned on.
-
-
To check if the integration is successful, in the XDR Administrator Portal:
-
Go to Settings > Integrations.
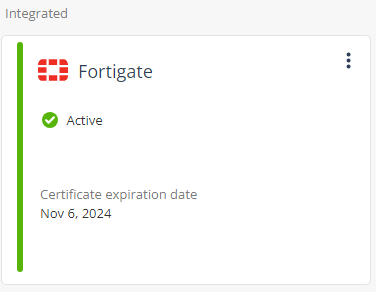
In the Integrated products section, verify if FortiGate is listed as Active.
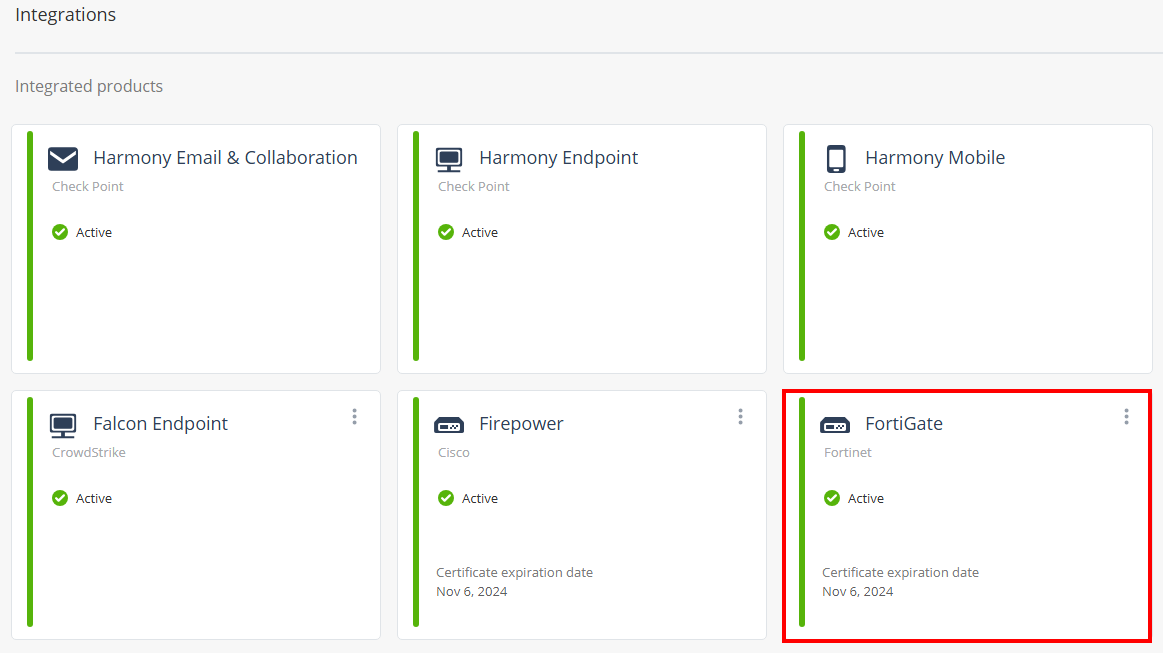
Note - The widget will display Inactive status until XDR begins receiving logs from FortiGate Next Generation Firewall.
-
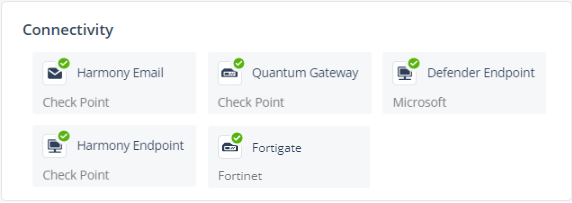
Go to the Overview page and in the Connectivity widget, verify if Fortigate is listed as connected.
-

Disabling the Integration
You can disable the integration to stop XDR from reading the FortiGate Next Generation Firewall's syslogs.
-
Log in to the FortiGate Next Generation Firewall web portal and do one of these:
-
Click
icon in the right top corner to open the CLI terminal and run:config log syslogd settingset status disableend -
Go to Log & Report > Log Settings and turn off the Send logs to syslog toggle button.
-
-
To re-enable the integration:
- Log in to the FortiGate Next Generation Firewall web portal.
-
Click
icon in the right top corner to open the CLI terminal and run:config log syslogd settingset status enableset certificate CheckpointSyslogsend
Note - Make sure you use the latest certificate name.
Regenerating the Certificate
If you revoke a certificate, you must regenerate and upload the certificate to the FortiGate Next Generation Firewall web portal within two days.
-
Log in to the XDR Administrator Portal:
-
Go to Settings > Integrations.
-
In the Fortigate widget, click
 .
. -
Click Regenerate Certificate.
The Regenerate Fortigate Integration window appears.

-
Perform steps from 1.c until the end in Integrating FortiGate Next Generation Firewall.
-
Deleting the Integration
-
Go to Settings > Integrations.
-
In the Fortigate widget, click
. -
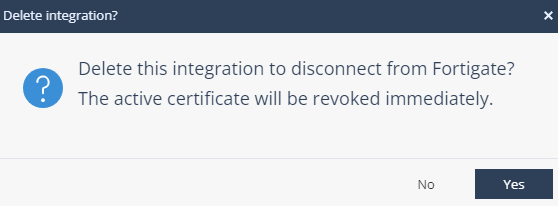
Click Delete.
The Delete Integration window appears.
-
Click Yes.
Configuring IoCs
You can use the Public Blend URL in the IoC Management to enforce IoCs on the FortiGate Next Generation Firewall.
To configure IoCs:
-
Log in to the XDR Administrator Portal:
-
Go to Settings > Integrations.
-
In the Fortigate widget, click
and select Configure IoC.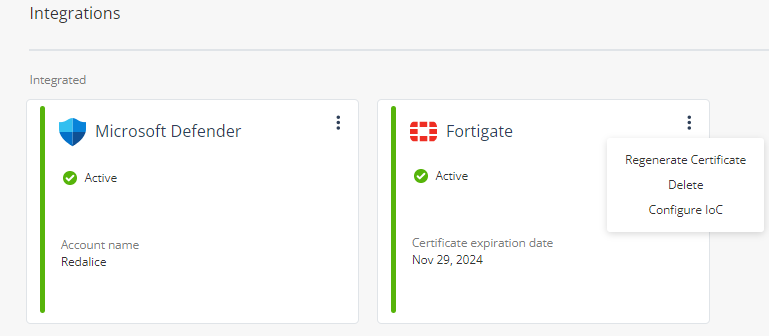
The Configure IoC window appears. It lists three indicator links generated automatically using the All Indicators link from the Public Blend URL in the IoC Management.
-
Click
 to copy the indicator link.
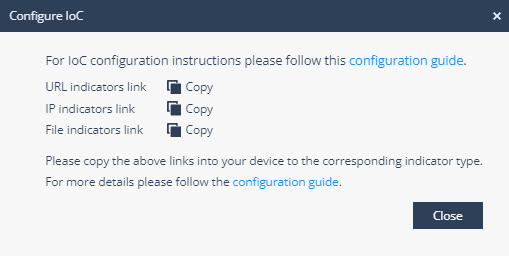
-
Click Close.
-
-
Log in to the FortiGate Next Generation Firewall Admin Portal:
-
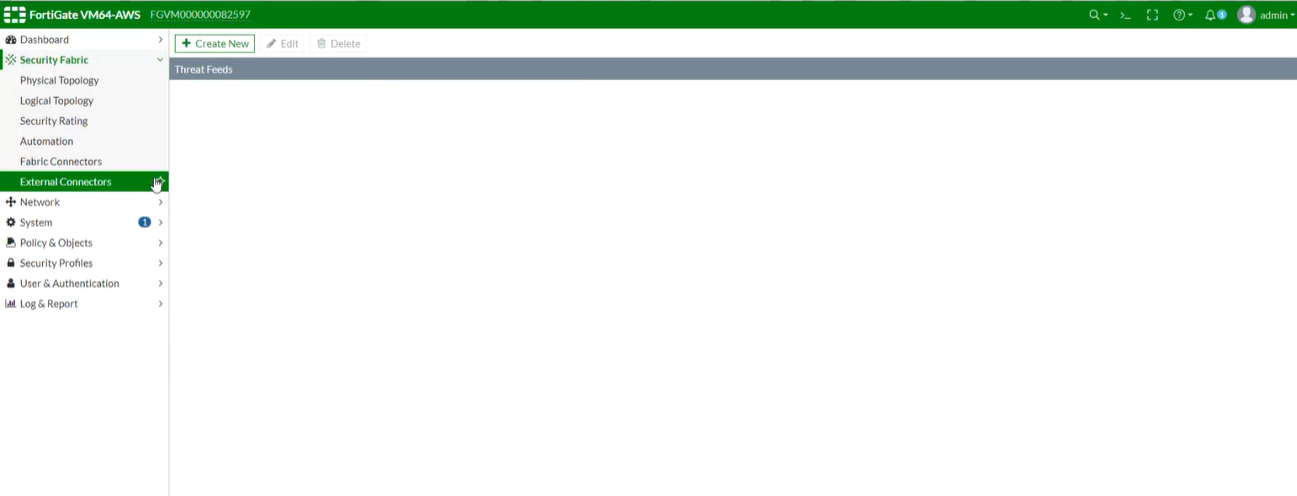
Go to Security Fabric > External Connectors.
-
Click Create New.
-
Scroll down and in the Threat Feeds section, select FortiGuard Category.
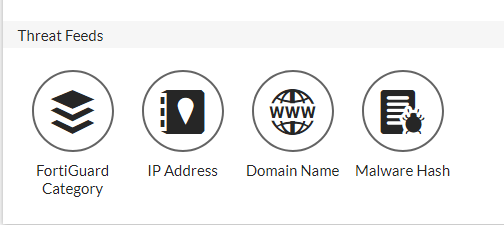
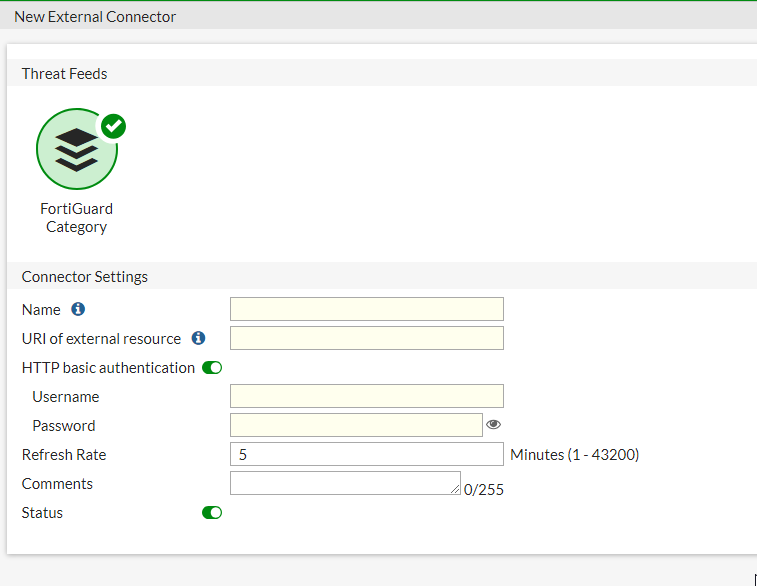
The Connector Settings window appears.
-
Do these:
-
Name - Name of the threat feed.
-
URI of external resources - URL indicators link copied in the step 1.i.
-
Turn off the HTTP basic authentication toggle button.
-
Turn on the Status toggle button.
-
Click OK.
-
-
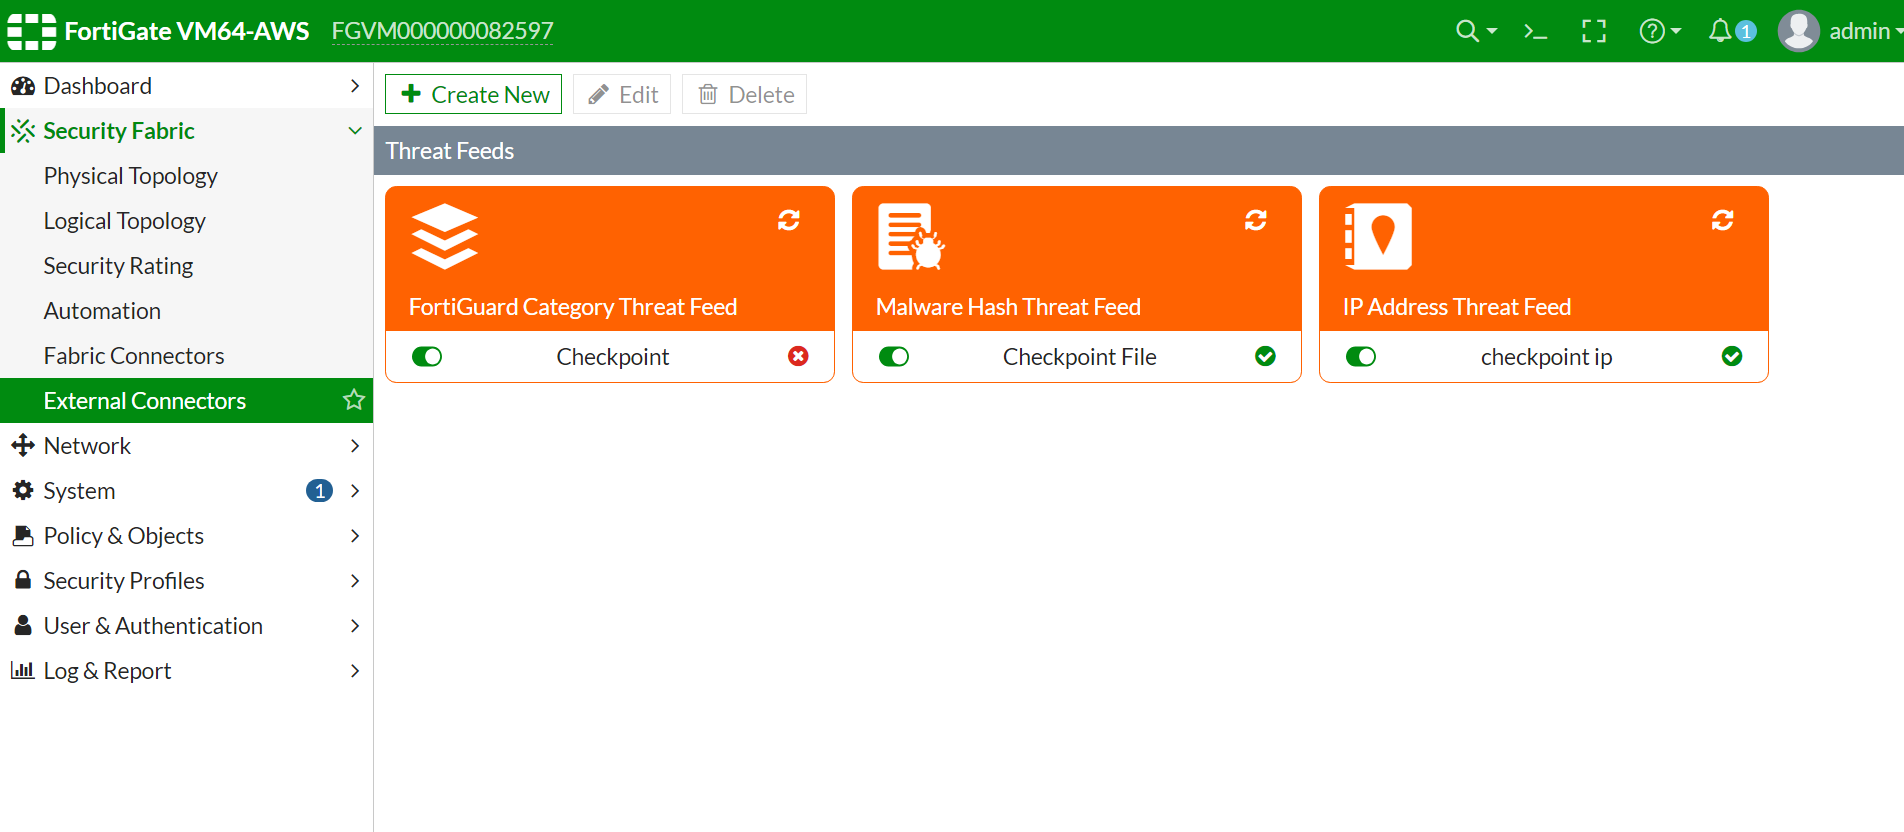
Repeat steps 2.b through 2.d with these details:
FortiGate Threat Feed
Configure IoC link (from step 1.i)
IP Address IP indicators link Malware Hash File indicators link The Threat Feeds widget appears in the External Connectors page.
-