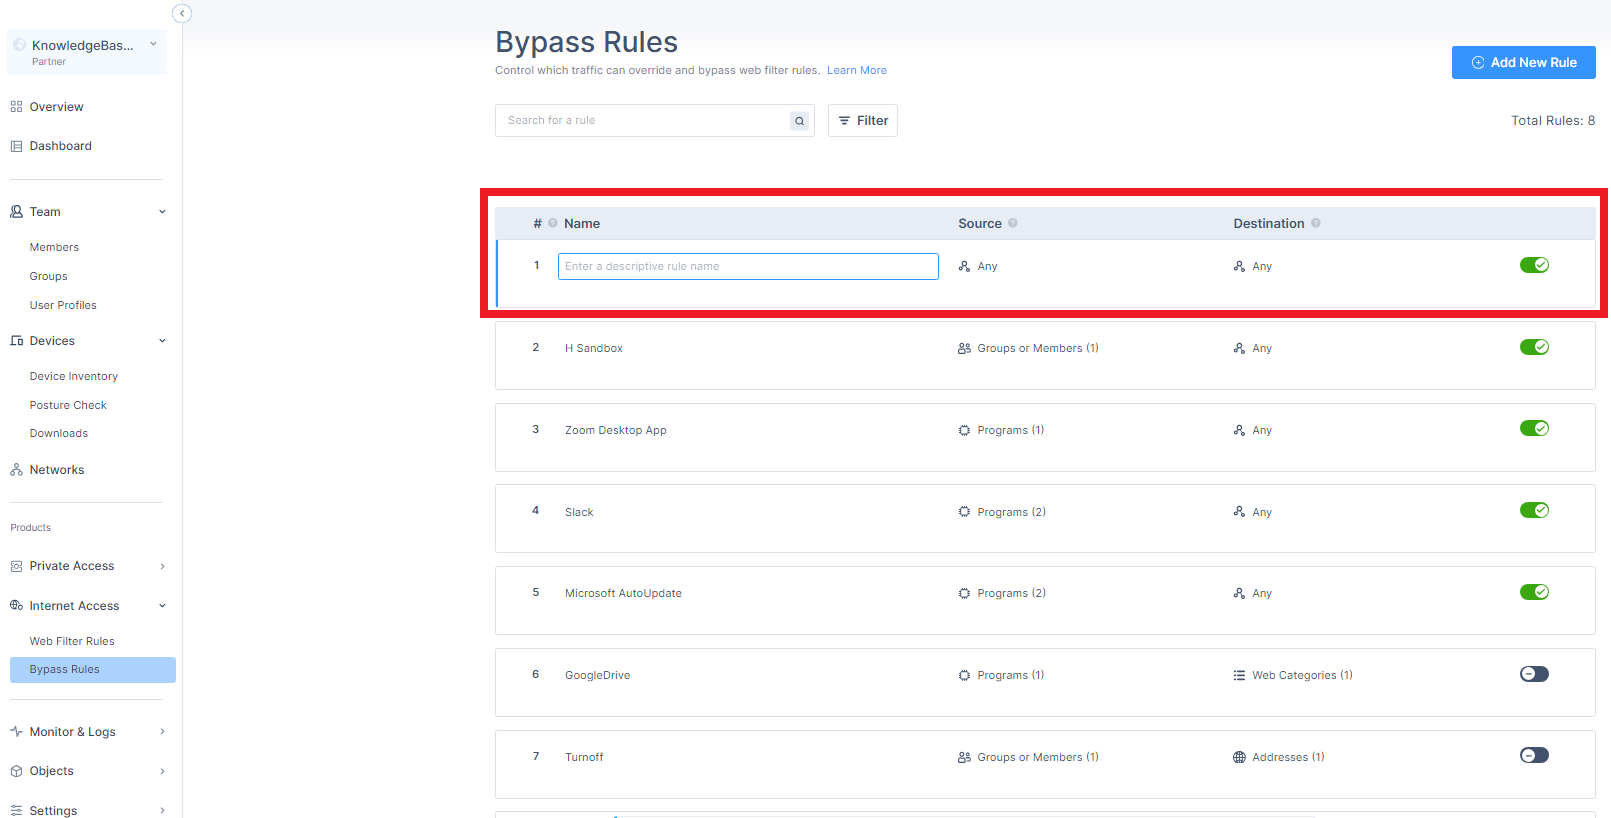
Bypass Rules
The Bypass Rules page allows you to specify traffic that must be ignored by the Access Policy.
To view the Bypass Rules page, access the SASE Administrator Portal and click Internet Access > Bypass Rules.

|
Column |
Description |
|---|---|
|
Name |
Name of the bypass rule. |
|
Source |
Programs, groups, or members to which the bypass rule is applied. When multiple items of the same type are configured, OR logic is used. |
|
Destination |
Destination of the web traffic. |
Creating a Bypass Rule
-
Access the SASE Administrator Portal and click Internet Access > Bypass Rules.
-
Click Add New Rule.
A new rule appears in the table.
-
In the Name field, enter a name for the rule.
-
In the Source field, add user or group list to which you want to apply the rule. Default is Any.
-
Click Any > Add Source.
Configuring the Source
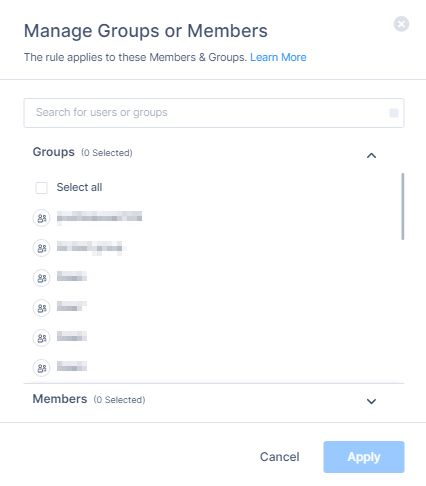
To add groups or members:
-
Select Groups or Members.
The Manage Groups or Members window appears.
-
Select group(s) or member(s) from the list.
-
Click Apply.
To add programs:
-
Select Programs.
The Manage Programs window appears.

-
Enter the program name and press Enter.
-
Click Apply.
|
|
Note - When both Groups / Members and Programs are defined in the Source field, the bypass rule is enforced only when both conditions match (AND relationship). Traffic must originate from a user or group that matches the Groups / Members selection and from a process that matches the Programs selection. If only one condition is met, the rule is not triggered. Within the Destination field, multiple items use OR logic. The rule matches if the traffic targets any one of the defined destinations. |

Configuring the Destination
In the Destination field, select the destination. Default is Any.
-
Click Any > Add Destination.
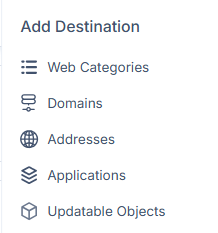
You can add these destination types:
-
Web Categories
-
Domains
-
Addresses
-
Updatable Objects
-
Applications
Note - Applications is available in Early Availability (EA) only. To enable, contact Check Point Support.
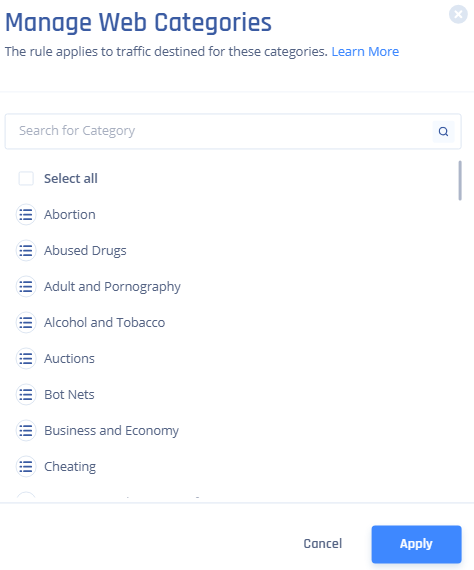
Web Categories
-
To add web categories, select Web Categories.
The Manage Web Categories window appears.
-
Select the categories from the list.
-
Click Apply.
Domains
-
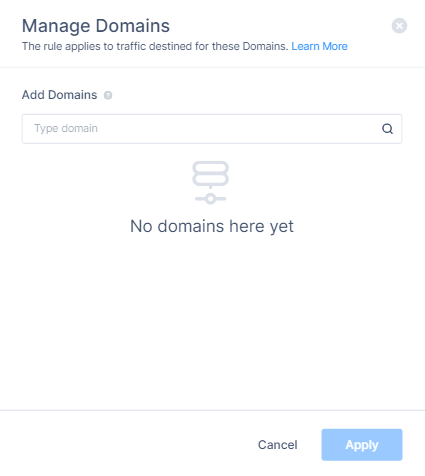
To add domains, select Domains.
The Manage Domains window appears.
-
Enter the domain name and press Enter. For example,
google.com. -
Click Apply.
Addresses
-
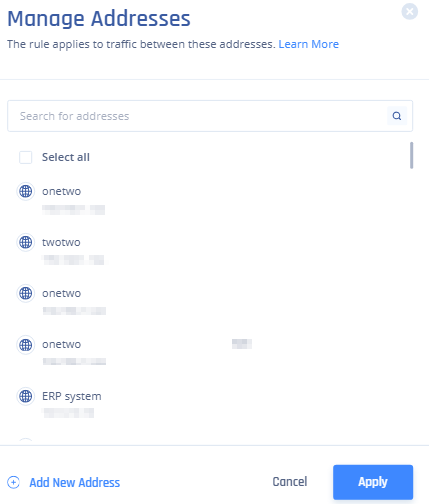
To add addresses, click Addresses.
The Manage Addresses window appears.
-
Select the address from the list and click Apply.
-
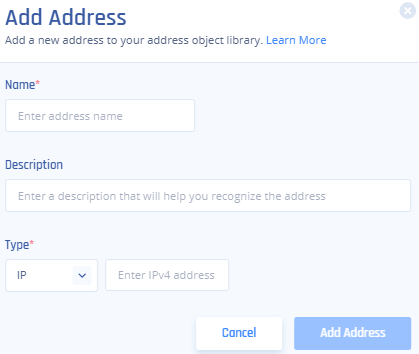
To add new address, click Add New Address.
The Add Address window appears.
-
In the Name field, enter address name.
-
In the Description field, enter a description.
-
In the Type list, select IP, Subnet, List, or FQDN.
-
Enter a value, For example:
-
For IP, enter the IPv4 address 139.1.1.1.
-
For subnet, enter 10.10.10.0/24.
-
For list, enter IP addresses separated by commas 172.16.254.1, 172.16.254.2.
-
For FQDN, enter the Fully Qualified Domain Name www.example.com.
-
-
Click Add Address.
-
Select the address from the list and click Apply.
Applications
Applications bypass TLS inspection for traffic that matches specific applications.
Matching is done before TLS inspection using pre-inspection signals (TLS SNI and the domain in the server certificate).
-
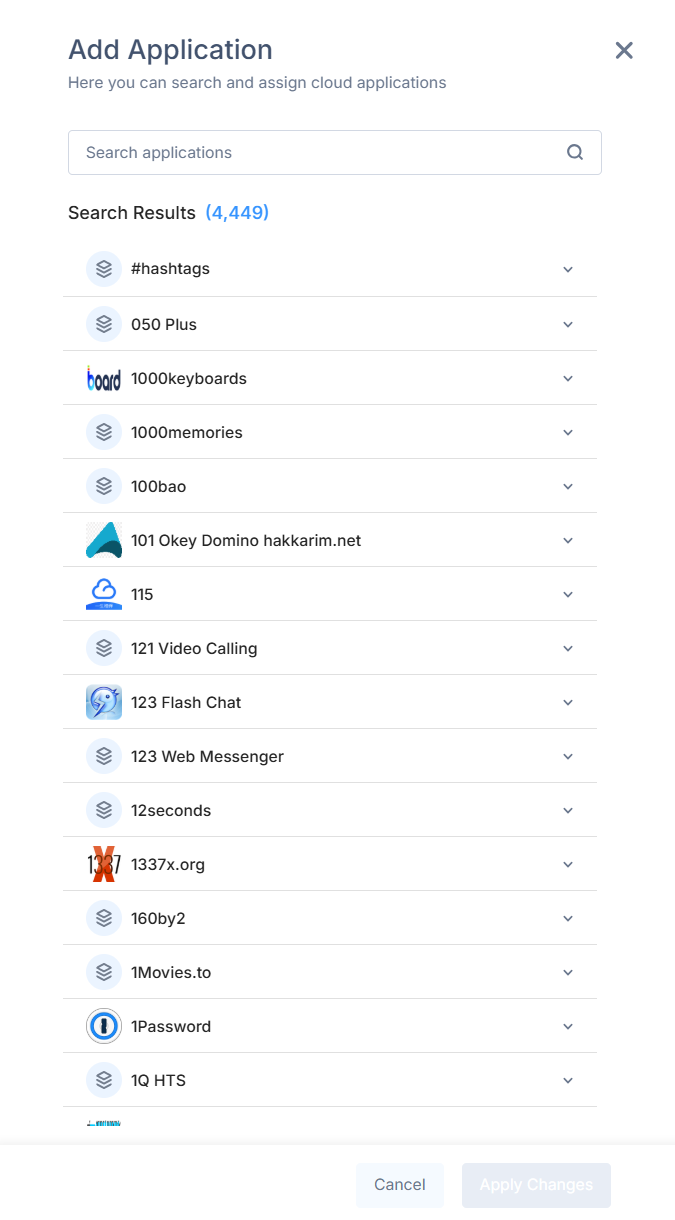
To add applications, select Applications.
The Add Application window appears.
-
Search for the application you want to bypass (for example, Zoom or Microsoft Teams)
-
Select the application (click the select icon next to the application).
-
Click Apply Changes.
|
|
Note - The application list available for bypass rules is a curated subset of the APPI catalog, filtered to applications that have reliable pre‑inspection identification signals. Not every application in the Access Policy catalog is available in the bypass picker. Application availability may vary. |
Updatable Objects
-
To add updatable objects, select Updatable Objects.
For more information, see Updatable Objects.
The Add Updatable Objects window appears.
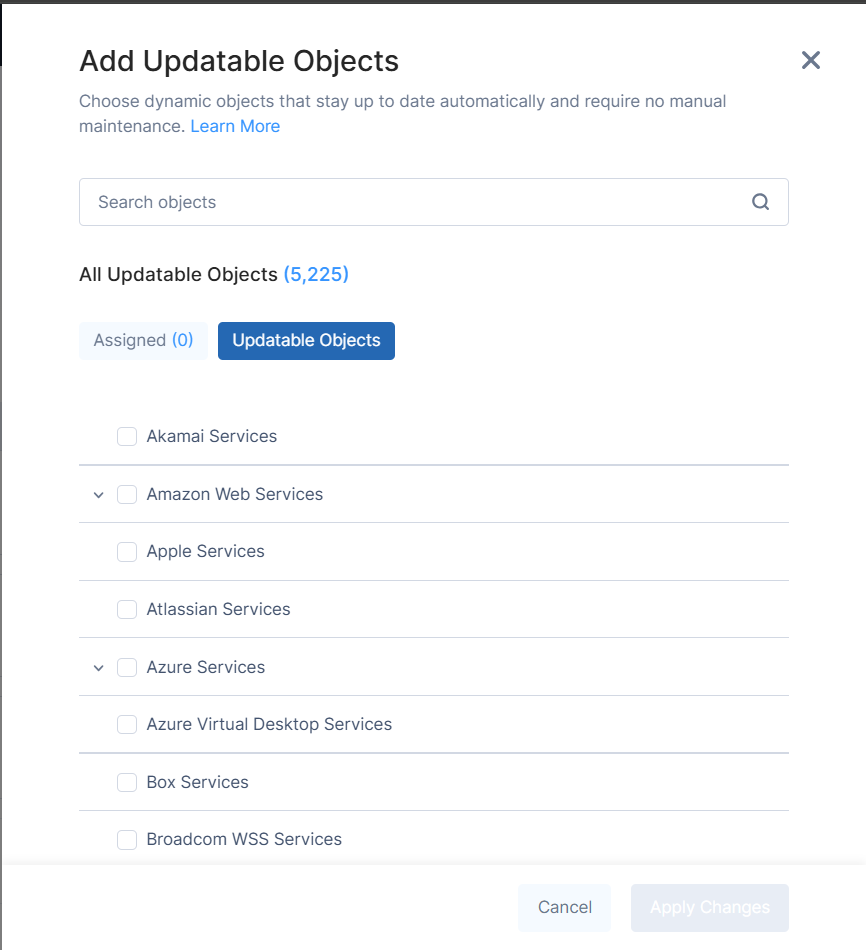
-
Use the Search Objects field to find services, or click Updatable Objects to select the required services.
-
Selected services appear under the Assigned tab.
-
Click Apply Changes.
Finishing the Rule
-
Turn on the Status toggle button.
-
Click Apply in the bottom of the page.

-
Click Apply.