Step 2 - Configuration on the On-Premises Management Server
This is a step in the On-Premises Management Deployment.
Part 1 - Prerequisites for the Management Server
-
The Management Server must be up and running one of these versions:
-
The Management Server must connect to the Internet.
-
If you configured Manual Proxy ARP (sk30197) and Manual NAT rules, then you must follow these steps in SmartConsole:
-
Click > Global properties.
-
In the left tree, click NAT - Network Address Translation.
-
Select Automatic ARP configuration.
-
Select Merge manual proxy ARP configuration.
-
Click OK.
-
|
|
Important - Create the Security Gateway objects in SmartConsole only after you configure the applicable interfaces on the Security Gateways. This makes sure the Security Gateway objects automatically get the correct interface topology. |

Part 2 - Configure Object Sharing and Log Sharing
It is necessary to enable Object Sharing on the on-premises Management Server to use the configured objects in Check Point Portal.
It is necessary to enable Log Sharing on the on-premises Management Server if you want to see the applicable logs in Check Point Portal.
The procedure below is based on the Management Server that meets the requirements in sk180557 for automatic on-boarding of supported Security Gateways.
-
You must register in Check Point Portal.
-
Connect to the command line on the Management Server.
-
Log in to the Expert mode.
-
Connect to the Management Server in one of these ways:
-
With the Desktop SmartConsole connect to:
IP Address of your Management Server -
With a web browser, open Web SmartConsole at this URL:
https://<IP Address of your Management Server>/smartconsole
-
-
Enable the Upload Consent:
You must enable the "Upload Information" consent flag (see sk175504):
-
In SmartConsole top left corner, click the button.
-
Click Global properties.
-
From the left tree, click Data Access Control.
-
Select Help Check Point improve the products by sending anonymous information.
-
Click OK.
-
Install the Access Control Policy.
-
-
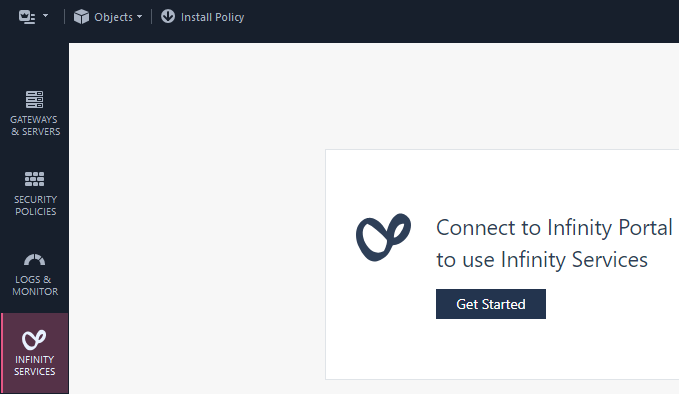
From the left navigation panel, click Infinity Services.
-
Click the Get Started button.
Example:
-
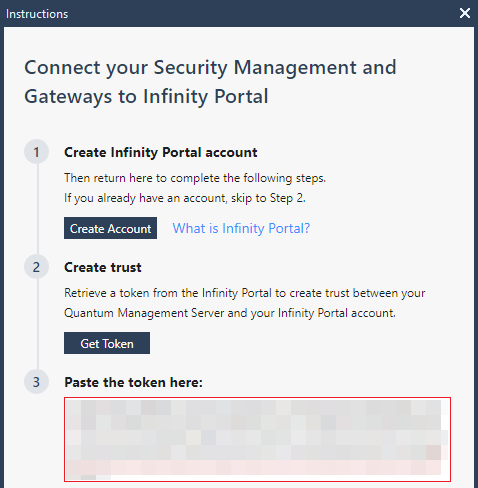
The Instructions window opens.
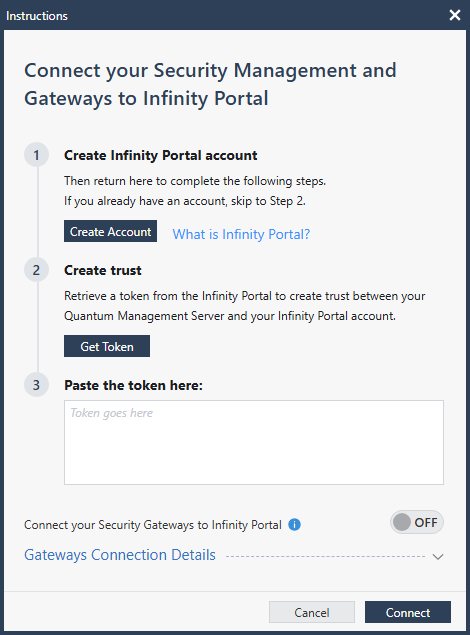
-
Click Get Token.
Web browser opens Check Point Portal Login page. Log in.
-
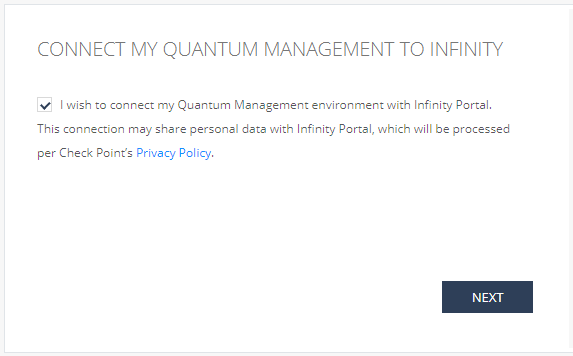
Select the applicable account, if you have more than one account, and click Next.
-
Select I wish to connect my Self-hosted Security Management environment and Security Gateways to the Infinity Portal and click Next.
-
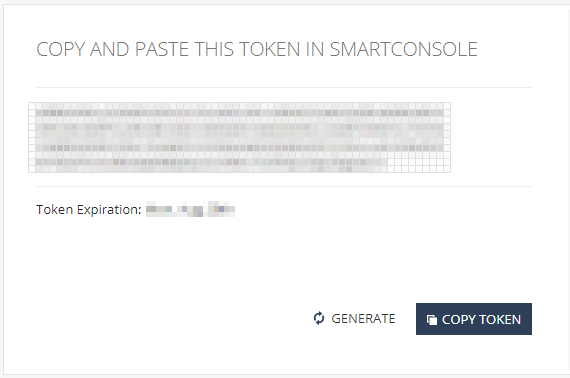
The page shows the required token.
Click Copy Token.
-
In SmartConsole, paste the token.
-
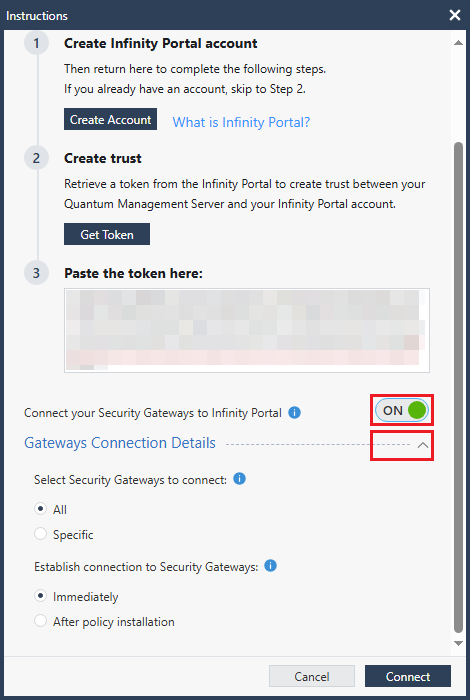
Enable the automatic onboarding of Security Gateways:
-
Move the toggle Connect your Security Gateways to Infinity Portal from OFF to ON.
-
Expand the section Gateways Connection Details.
-
-
In the section Select Security Gateways to connect, select which supported Security Gateways to onboard:
For more information, click the (i) icon and see sk180557.
-
All
All supported Security Gateways establish connection with Check Point Portal.
-
Specific
Only the selected supported Security Gateways establish connection with Check Point Portal.
Note - You can always change this setting later in SmartConsole > Infinity Services view > in the bottom right corner, on the right of Gateways Connector, click Edit.
-
-
In the section Establish connection to Security Gateways, select when to onboard the supported Security Gateways:
For more information, click the (i) icon and see sk180557.
-
Immediately
This is the default. Supported SD-WAN Security Gateways try to establish an immediate connection with Check Point Portal and then during every subsequent policy installation.
-
After policy installation
Supported SD-WAN Security Gateways try to establish a connection with Check Point Portal only after you complete this procedure and install the Access Control policy.
Note - You can always change this setting later in SmartConsole > Infinity Services view > in the bottom right corner, on the right of Gateways Connector, click Edit.
-
-
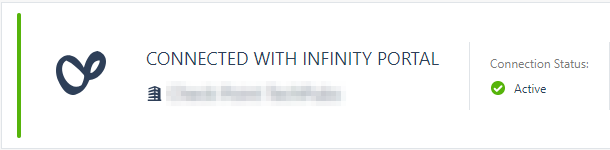
At the bottom, click Connect.
-
SmartConsole must show Connected to Check Point Portal and Status: Active.
Example:
-
Enable Configuration Sharing:
-
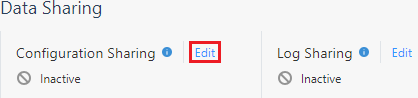
In SmartConsole, in the bottom left section Infinity Portal Settings, on the right of Configuration Sharing, click Edit.
Example:
-
The Configuration Sharing window opens.
-
Near the Enable option, click the OFF button.
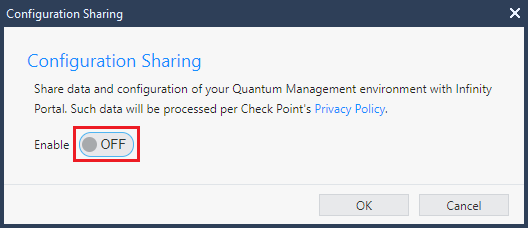
It must change to ON.
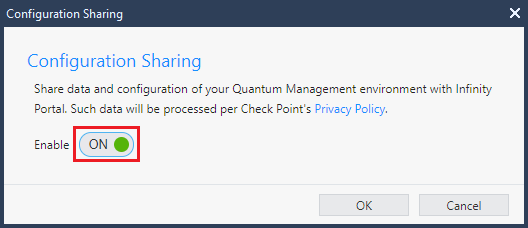
Click OK.
-
The configuration sharing starts, and after some time its status changes from Initializing to Active.
Example:
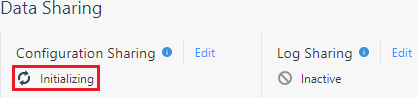
Example:
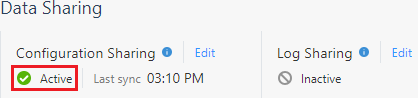
From this point, objects configured in SmartConsole on the on-premises Management Server appear in Check Point Portal as assets.
-
-

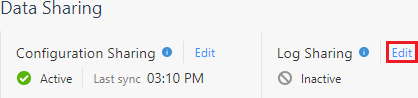
Note - This configuration is required if you want to see the logs in Check Point Portal.
-
In SmartConsole, in the bottom left section Infinity Portal Settings, on the right of Log Sharing, click Edit.
Example:
-
The Configure Log Sharing window opens.
-
Near the Enable option, click the OFF button.
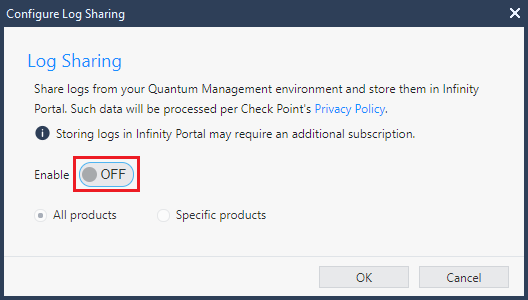
It must change to ON.

Notes:
-
To share logs from all products, select All products.
-
To share logs only from specific products, select Specific products and select the required products.
-
For full SD-WAN visibility, we recommend selecting these products:
-
SD-WAN
-
Application Control
-
URL Filtering
-
Firewall (required to see logs about "" - see SD-WAN Connection Type - "Overlay")
-
-
To minimize log output, you can select only the SD-WAN product.
Note that in this case, log-based widgets in the SD-WAN Monitor view (such as Top Applications) may display partial data or no data at all.
-
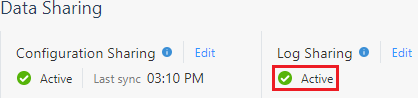
Click OK.
-
-
The log sharing starts, and its status changes to Active.
Example:
-