Monitoring Cybersecurity Events
In the previous step, we confirmed that end-to-end connectivity is working as expected. In this step we will observe which attacks were prevented by various Check Point cybersecurity engines.
Managing your Site
To manage the security, you must sign in to the Check Point Infinity Portal and enable the Harmony Connect (see Creating an Account in the Check Point Infinity Portal).
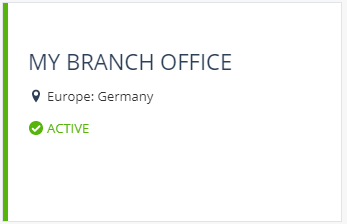
After the traffic is connected, the site status changes from Waiting for Traffic to Active.
Example:
To work with your Site:
-
Sign in to your Harmony Connect account in the Check Point Infinity Portal.
For more information, see Creating an Account in the Check Point Infinity Portal.

Important - In the Check Point Infinity Portal, make sure that you are currently using the Harmony Connect service.
-
Monitor your Internet traffic in the Logs window.
-
Apply various sets of rules to you Internet traffic in the Policy window.
Logs
The Logs page shows all security events on the sites. You can view the statistics and descriptions of the threats and attacks that Check Point system prevented.
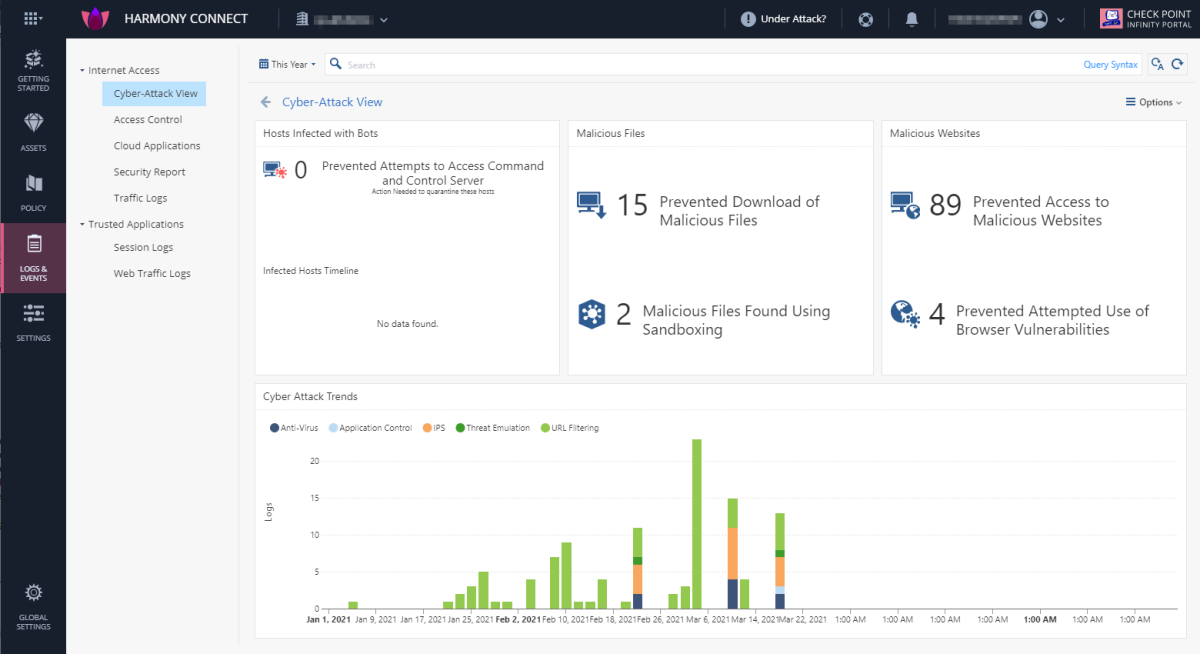
Cyber-Attack View
This window shows the list of all the attacks that Check Point ThreatCloud prevented on your branch offices, and their detailed description:
-
Hosts infected with Bots
-
Malicious Files
-
Malicious Websites
-
Cyber-Attack Trends
Double-click a widget, graph or timeline to see sub-views with more granular data.

Double-click to see a log card displaying detailed analysis of every event.

Access Control
This window presents a graphic of the most-accessed services and a timeline of the activity and total traffic. You can see the malicious applications that were prevented by Check Point, their total consumed traffic, and their visibility.
Security Report
Click Security Report to generate a detailed, real-time report of your branch office cybersecurity events and prevented attacks and Access Control. Export your report to Excel, PDF, and Export Template.
To select an option for the report extraction, go to Options > Export.
On the Infinity Portal, you can apply Time filters and view only the events from specified periods.
A basic version of this report is automatically generated for the past 7 days and sent to your email every Sunday.
Logs Tab
Presents all the traffic in the system for this service, with their detailed description, in a single table.
Policy
The Policy page displays the sets of security rules that you can apply to the Internet traffic. It includes the Internet Policy Access Control, Threat Prevention, and HTTPS Inspection policy rules.

|
Note - You can apply changes to security policies only after you click Install Policy. |
All the changes you make to the rules are displayed on the Changes pane on the right side of the window.
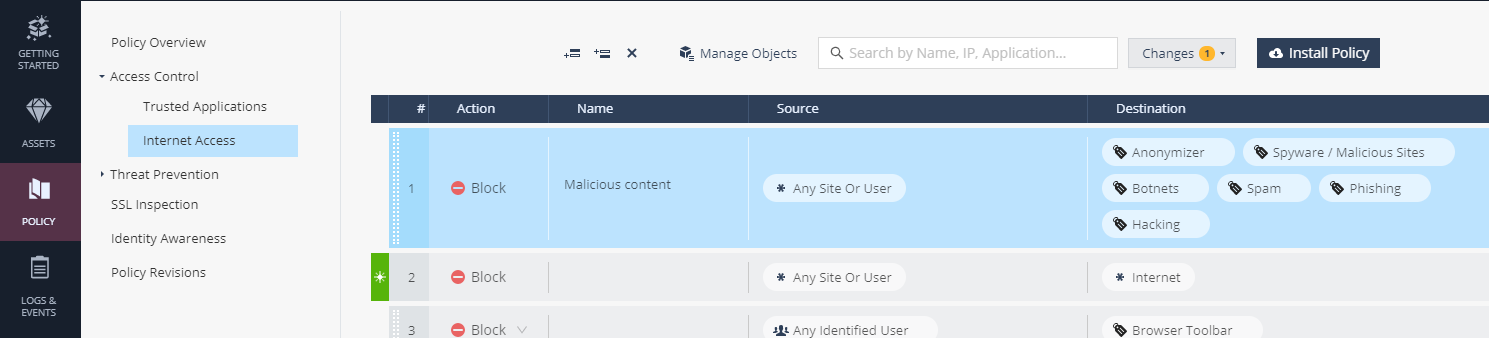
Access Control
You can add, delete and manage the Access Rules for your system. You can create granular Security Policy based on users and groups to control access to Web services, URLs, networks, and services.
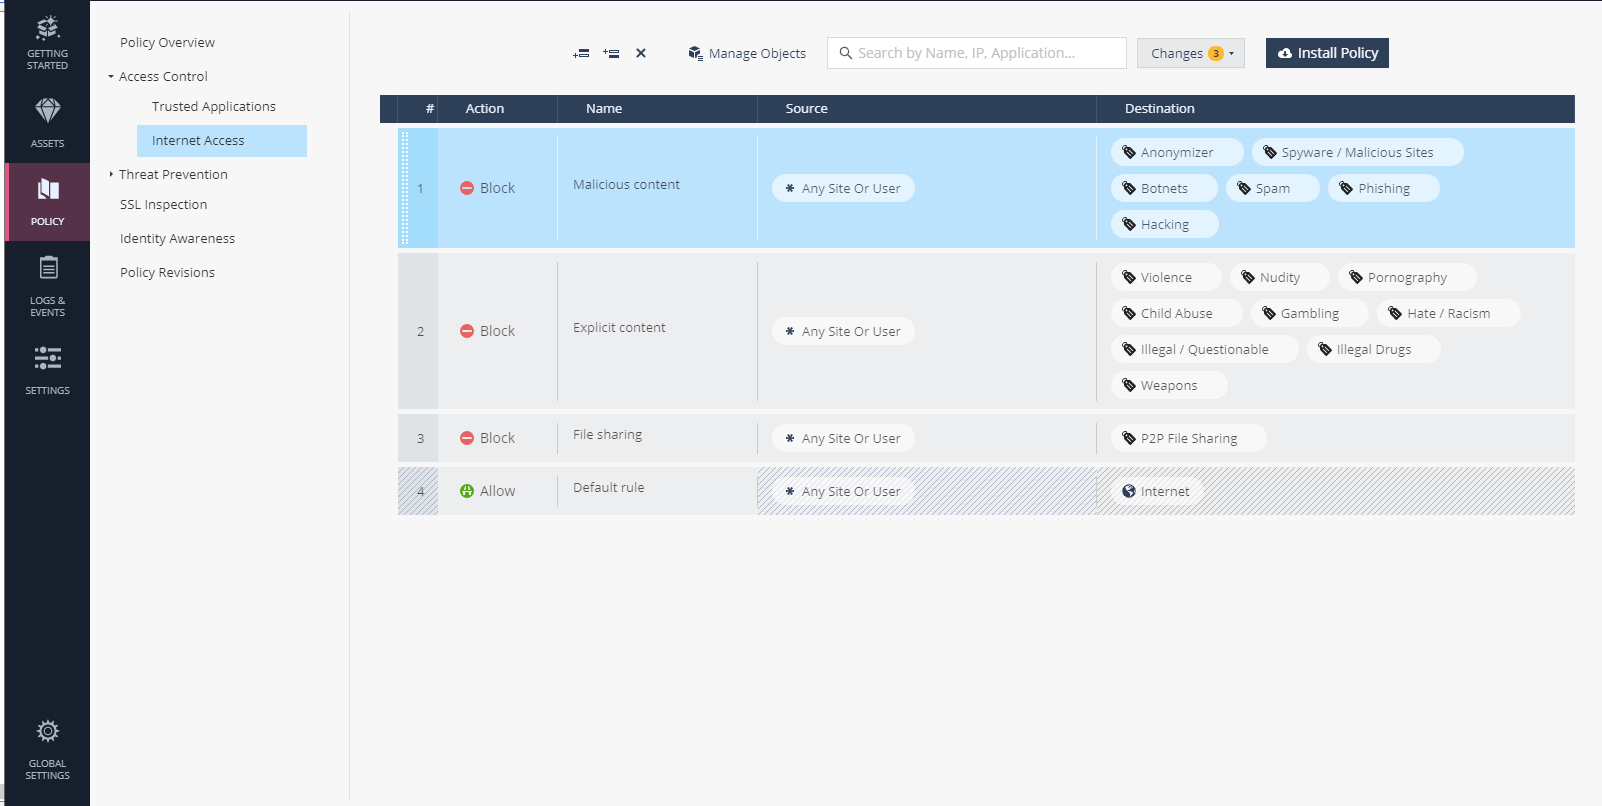
Check Point provides you the default first set of Rules:
-
Block Applications at High Risk
-
Block Explicit Content
-
Block Peer-to-Peer
-
The Default Rule (The default value is Allow) - allows the general Internet access when none of the 3 Block Rules are applied. You cannot change its Source or Destination.
Check Point provides one Access Control Policy for all of your branch offices. You can use specific objects at a rule source to apply them for specific sites.
To add and configure an Access Control Policy Rule:
-
Click one of the Add Rule buttons
 in the row above the table.
A new rule appears in the table.
-
Configure the required parameters for this rule:
-
Action - Block / Allow status. The default value is Allow.
-
Name
-
Source - URL from the list of URLs that you define, to which the rule applies. The default value is Any Site.
-
Destination - URL or Internet objects managed by this rule. The default value is Internet.

-
-
Click Install Policy.

Manage Objects
Create, manage, and delete Internet objects to which you apply the rules.
Click Manage Objects button in the upper section of the screen.

Threat Prevention
Use IPS, Anti-Virus, Anti-Bot, and SandBlast Threat Emulation (sandboxing) to protect users and sites from both known and unknown threats.
HTTPS Inspection
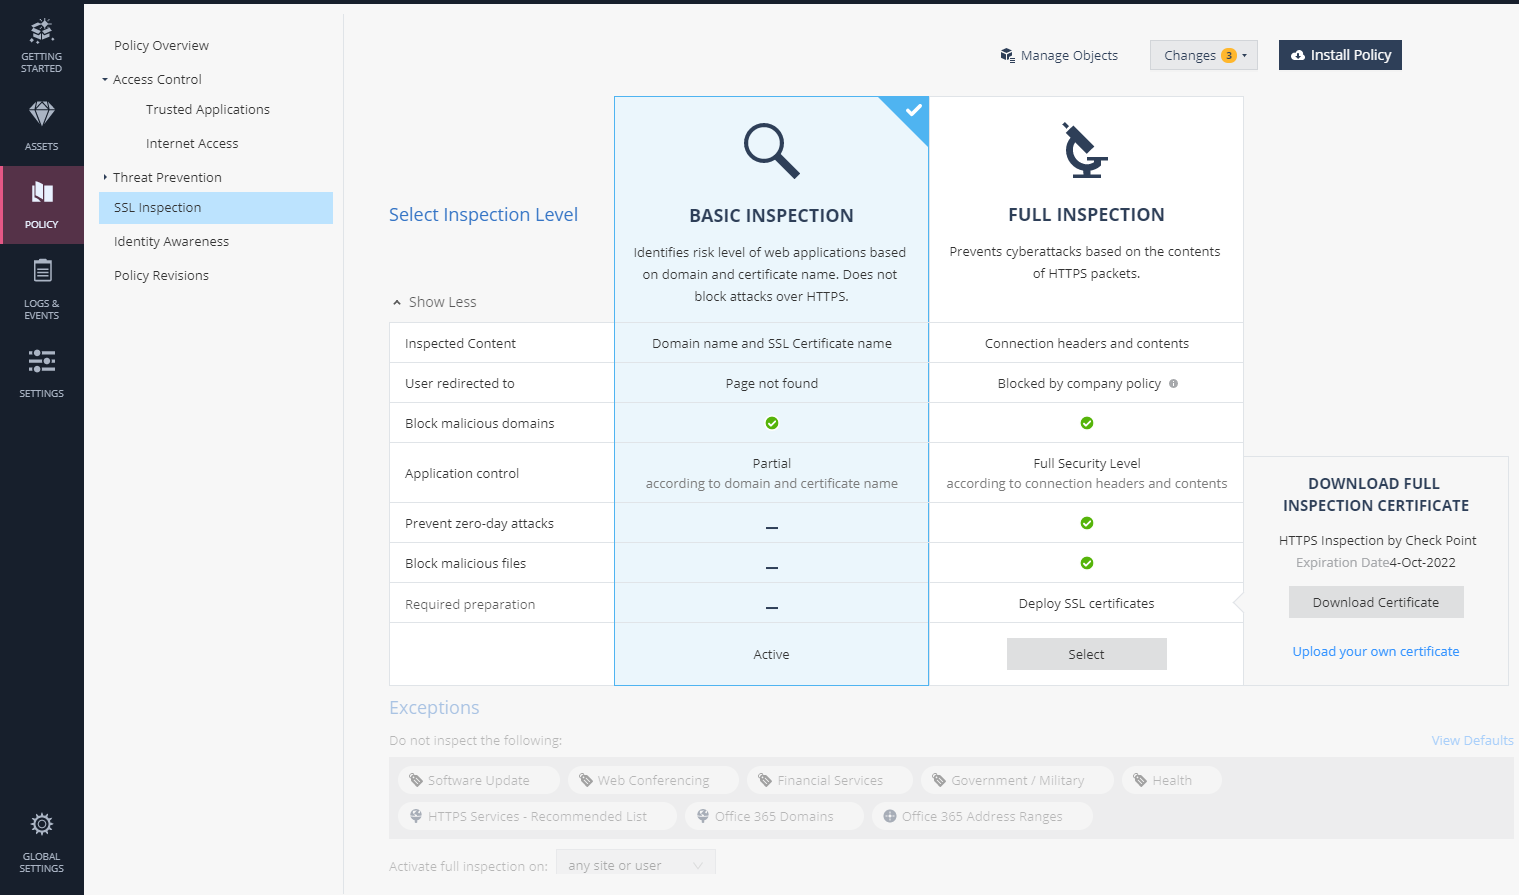
To set the HTTPS Inspection in your system:
-
From the Select Inspection Level list, select Basic Inspection, Full Inspection, or Download Full Inspection Certificate to deploy the Check Point Certificate in your branch office.
-
From the Exceptions list, select the services, service categories, URLs, or network addresses that are not inspected.
-
In the Activate full inspection field, select where you want to apply the full HTTPS Inspection.
-
Click Install Policy.