Launching Azure Virtual WAN Integration in the Check Point Infinity Portal
To launch Check Point protection on your branch office device, you must enable Harmony Connect and integrate it with the Azure Portal.
Enabling Harmony Connect
To work with the Harmony Connect, you must register or log in in the Check Point Infinity Portal.
Check Point Infinity Portal provides unified security that is delivered as a service. With one Infinity Portal account, your company can manage security for network, endpoint, and cloud.
You can use the direct registration link for your Harmony Connect:
https://portal.checkpoint.com/create-account
|
|
Note - Registration creates you an account on the Infinity Portal but does not automatically log you in to any specific security service. In the free 30-day trial version, you can log into the Harmony Connect service, connect branch offices to a single cloud service location, and provide security for up to 200 users. The full functionality of Harmony Connect is available with a purchased software license. For more information about licensing, contact your Check Point Sales representative, or see the Contracts page in the Check Point Infinity Portal Administration Guide. |
To enable the Harmony Connect:
-
In the top left corner of the Infinity Portal, click the
 button.
 -
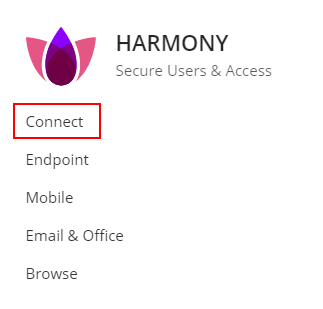
From the Harmony group select Connect:

-
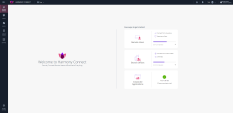
Your Dashboard now looks like this:
Starting the Integration between Check Point and Azure Virtual WAN
This integration guarantees a secured access control and threat prevention between any branch office or VNet and the Internet if their traffic is configured as secured.
To start the integration between Check Point and Microsoft Azure Virtual WAN:
-
In the Infinity Portal, go to Assets > Sites.
Example:

Note - If want to use a site that you manually created before, you can integrate it with Microsoft Azure Virtual WAN only with the Check Point Support.
To open a support ticket, click here.
-
Click Sync With Azure Virtual WAN.
A pop-up wizard opens.
Example:
-
Enter the parameters you created in the previous step. See Assigning API Access to Check Point.
-
Tenant ID
-
Subscription ID
-
Application ID
-
Password

Note - All fields marked with an asterisk (*) are mandatory.
-
-
Click Next.
-
Wait for Check Point to validate the credentials and the given permission level.
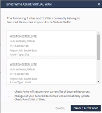
This screen shows a preview of the resources inside the Azure Virtual WAN secured later by Check Point.
-
Confirm the auto sync between Check Point and Azure Virtual WAN.
Example:
-
Click Enable Auto Sync.
It confirms the auto sync between Check Point and Microsoft Azure Virtual WAN.
-
Wait for Check Point to generate secured hubs for every secured resource.
Check Point automatically secures any regional hub that is marked as a Secured Resource, and has at least one site or VNet marked as Secured Traffic.
To get at least one site or VNet, select the site or the VNet and click Secure Internet Traffic. For more information see Selecting Secured Resources in Azure Portal.

Note - Creation of a hub secured by Check Point can take up to 30 minutes. In the end of the creation process the status of the new hub changes from Generating… to Waiting for Traffic or Active. For more information about the statuses of the Check Point assets see the Assets page in the Harmony Connect Administration Guide.
Securing Additional Resources in Azure Portal
You can now repeat the step Selecting Secured Resources in the Microsoft Azure Portal to create security for additional entities, for example:
-
Traffic between other sites and the Internet
-
Traffic between other VNets and the Internet
-
Regional hubs
Check Point automatically secures any resource marked as secured in the Microsoft Azure Portal. This means that now you do not have to manage your assets twice. You can select to secure them in the Azure Portal.
You can monitor creation of the Check Point events security for your regional hubs in two ways:
-
 In Check Point Infinity Portal
-
Go to Assets > Sites.
-
Watch the generating process of new hubs.
As soon as Check Point completes the setup, the status of these hubs changes from Generating to Active. For more information see Monitoring Cybersecurity Events.
-
-
 In Azure Portal
-
Go to Azure Firewall Manager and click Connections.
-
Watch the status of the Check Point secured hubs.
-


