SSH Applications
This section explains how you can configure SSH applications access, enrollment and features in Harmony Connect.
This includes:
-
Setup of a new SSH server
-
SSH connection methods
-
Server Errors
Add a New SSH Application
Harmony Connect Application-Level supports native connectivity to SSH applications. To set up connectivity, you must enter login credentials to the SSH server, either by password or by private keys.
After that, to provide access policies to users, you must determine the authentication mechanism. Either by one-time password or by private key.
Read more about the connection methods in the SSH Connection Methods page.
Set up an SSH Server
-
Go to Policy > Access Control > Application Access and click Add.
-
In the Add New Application window, select SSH and click Next.
-
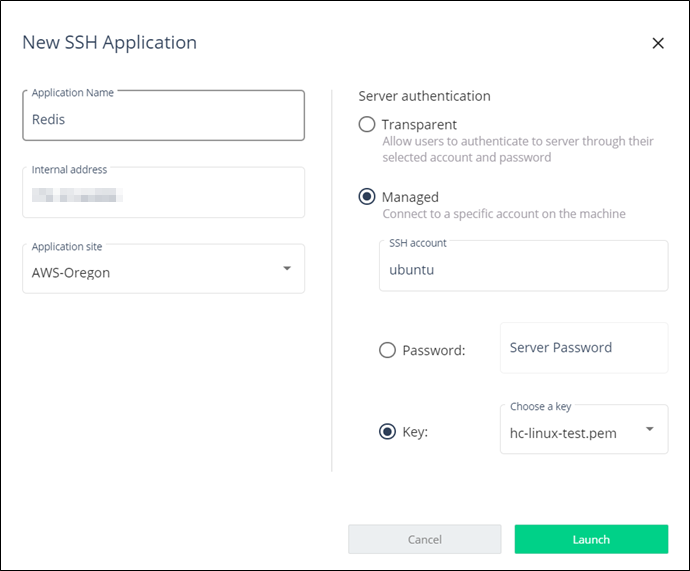
Fill in the details and click Launch:
-
Application Name: Select an indicative server name. This name appears later in the User App Portal.
-
Internal address: Insert your internal server address.
-
Application site: Select the site where your server is located.
-
Server authentication: Select the way Harmony Connect connects to your server:
-
Transparent: Allow users to connect to the server directly through their selected account and password.
-
Managed: Add the server with a specific SSH account, to which all users are connected automatically.
-
SSH account: Insert the account on the server SSH users connect to and choose how to add it.
-
Password: Enter the server password.
-
Key: Upload your server key to the Check Point platform.
-
-
-
Server key verification: When establishing the connection with the server, Harmony Connect calculates the fingerprints from the public keys sent by the server and verifies it with the fingerprints calculated from public keys uploaded in step 7. If the verification fails, then Harmony Connect blocks the access to the server and displays bad server fingerprint message.
-
When the new SSH server is launched, users with permissions can access it from their shell.
-
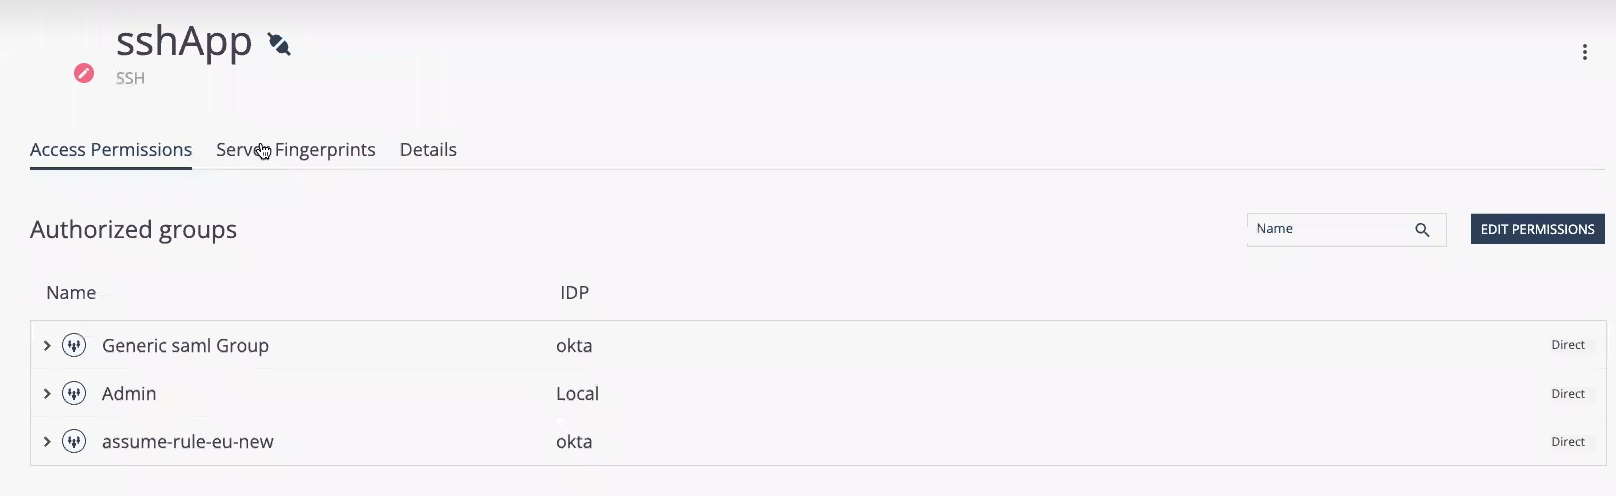
To configure access permissions to the new application, click Edit Permissions under Access Permissions. Select or clear the group checkbox to add and remove groups.
-
Click Save.
-
To upload the server public key:
-
Extract the server public keys:
-
Depending on the Digital Signature Algorithm (DSA) of the public keys, run this command on the machine where you want to extract the server public keys:
sss-keyscan -t {DSA_type} {server ip}, whereserver ipis IP address of the server.For example:
DSA
Command
RSA
ssh-keyscan -t rsa {server ip}ECDSA
ssh-keyscan -t ecdca {server ip}ED25519
ssh-keyscan -t ed25519 {server ip}
Note - Ensure that the machine has access to the server.
-
-
Upload the server public keys:
-
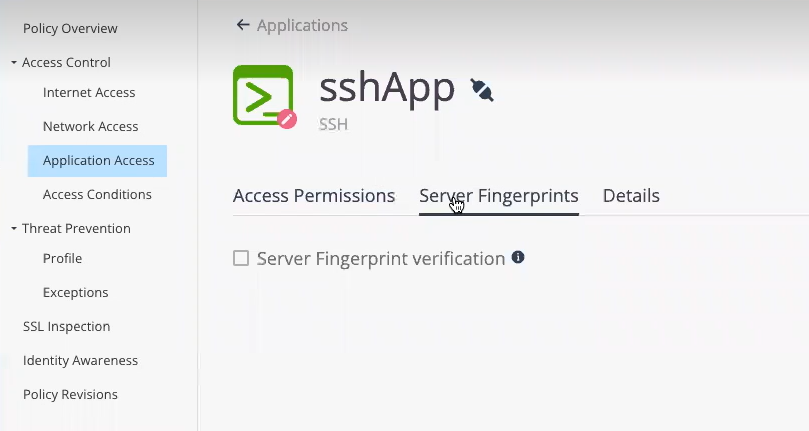
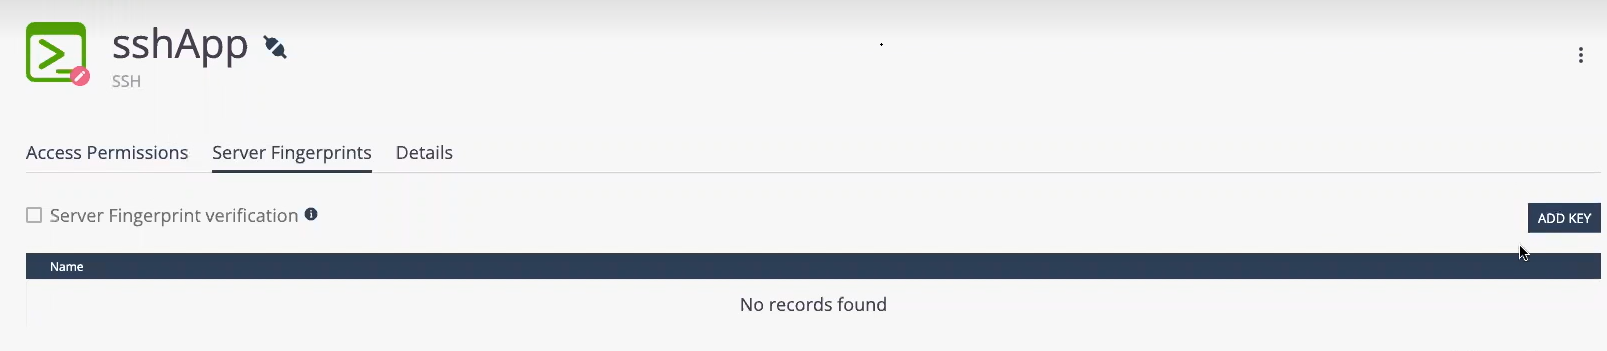
Click Server Fingerprints.
-
Click Add Key and upload the public keys.
-
Select the Server Fingerprint verification checkbox.
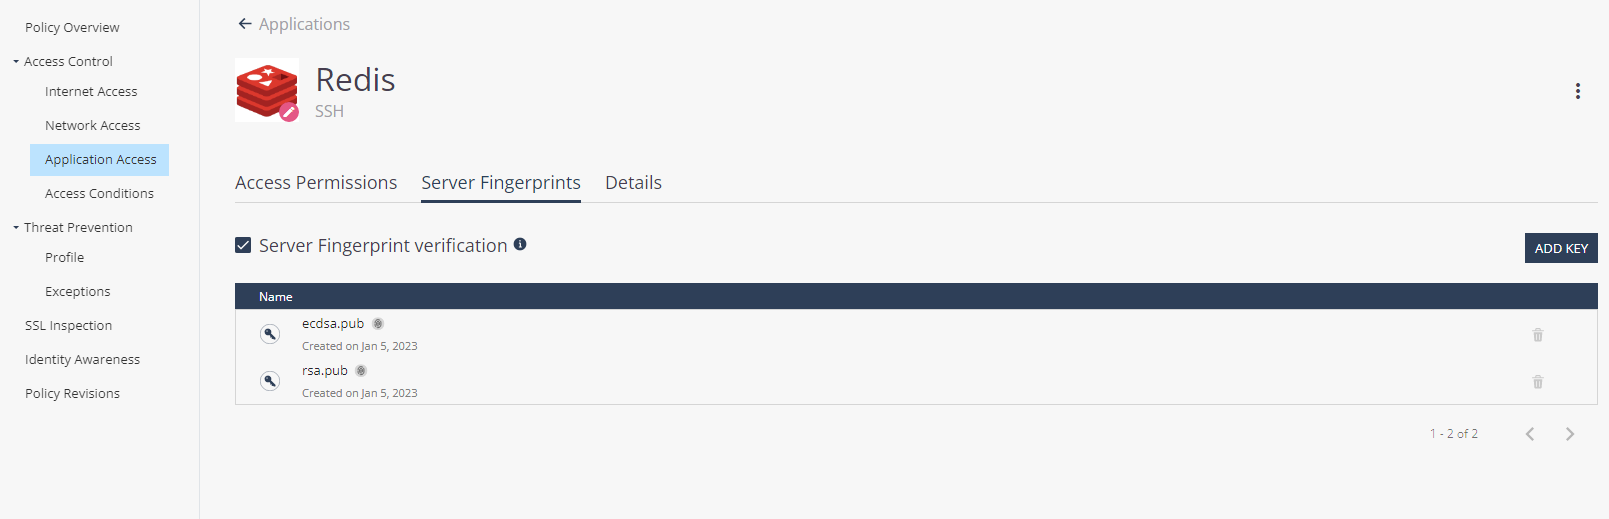

Important - Ensure to always upload the latest server public keys.
-
-
You can read about security standards on the Managing Remote Access Keys page and about the user experience on the SSH (Linux) Server Access page.