Managing Groups
Application Access supports only user groups. That is, you can provide Application Access only to user groups (not to specific users). The user groups can be from an Identity Provider (IDP) or you can create local user groups in Harmony Connect.
To view the list of user groups, associated users and applications, go to Policy > Access Control > Application Access, click Manage Objects and then select Groups.

|
Column |
Description |
||
|---|---|---|---|
| Name | Name of the group. | ||
| Users |
Number of users in the group that logged in to the User App Portal.
For example, if a user is a member of three user groups ug1, ug2 and ug3 and has logged in to the User App Portal, then the User column is incremented by one for all the three user groups. |
||
| Applications | The number of applications to which the user group has access. | ||
| IDP | Source of the group. IDP or local. |
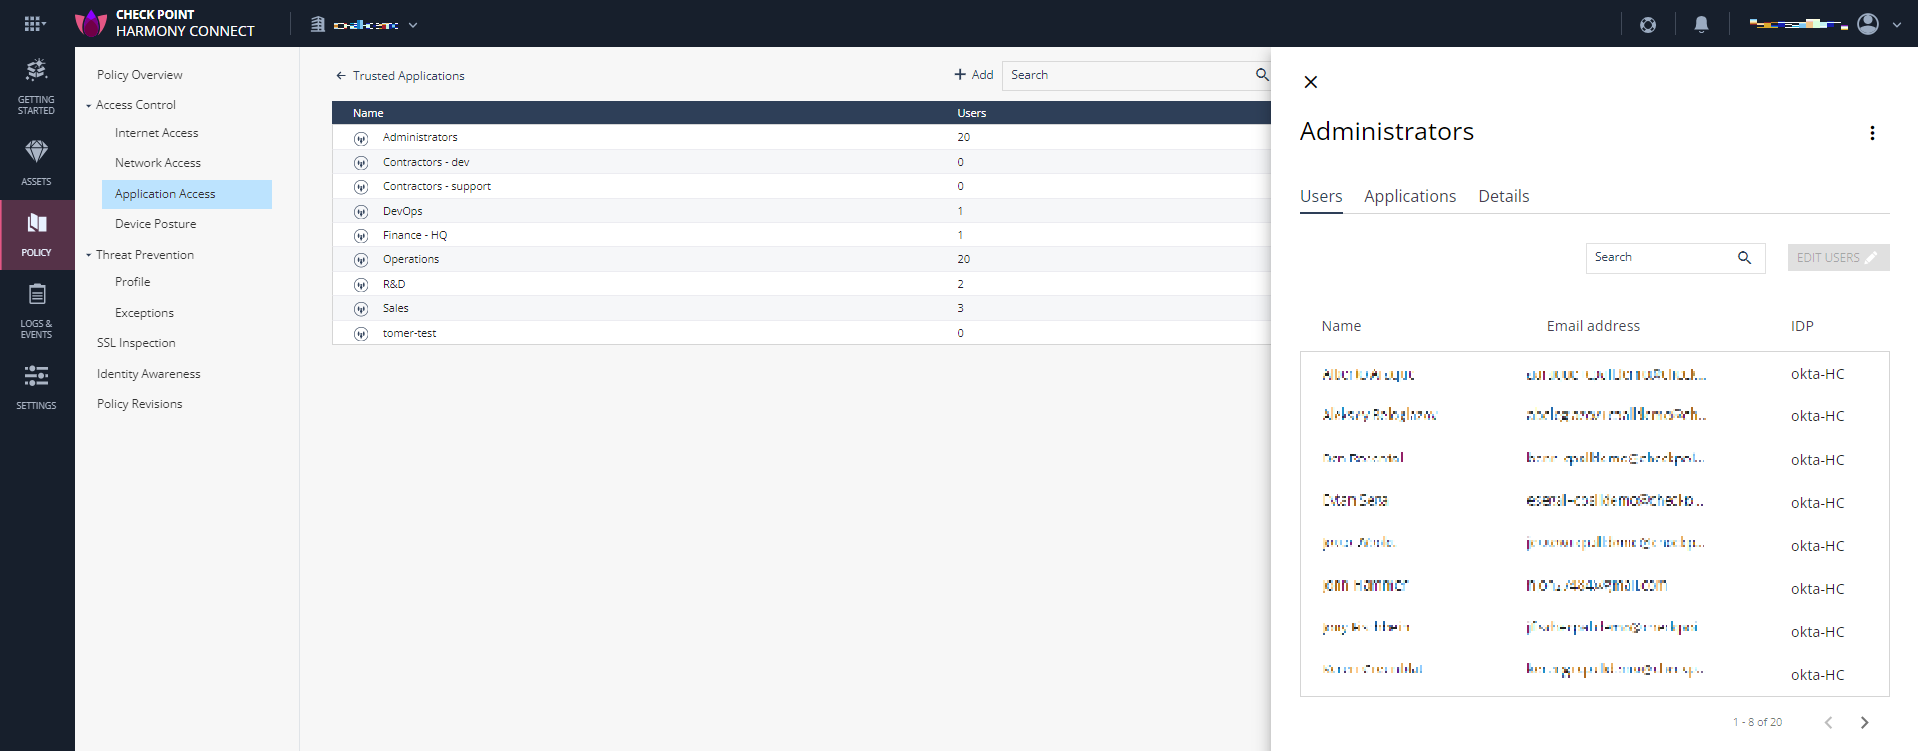
To view the details of a user group, click the user group. The system opens a pane on the right:
|
|
Note - Check Point recommends not to edit the user group details from this pane. |
-
Click Users to view the list of users in the user groups that access the User App Portal.
-
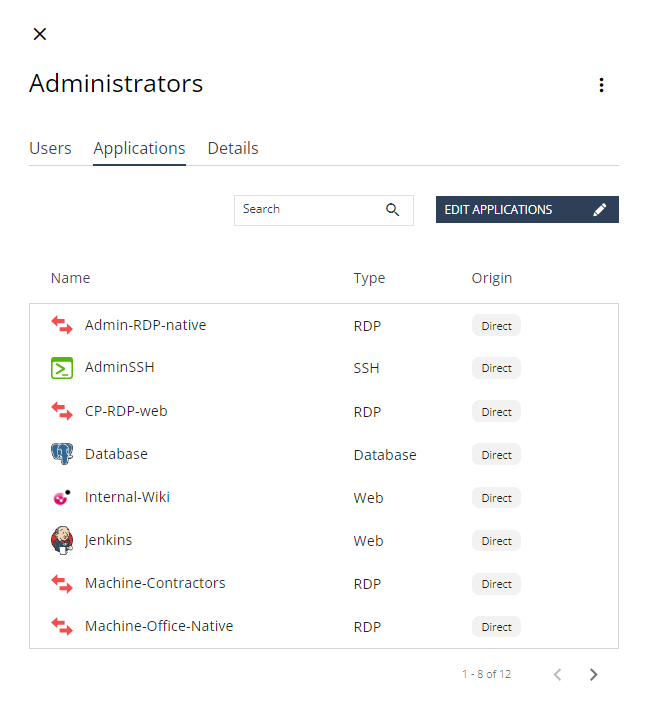
Click Applications to view a list applications that the users in the user group can access.
-
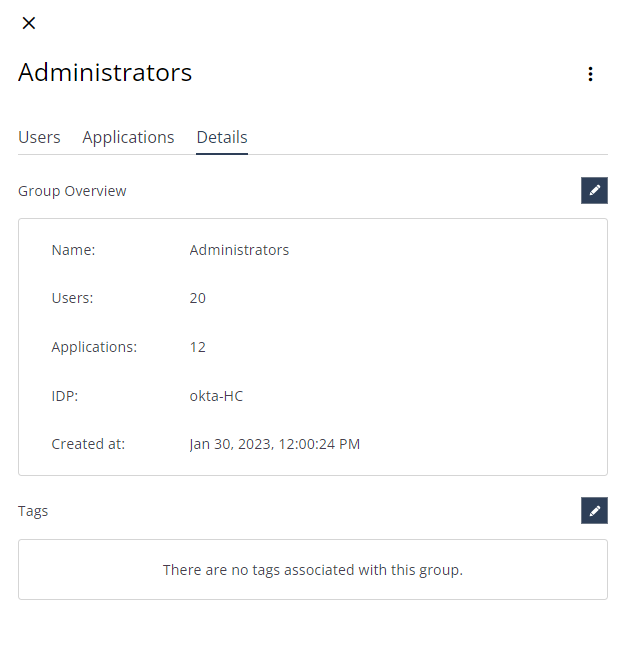
Click Details to view the details of the groups.
User Groups from an Identity Provider
For Identity Providers that support automatic user group sync, such as Microsoft Entra ID (formerly Azure AD), Okta, and Google IDP:
-
The user group information is automatically synced every 30 minutes from the IDP.
-
Just in Time (JIT) - When a user logs in t the User App Portal, the system obtains the user information and associates it with the correct user groups from the IDP.
For Identity Providers that do not support automatic user group sync, such as Microsoft AD FS, OneLogin, and Generic SAML:
-
Just in Time (JIT) - When a user logs in t the User App Portal, the system obtains the user information and associates it with the correct user groups from the IDP.
-
API requests - Create user groups manually with API using the IDP ID.
-
Create a token for request. For more information, see https://app.swaggerhub.com/apis-docs/Check-Point/Odo-API/2.1#/.
-
Fetch the list of your configured IDPs that are not synced. Use the relevant IDP ID from the response to create user groups. For more information, see https://app.swaggerhub.com/apis-docs/Check-Point/Odo-API/2.1#/settings/get_settings_non_syncable_idps.
-
Create a the user group with: (for more information, see https://app.swaggerhub.com/apis-docs/Check-Point/Odo-API/2.1#/groups/createGroup.)
-
sso_settings_id: Enter the relevant IDP ID from the previous request. -
name: Enter the exact name as configured in the IDP directory. -
description: Enter a description.
-
-
Local User Groups
You can create local groups and provide access to applications.
To create a local user group:
-
Click Add.
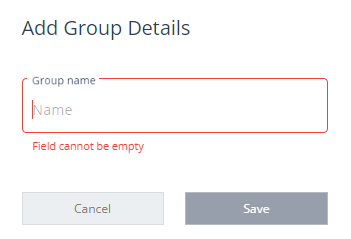
The Add Group Details window appears.
-
In the Group Name field, enter a group name.
-
Click Save.


