Configure SSO JIT Provisioning on Okta
Okta Configuration
-
In Okta, go to the Admin panel.

-
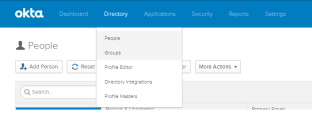
In the Directory menu, select Groups.
-
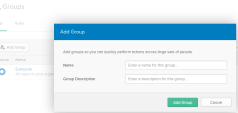
Click Add Group.
-
Enter a name and description for the group (remember the name as you will need it later), and the click Add Group.
-
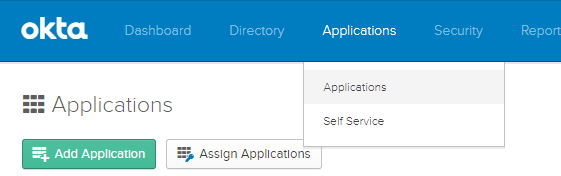
In the Application menu, select Application.

-
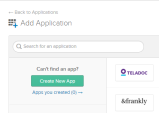
Click Create New App.
-
Select the following, and then click Create:
Platform: Web
Sign on method: SAML 2.0
-
Set the App name, then click Next.
-
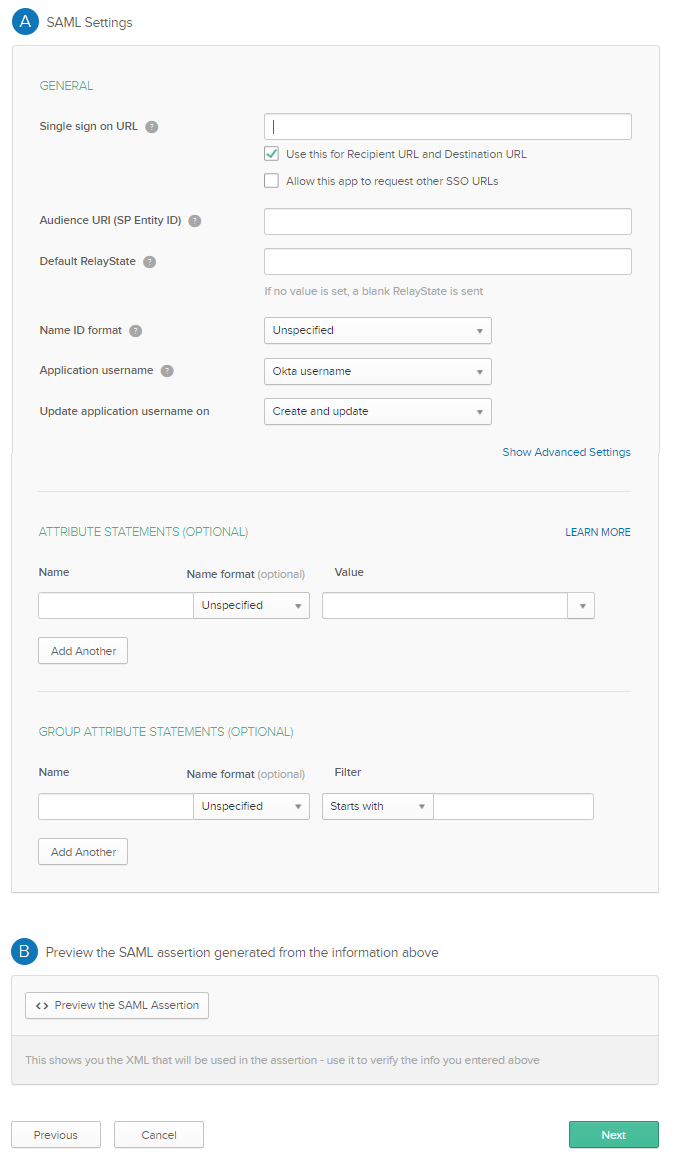
Set the following parameters:
-
The "Name-up-select" can be changed to any name.
-
The Name in the "GROUP ATTRIBUTE STATEMENTS" (memberOf) can be set to any name you choose.
-
-
Click Next and then Finish.
-
Click View Setup Instructions.


CloudGuard Configuration
-
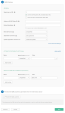
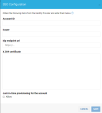
In CloudGuard, navigate to the Authentication page in the Settings.
-
In the SSO section, click Enabled.
-
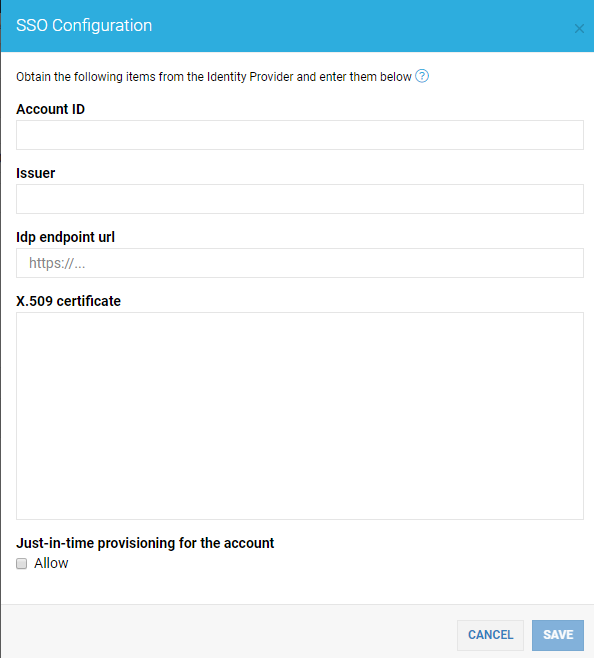
Click Edit, to open the SSO Configuration box.
-
Enter the following details:
-
Account ID - the value that you entered instead of "Name-up-select".
-
Issuer - the Identity Provider Issuer from Okta.
-
Idp endpoint url - the Identity Provider Single Sign-On URL from Okta.
-
X.509 Certificate - the X.509 Certificate from Okta.
-
Check Just-in-time provisioning for the account checkbox.
-
Attribute name in SAML for just-in-time role - add the name that you entered instead of the "member Of"
-
-
Click Save.
-
Assign the group that you created in step 4 to the application.
-
Navigate to the Roles page in the Settings menu.
-
Create a role with the same name as the name of the group that you created in Okta.