Disk Slot Blanks
Smart-1 6000-L/6000-XL lets you install additional disks. This section shows how to remove and install disk blanks that cover the empty disk slots.
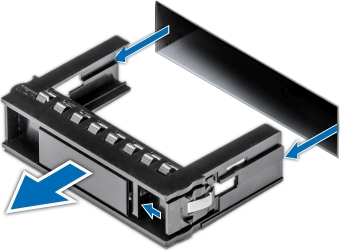
To remove a disk blank on Smart-1 6000-L/6000-XL:
-
Press the release button to open the release handle on the disk blank.
-
While holding the handle, slide the disk blank out of the disk slot.
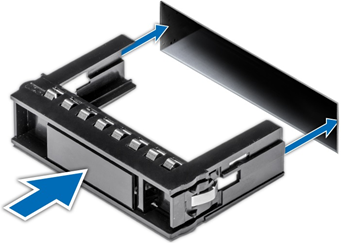
To install a disk blank on Smart-1 6000-L/6000-XL:
Important - If you are not replacing the failed disk immediately, then to maintain proper system cooling, install a disk blank in the empty disk slot. You can also remove the disk from the disk carrier and install the empty disk carrier into its disk slot.
-
Insert the disk blank into the disk slot.
-
Push the disk blank into the disk slot.
-
The release button should click into place.