Demo Steps
If you do not have an Infinity account, open one and register for the Smart-1 Cloud application.
|
Step |
Instructions |
|---|---|
|
1 |
Navigate to Create Account |
|
2 |
Enter your company's name (e.g : Smart-1-cloud-demo-<FirstName>-<LastName>-<CompanyName>), email address, phone number, and country. |
|
3 |
Select storage location. |
|
4 |
Select Industry and Business Size. |
|
5 |
Select the account type (Customer is the default type). It is possible to change the account type after the account is created. |
|
6 |
Select these checkboxes:
|
|
7 |
Follow the activation instructions in the email sent to your account. To go back to the sign-in page, click Back to sign in and sign in. |
|
Step |
Instructions |
||
|---|---|---|---|
|
1 |
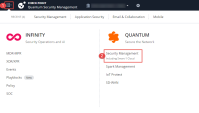
On the Infinity Portal home page, click the Menu button in the top left corner. |
||
|
2 |
From the drop-down list, select Security Management. |
||
|
3 |
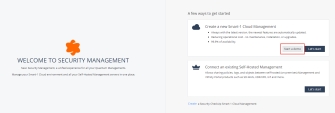
Click Start a demo.
|
||
|
4 |
The Creating your Smart-1 Cloud Environment window opens. It takes 1-2 minutes to create a new service. After the process is complete, an email is sent to your account. |
|
Step |
Instructions |
|
|---|---|---|
|
1 |
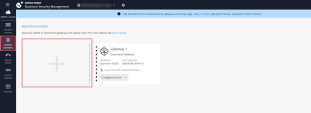
From the left navigation panel, click Connect Gateways. |
|
|
2 |
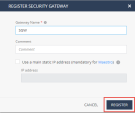
Click the large plus icon. The Register a New Security Gateway window opens. |
|
|
3 |
In the Gateway Name field, enter the name for this object , e.g. : SGW |
|
|
4 |
Click Register. This creates a new Security Gateway object in the Service with the name that you entered. |
|
|
5 |
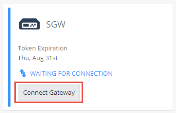
Click Connect Gateway and follow the instructions to complete the connection. |
|
|
6 |
Connect to Quantum Security Gateway > SSH.
|
|
|
7 |
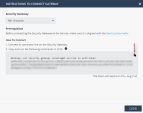
From the Connect Gateway instructions , copy and run the command on the SSH session of the Quantum Security Gateway : |
|
|
8 |
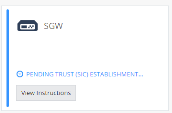
When the process is finished, the status in the portal shows: Pending Trust (SIC).... We will follow the instructions to Connect the Management to the Security Gateway. |
|
|
9 |
Log in to SmartConsole. On the Smart-1 Cloud page, select Settings > API & SmartConsole > Open Streamed SmartConsole. |
|
|
10 |
In SmartConsole open the Gateway Object. Double click the Gateway name (SGW) in Gateways and Servers view. |
|
|
11 |
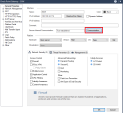
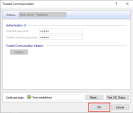
Click on the 'Communication...' button in order to initiate the Secure Internal Communication (SIC) to the Security Gateway: |
|
|
12 |
Enter the following password :
|
|
|
13 |
Click Initialize. |
|
|
14 |
Click OK. |
|
|
15 |
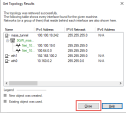
Click Close on the Get Topology Results window. |
|
|
16 |
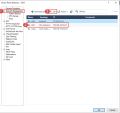
Click on Network Management > eth1 > Edit. |
|
|
17 |
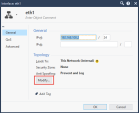
Click Modify. |
|
|
18 |
On Security Zone , Select the option : According to topology: InternalZone. |
|
|
19 |
Click OK x 3 to close the Gateway window. |
|
|
20 |
Click Publish. |
|
|
21 |
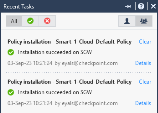
Click Install Policy and wait for the policy installation success messages. |
|
Step |
Instructions |
||
|---|---|---|---|
|
1 |
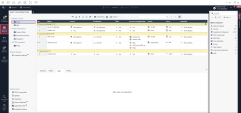
In SmartConsole , Click on Security Policies tab. |
||
|
2 |
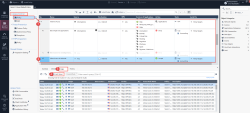
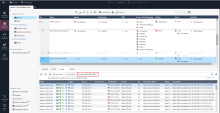
Click on Access Control > Policy and run the following :
|
||
|
3 |
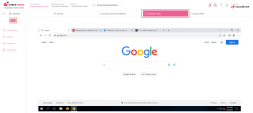
You can also open Chrome browser on the Windows-Client VM and browse to external sites. |
||
|
4 |
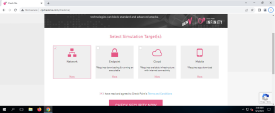
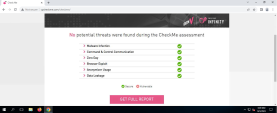
In order to generate Threat Prevention events, You can run the CheckMe - Instant Security Check tool from the Windows-Client VM: http://www.cpcheckme.com/ and run the Network assessment :
|

