Network Feed Objects
Introduction
A network feed object is a network object that lets you enforce feeds that are generated on external HTTP/HTTPS servers. The feed can contain IP addresses (single or ranges), domains, or both.
For example:
-
Single IP (1.1.1.1)
-
Range (1.1.1.1-2.2.2.2)
-
IP + masklen (1.1.1.1/24)
-
FQDN domain (google.com)
-
Non-FQDN domain (*.google.com)
The feed must be written in a supported format (see below). The Security Gateway fetches, parses, and updates the network feed object automatically according to the feed changes on the external source server. There is no need to install policy for the updates to take effect. You can use an external network feed object in the Access Control / HTTPS Inspection / NAT policy as a source, or a destination.
For additional information review Quantum Security Management R81.20 Administration Guide
Discussion Points
-
Use a Network Feed object to customize a private web server feed definition for IP addresses or domains.
-
The objects are automatically updated in Security Gateway without the need to install a policy.
-
Updatable Objects uses the Network Feed to strengthen the dynamic configuration ability of the Access Control policy and make it dynamic.
Goal
Demonstrate the capability of network feed object.
Instructions
|
Step |
Instructions |
|
|---|---|---|
|
1 |
From Jump-Server VM , Open R81.20 SmartConsole. Log in with the credentials of the Management Server administrator:
|
|
|
2 |
In SmartConsole, go to the Object Explorer. |
|
|
3 |
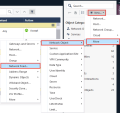
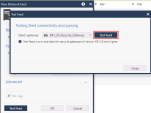
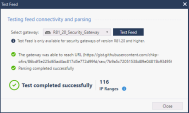
Click New > More > Network Object > Network Feed. The New Network Feed window opens. |
|
|
4 |
|
|
|
5 |
Use the New Network Feed object in your Access Control Rule Base: |
|
|
6 |
Publish Session and Install Policy on R81_20_Security_Gateway. |
|
|
7 |
From the Jump-Server VM , Open SSH session to R81_20_Security_Gateway, Click on the MobaXterm Shortcut : "R81.20 Gateway (admin)" : |
|
|
8 |
Run the following command on the gateway to monitor network feeds on the Security Gateway:
|
|
|
9 |
You Should receive the following output : |
|
|
10 |
Select one of the IPs from the output and copy it. |
|
|
11 |
From the Jump-Server VM , Open RDP session to the 'Windows Client' VM with the saved credentials of user : demolab-ad\bruce Use the RDP shortcut on the desktop :
|
|
|
12 |
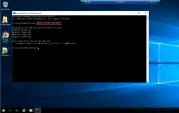
On the Windows-Client VM, Open CMD and run ping command to the IP that you copy on step 10. You should receive "Request timed out" : |
|
|
13 |
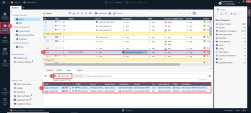
Return to the Jump-Server VM and Open R81.20 SmartConsole and Navigate to Logs & Monitor > Logs. |
|
|
14 |
Review the generated log matched to our Network Feed rule : |

