1. Preparation
|
VM Name |
IP Address |
UserName / Password |
|---|---|---|
|
Windows-Console |
10.160.75.50 |
administrator (Auto Login) |
|
Kubernetes Server |
10.160.131.158 |
root / Cpwins1! |
|
Attacker |
10.160.201.222 |
root / Cpwins1! |
|
Step |
Instructions |
|---|---|
|
1 |
Navigate to Create Account. |
|
2 |
Enter your company's name (e.g : CWPP-demo-<FirstName>-<LastName>-<CompanyName>), email address, phone number, and country. |
|
3 |
Select storage location. |
|
4 |
Select Industry and Business Size. |
|
5 |
Select the account type (Customer is the default type). It is possible to change the account type after the account is created. |
|
6 |
Select these checkboxes:
|
|
7 |
Follow the activation instructions in the email sent to your account. To go back to the sign-in page, click Back to sign in and sign in. |
|
8 |
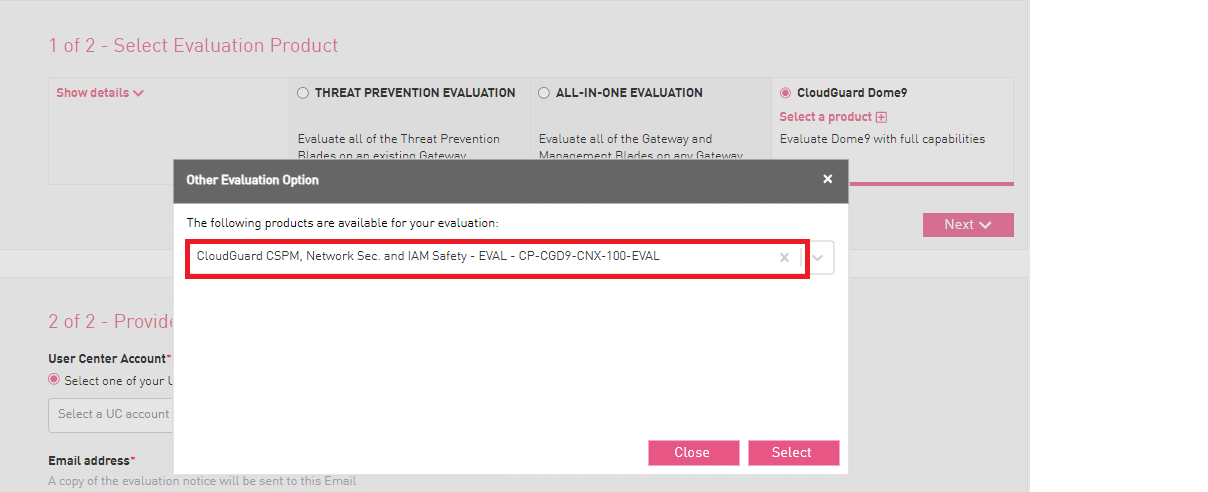
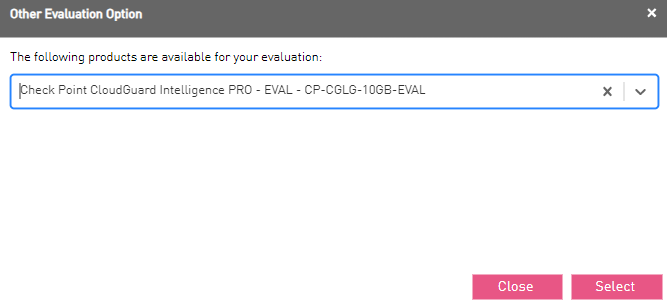
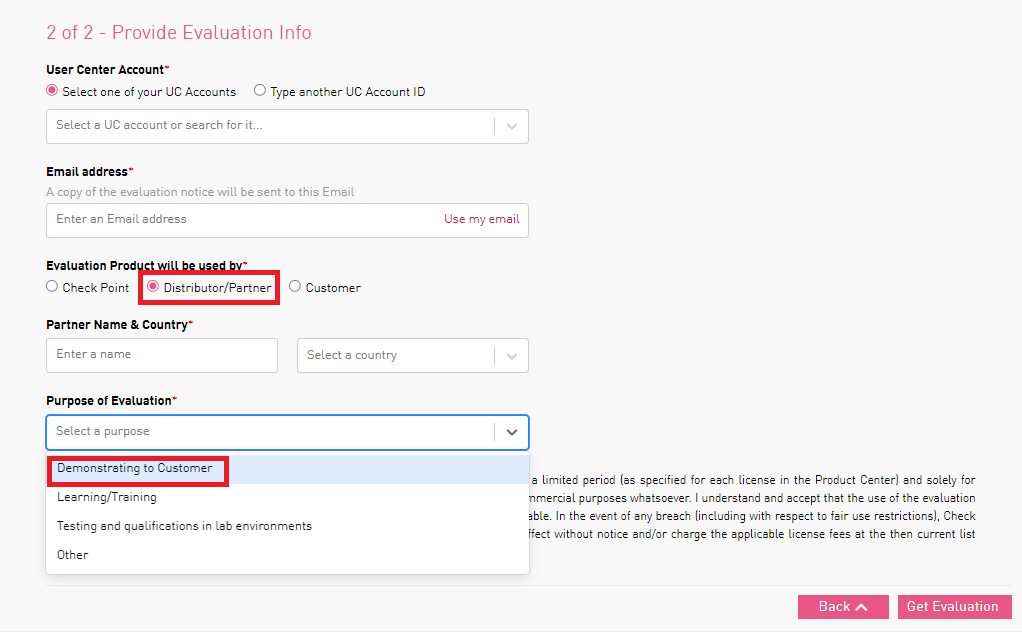
For Partners only, apply an evaluation license:
|

|
Step |
Instructions |
||||||||||
|---|---|---|---|---|---|---|---|---|---|---|---|
|
1 |
Connect to the Kubernetes Server VM via SSH Client via one of the following options:
|
||||||||||
|
2 |
Execute the following commands: Copy
|
||||||||||
|
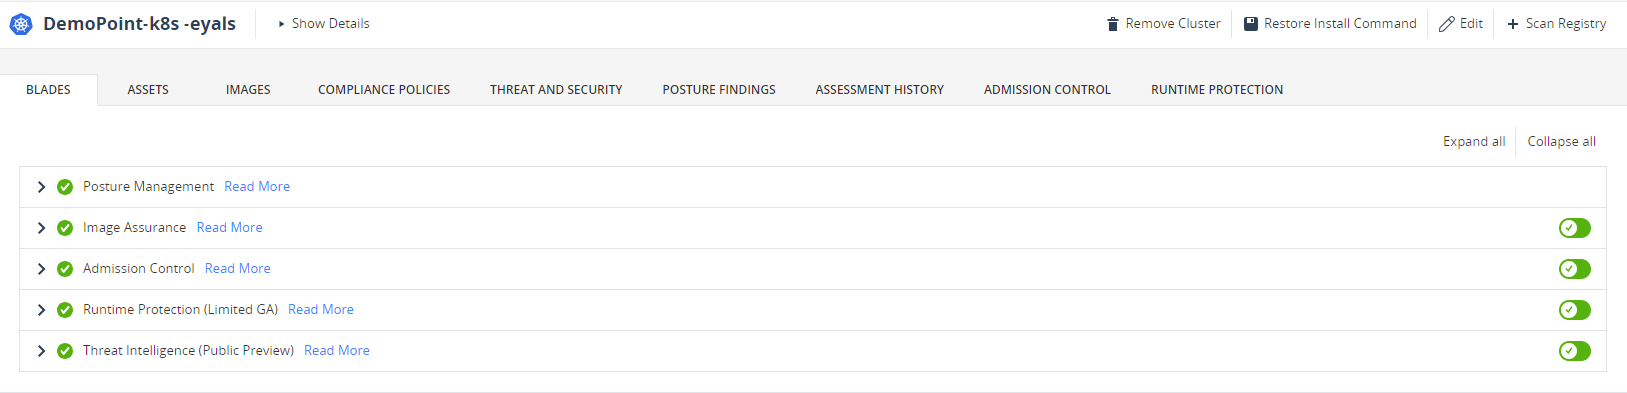
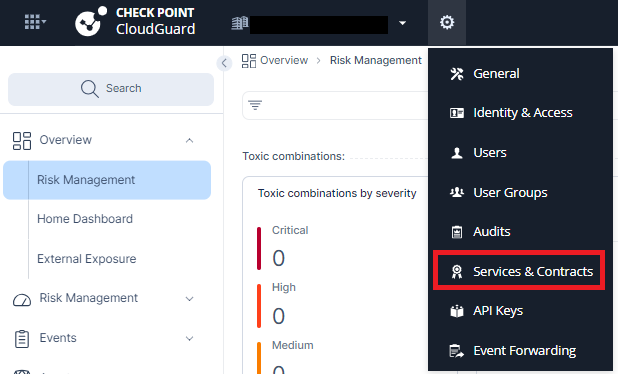
3 |
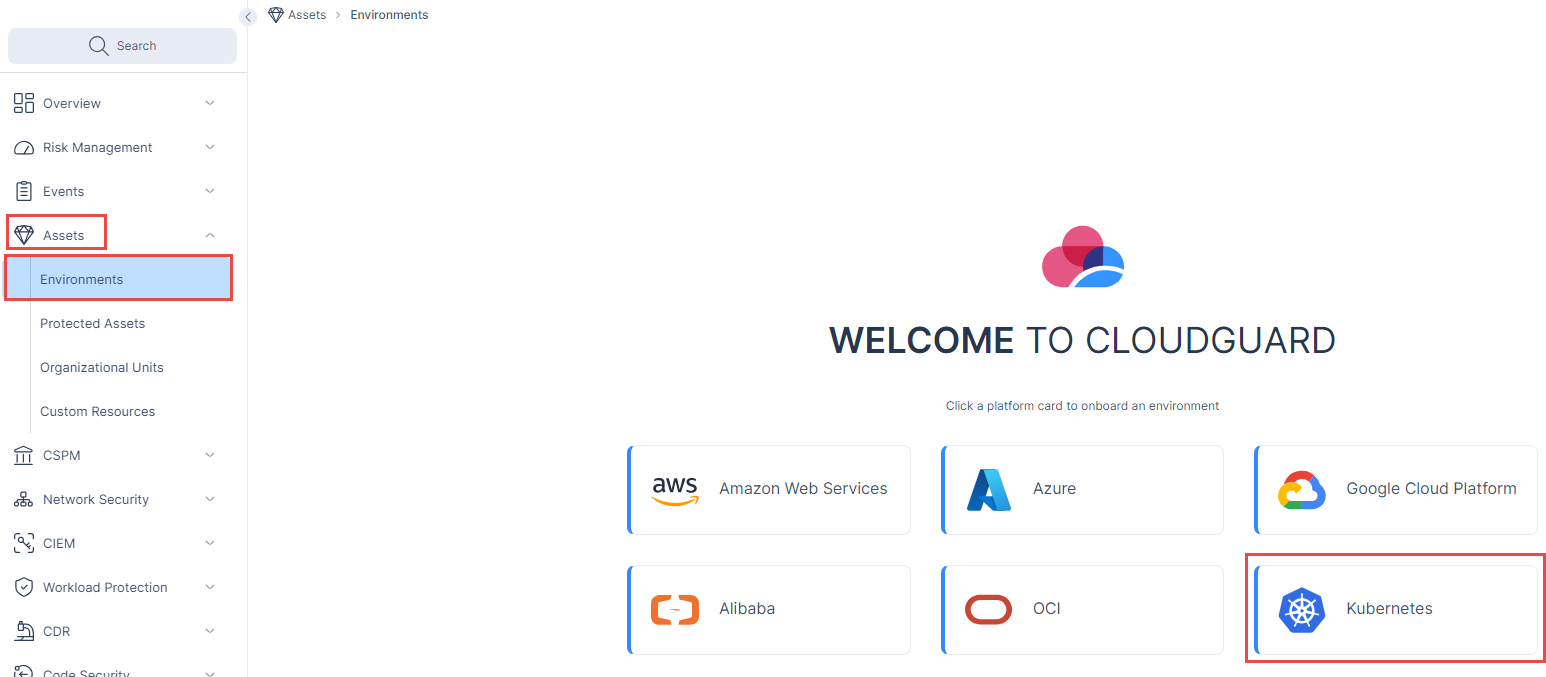
In Infinity Portal > CLOUDGUARD > CWPP - Workload Protection. |
||||||||||
|
4 |
Navigate to the Environments section in the Assets tab, Click on Kubernetes.
|
||||||||||
|
5 |
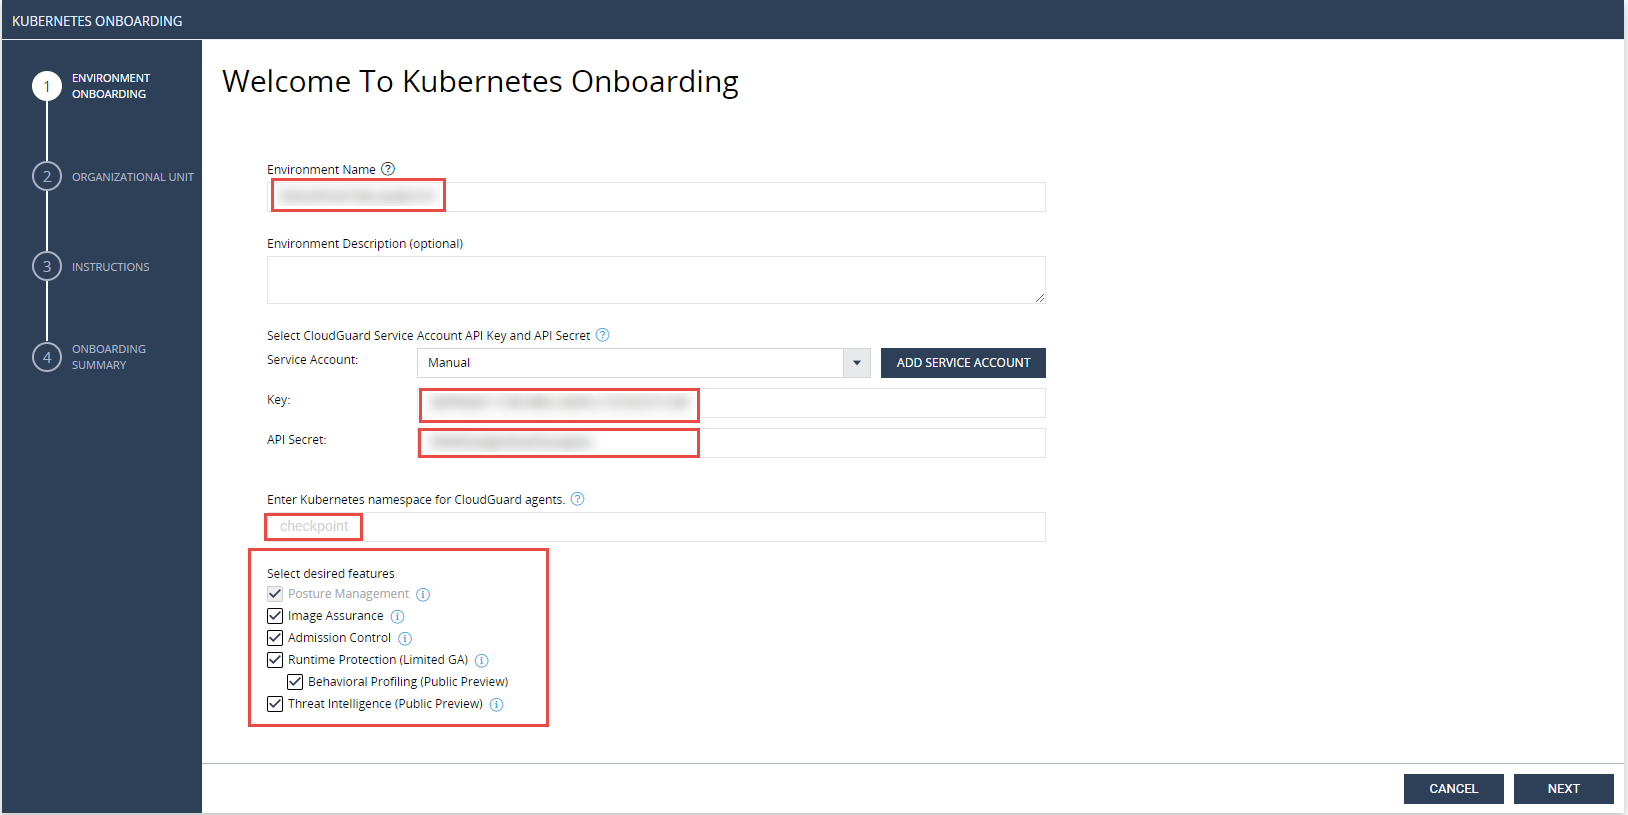
Fill in any name that you'd like, e.g.: DemoPoint-k8s-<your_name>. |
||||||||||
|
6 |
Click on Add Service Account and enter name, e.g. k8s-key-<your_name>. |
||||||||||
|
7 |
Click Close on the New Service Account Details window. The API Key ID and Secret will be filled automatically in relevant fields in the wizard. |
||||||||||
|
8 |
Enter the following namespace : checkpoint.
|
||||||||||
|
9 |
Mark all checkboxes to get all features and Press NEXT.
|
||||||||||
|
10 |
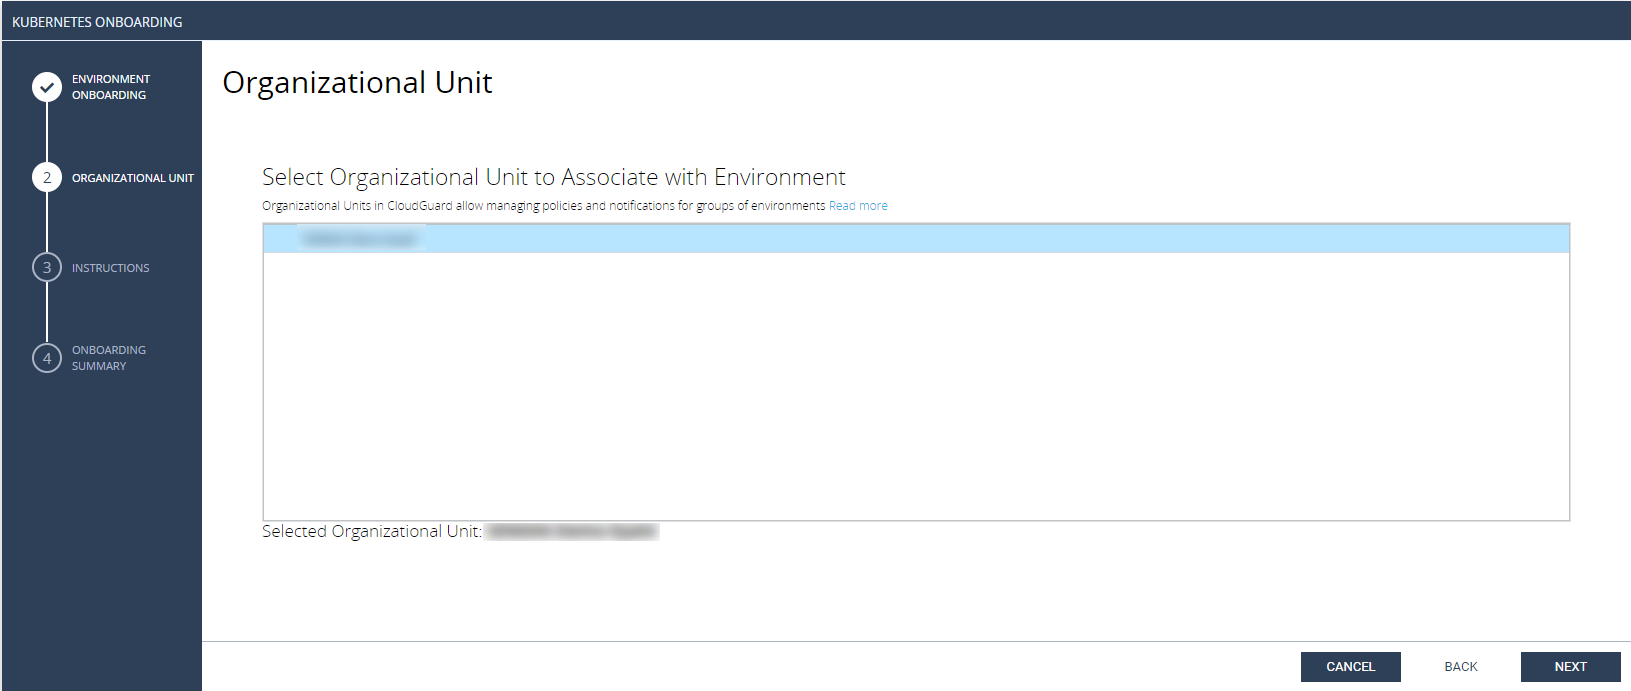
Select your account for Organizational Unit and Press NEXT.
|
||||||||||
|
11 |
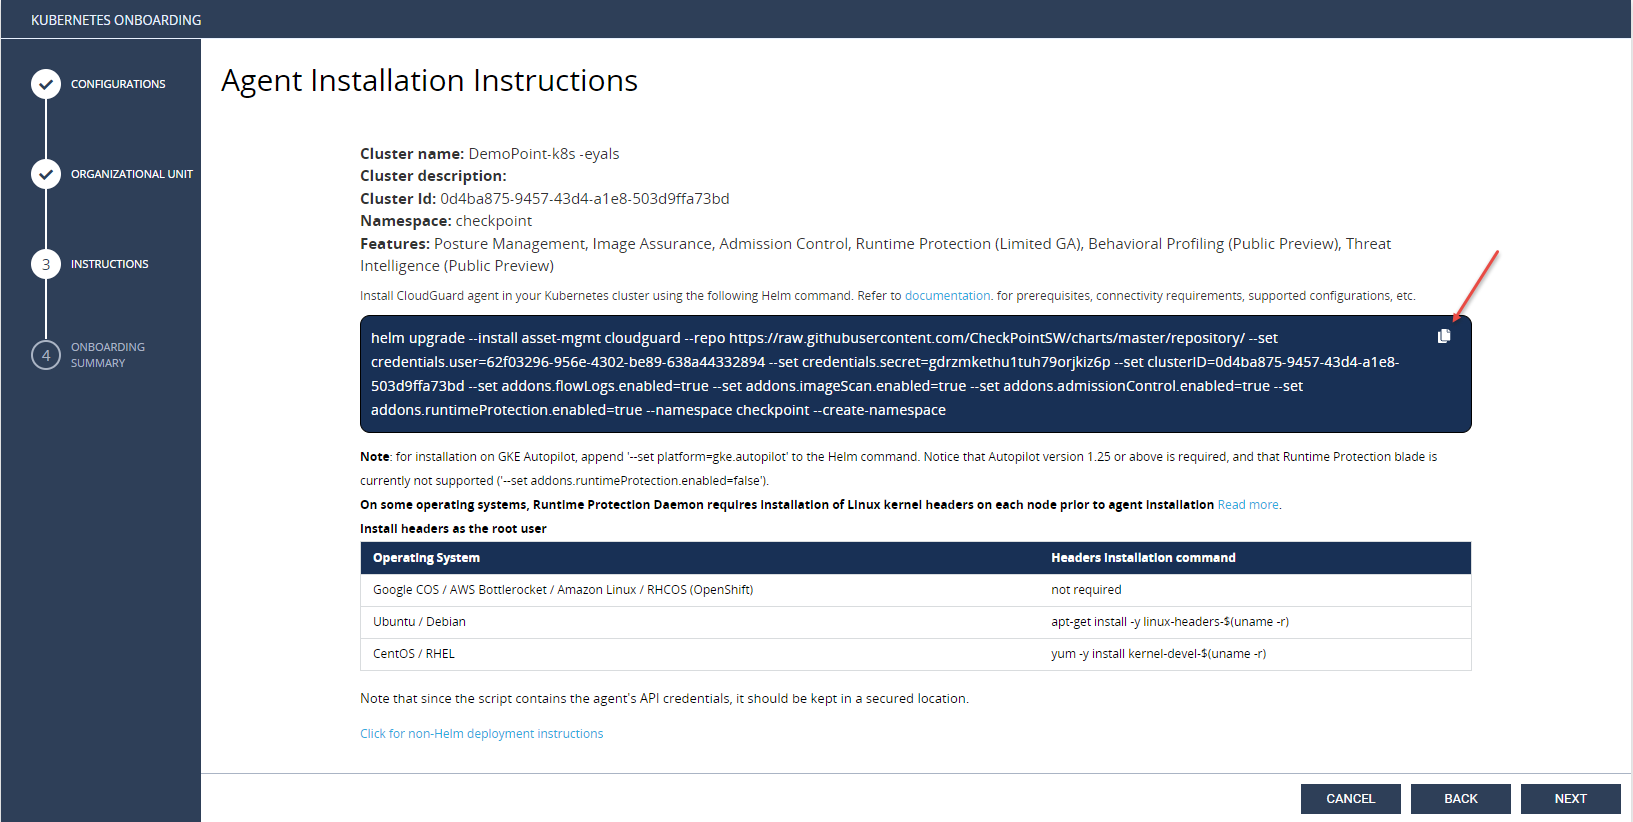
Copy and execute the helm command from the instructions summary to the Kubernetes Server machine:
|
||||||||||
|
12 |
Once execution is finished and status is deployed click NEXT:
|
||||||||||
|
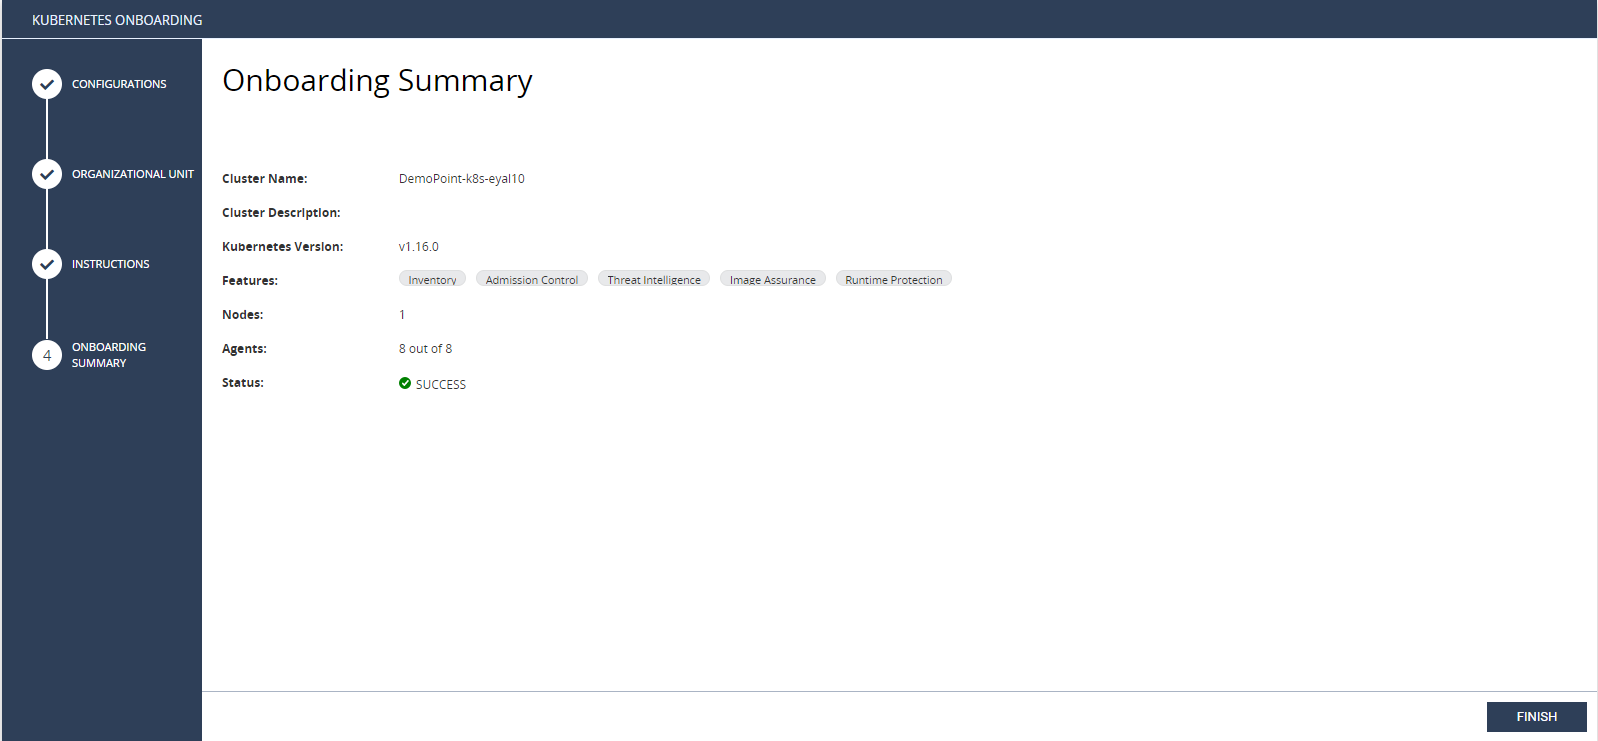
13 |
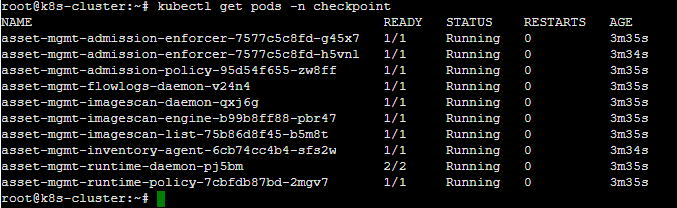
Wait for status SUCCESS and Press on FINISH.
If the synchronization fails, check that the agents are in a ready state:
Once all the agents are in a Running state, you can re-validate the synchronization.
|
||||||||||
|
14 |
After you finish all of the lab scenarios, remember to remove your cluster protected asset from the Kubernetes environment. You will need to delete any policy you created before doing so. |