Admission Control
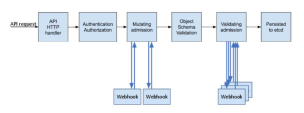
An admission controller is a piece of code that intercepts requests to the Kubernetes API server after the request is authenticated and authorized but before it becomes persistent. If requested, the entire request is rejected immediately, and an error is returned to the end-user.
CloudGuard admission control utilizes a validating admission webhook to enforce the users' policies in the CloudGuard portal or via the CloudGuard APIs.
Instructions
|
Step |
Instructions |
||
|---|---|---|---|
|
1 |
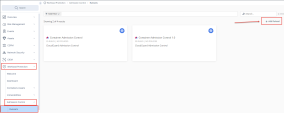
Navigate to the Admission Control > Rulesets section in the Workload Protection tab. |
||
|
2 |
On the top right cornet , Click Add Ruleset. |
||
|
3 |
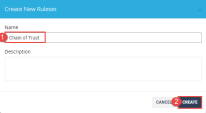
Enter the following Name: Chain of Trust and click Create. |
||
|
4 |
Click on + New Use Case. |
||
|
5 |
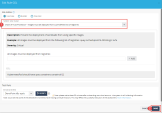
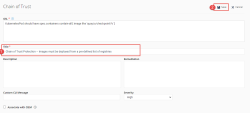
Select the following Use Case: Chain of Trust Protection – Images must be deployed from a pre-defined list of registries. |
||
|
6 |
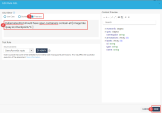
Click on Free text and paste the following:
Click Done. |
||
|
7 |
|
||
|
8 |
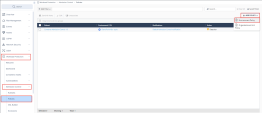
Navigate to the Admission Control > Policies section. Click on Add policy and choose Environment Policy and apply the new ruleset to your cluster. |
||
|
9 |
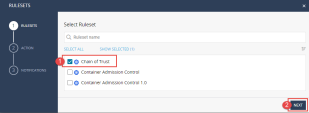
Choose the Chain of Trust and click NEXT. |
||
|
10 |
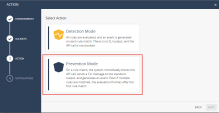
Choose Prevention Mode and click NEXT. |
||
|
11 |
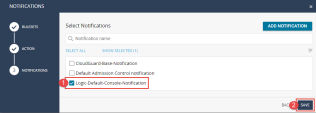
Choose Logic-Default-Console-Notification, which will send the alerts to the console, and click SAVE.
|
||
|
12 |
Execute the following command in the SSH window on the Kubernetes Server to test your prevention rule:
You will see the following error message in the SSH window :
|
||
|
13 |
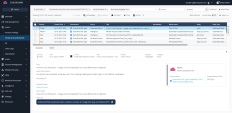
Navigate to the Threat & Security Events section in the Events tab and review the alert that was created: |

