6. Risk Management
CloudGuard provides alerts from multiple sources like Compliance engine, Intelligence, etc. With the immense number of alerts, security teams do not always know which alerts they need to address first.
Effective Risk Management (ERM) helps you to prioritize remediation and ensures you make the highest impact to decrease the risk for your cloud environments. CloudGuard calculates a risk score for cloud assets based on many inputs.
Discussion Points
-
Maximizing the productivity of security teams.
-
Visibility of each asset's risk score based on all risk vectors, context, and business priority.
-
Visibility of environments at high risk.
-
Identification of potential attack paths with Security Issues.
Instructions
|
Step |
Instructions |
||
|---|---|---|---|
|
1 |
Navigate to Risk Management > Dashboard. In the first section of the dashboard, you can see the distribution of security issues found in your cloud environments according to their severity. Security issues represent potential attack paths obtained by identifying dangerous combinations such as an exposed asset containing sensitive data. Security issues allow you to focus on fixing your most important threats. Another widget shows your top security issues according to severity and number of occurrences. |
||
|
2 |
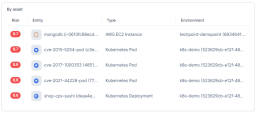
The Dashboard presents the following statistics on Assets at high-risk in the following widgets:
|
||
|
3 |
The Dashboard also provides you a view of riskiest asset types, riskiest assets, and risk distribution of your cloud environments. |
||
|
4 |
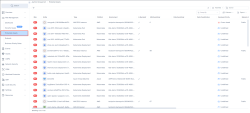
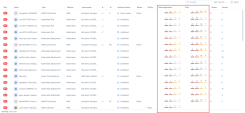
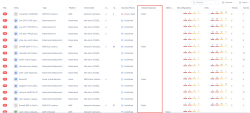
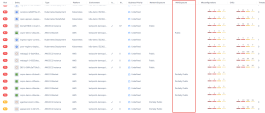
Navigate to Risk Management > Protected Assets to see the Risk Score of your assets. The score ranges from 0 to 10. The assets with the highest risk score need to be addressed first. CloudGuard recalculates the risk score every few hours or in case of business priority update.
|
||
|
5 |
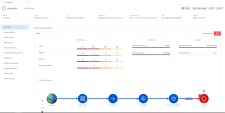
Click on the Instance: mongodb (i-0610fc98ecdb7959d) to open the detailed view page: |
||
|
6 |
The Overview tab summarizes information about the security posture of the asset. This includes the most important (top five) remediation actions that are necessary to do to reduce the asset risk. |
||
|
7 |
The demo tenant was on-boarded with the AWP (Agentless Workload Posture) feature which scanned the virtual machines (AWS EC2 instances & Azure Virtual Machines) for insecure configurations and vulnerabilities. AWP’s scan is done without the need for an agent. It is done via a volume snapshot that is deleted after the scan has been performed.
The Benefits of using AWP :
|
||
|
8 |
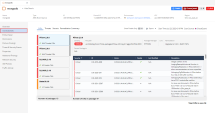
Click on the VULNERABILITIES tab to review the scan results of AWP: It shows the most recent scan date and time. |
||
|
9 |
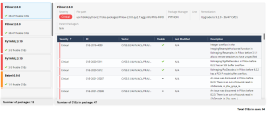
You can search and filter the scan results by appropriate criteria in the Remediation Summary. Four tabs show these types of vulnerability:
|
||
|
10 |
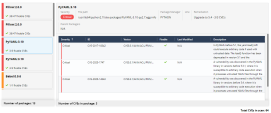
Click on Critical CVE's found to present the detailed description and vector: |
||
|
11 |
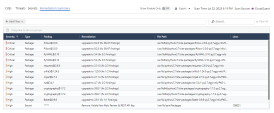
Click on Remediation Summary tab to review the suggested remediation for the mongodb (i-0610fc98ecdb7959d) instance: |
||
|
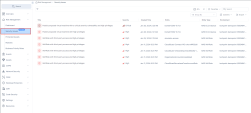
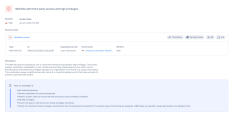
12 |
Navigate to Risk Management > Security Issues. As we explained before, you can see here the list of potential attack paths that were found in your cloud environments. You can click on an issue to see more details displayed in a drawer that opens. |


