2. Network Security
Demonstrate Configuration Explorer & Security Groups :
-
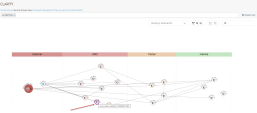
Configuration Explorer gives graphical visualizations of the network security of your cloud environment. It has a view that show the hierarchy and structure of your Security Groups, and another that shows your cloud assets and their interconnectivity. These views are arranged to show the level of exposure to the external world. From this you can identify assets that are misconfigured in the network, or overly exposed. You can also drill down from these views to see details in CloudGuard for the Security Groups or assets, and make corrections directly in CloudGuard. You can use Configuration Explorer to analyze your cloud network for security issues such as access to sensitive components from the internet, or to troubleshoot it for connectivity issues such as blocked paths to components.
-
Security Groups section shows the security groups for all of your CloudGuard managed cloud accounts. If your accounts are fully managed by CloudGuard, you can so actively manage your security groups from here, defining new security groups, or modifying them, and then applying them to your accounts.
Instructions
|
Step |
Instructions |
||
|---|---|---|---|
|
1 |
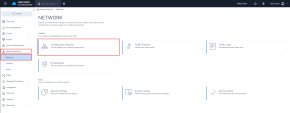
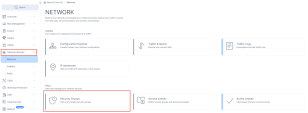
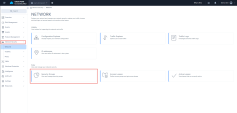
Navigate to Network Security > Welcome > Configuration Explorer. |
||
|
2 |
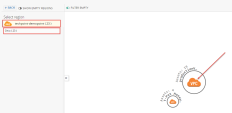
Click on techpoint-demopoint > Ohio > productionVPC.
|
||
|
3 |
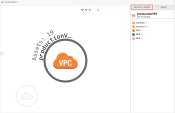
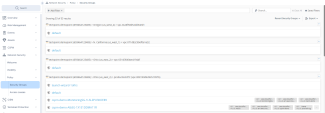
Click on Security Group View. Security Groups View uses the unique swimming lane concept to categorize the risk level of exposure in these columns. The closer you are to the red zone the more risk that asset possesses. All the assets in the internal zone have no open connection to the internet. Each bubble represents a Security Group. The number in top right corner represents the assets attached to that security group. |
||
|
4 |
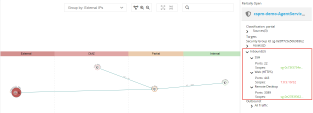
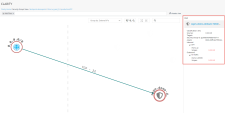
Click on one of the nodes in the Partial column and Expand the services under Inbound. Looking on the right side, You can see that this security group contains both rules that allow internet access and rules which are internal only. |
||
|
5 |
Return to the prodcutionVPC > Security Group and search for the node : cspm-demo-default under DMZ column. Click on it and expand everything under Inbound & Outbound. This Security Group has more alarming configurations. There is an inbound rule allowing SSH from the entire internet. The outbound rule is even more permissive. This is a major security gap for the Database instance attached (which is shown under Assets). |
||
|
6 |
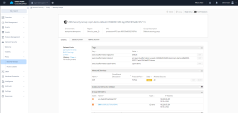
Click on the Security Group for further investigation (Clicking on the Security Group will open a new tab under Network Security > Policy > Security Groups).
|
|
|
Value to customers In the Security Group section, you can review your security groups for all your cloud accounts, on all platforms, in a single place. For managed accounts, you can also apply changes centrally to all these accounts. By defining and applying changes in one place, you ensure that your security groups are consistent and comprehensive across your entire cloud presence. By making changes through the CloudGuard console, you reduce the chance of accidental or unauthorized changes to your security groups. In addition, if unwanted changes are inadvertently made through the cloud account, CloudGuard will automatically roll them back to the previous authorized settings (made on CloudGuard), and notify you of the fact (the security group must be fully managed by CloudGuard to do this). More info can be found on the Administration Guide |
Instructions
|
Step |
Instructions |
|---|---|
|
1 |
Navigate to Network Security > Security Groups. |
|
2 |
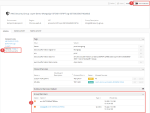
Search for the following Security Group : "cspm-demo-MongoSg" and click on it: |
|
3 |
|

