Procedure
|
Step |
Instructions |
||
|---|---|---|---|
|
1 |
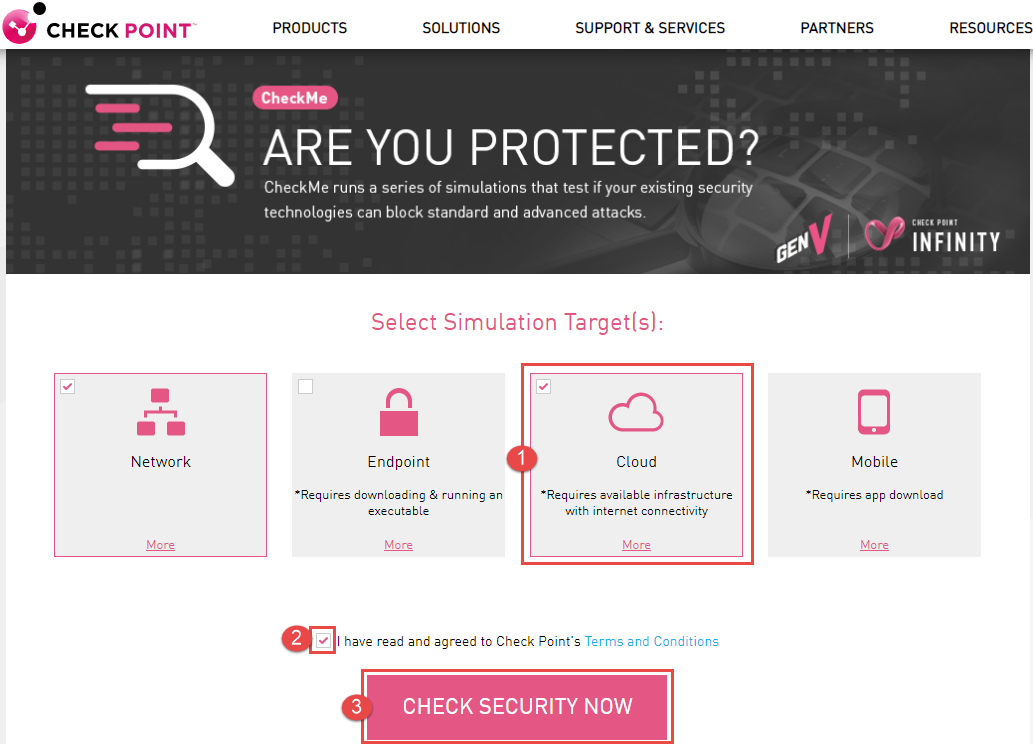
Browse to www.cpcheckme.com and select the Cloud option.
|

|
Step |
Instructions |
|---|---|
|
1 |
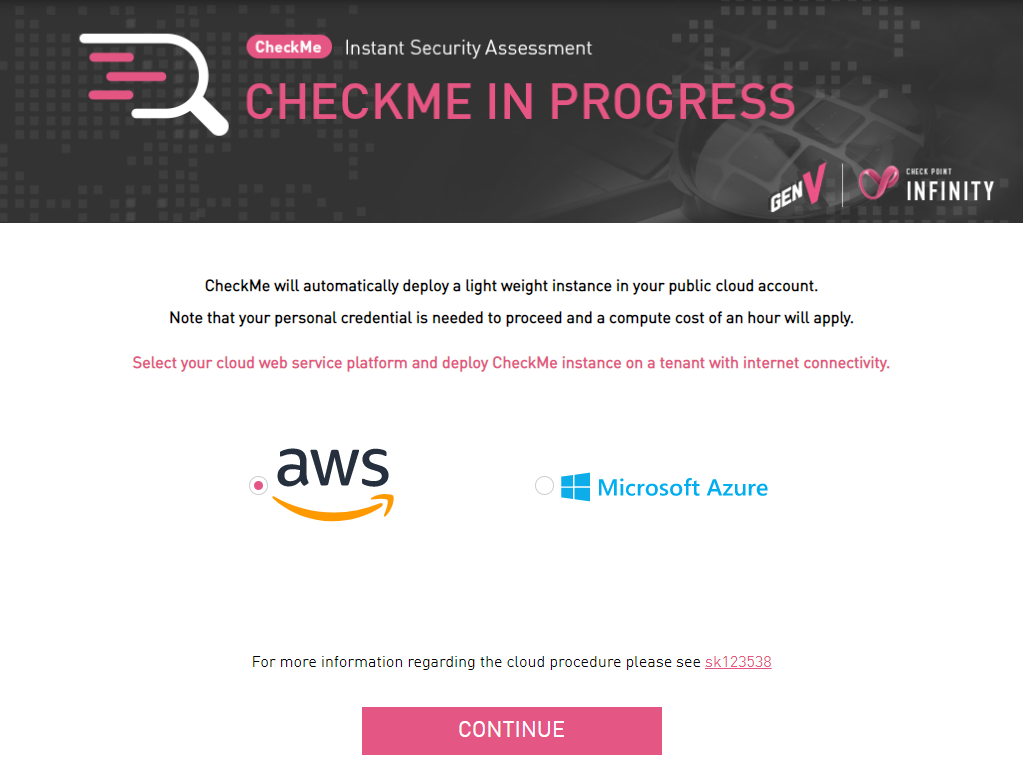
Select your cloud provider (AWS / Azure).
|
|
2 |
If Azure is selected, please copy the UID. You will be required to paste the UID in your environment. |
|
Step |
Instructions |
|---|---|
|
1 |
Fill the user’s details to receive CheckMe full report and Click Continue.
|
|
2 |
After clicking Continue you will be forwarded to the selected cloud web service. |

|
Step |
Instructions |
||
|---|---|---|---|
|
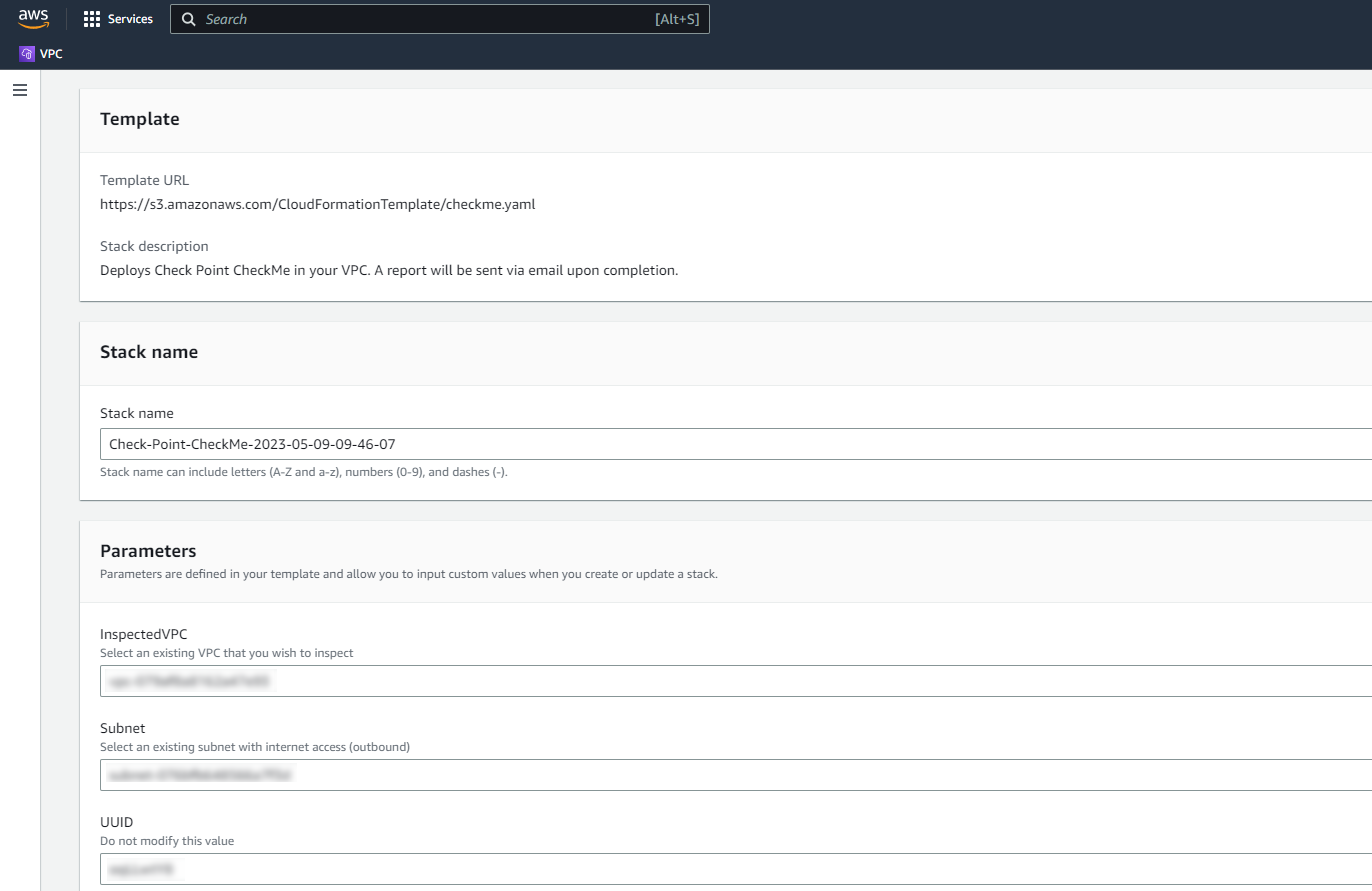
1 |
Select the VPC and subnet with internet connection that you wish to assess with CheckMe instance.
|
||
|
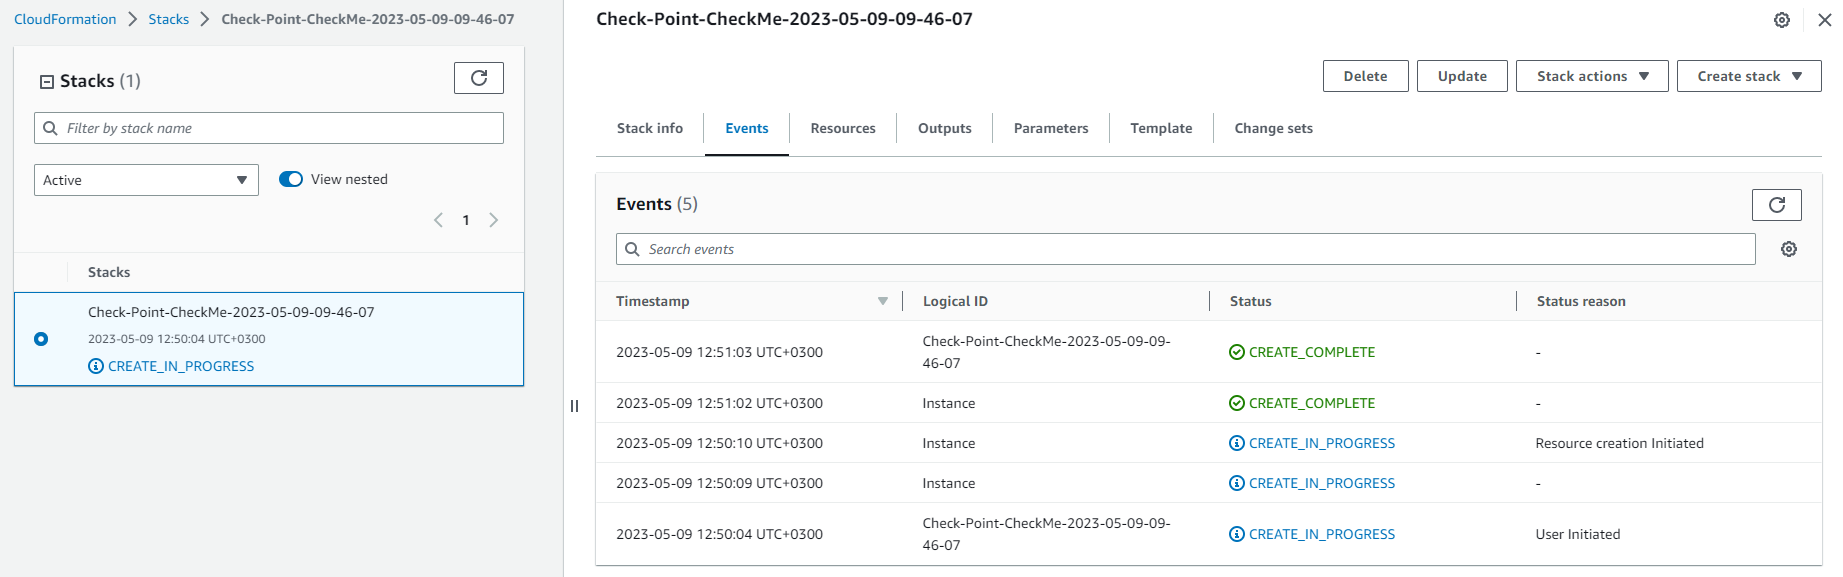
2 |
CheckMe instance is created and will run the assessment.
|
||
|
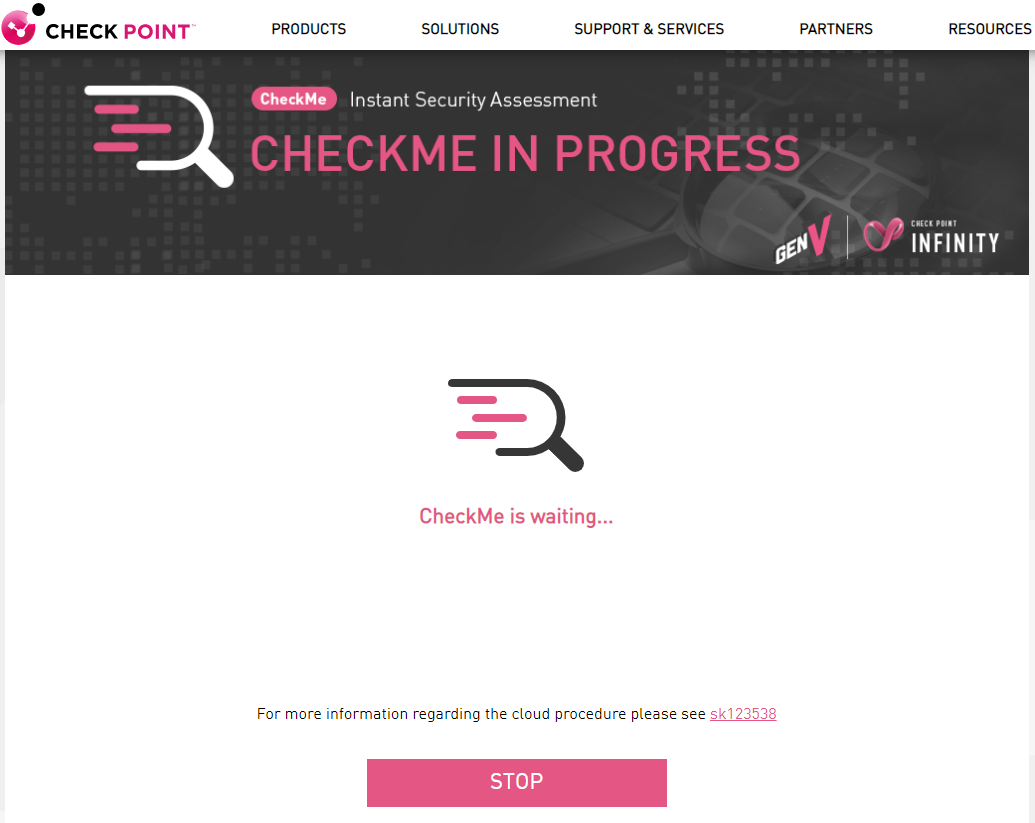
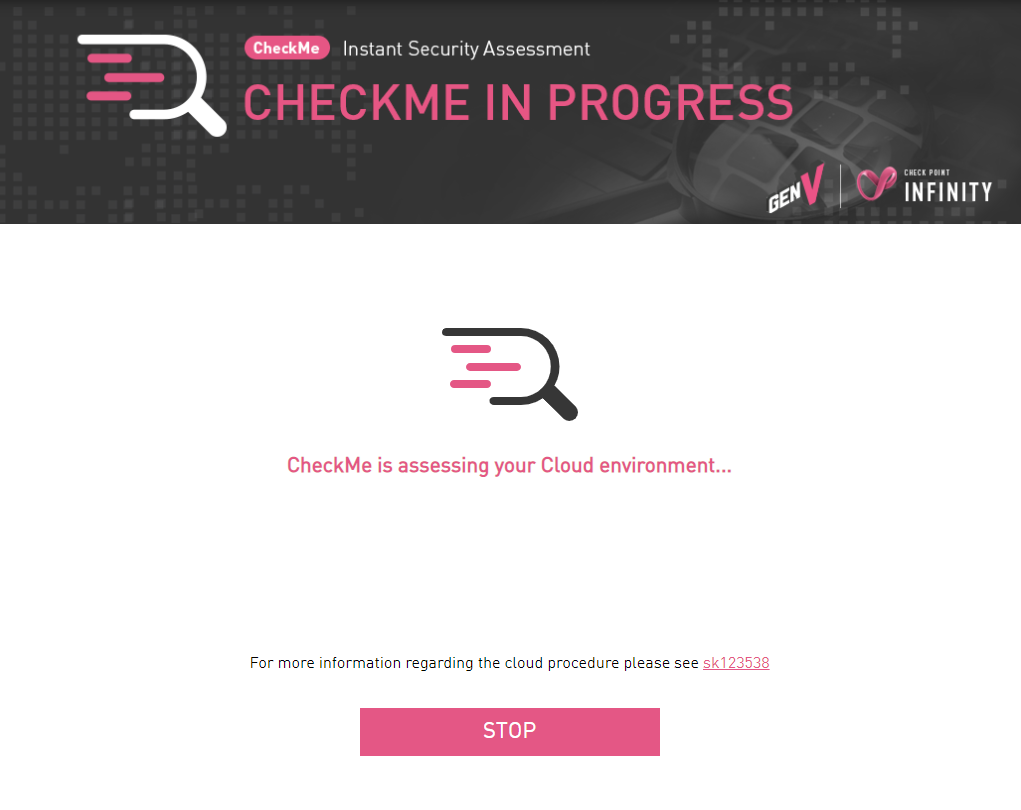
3 |
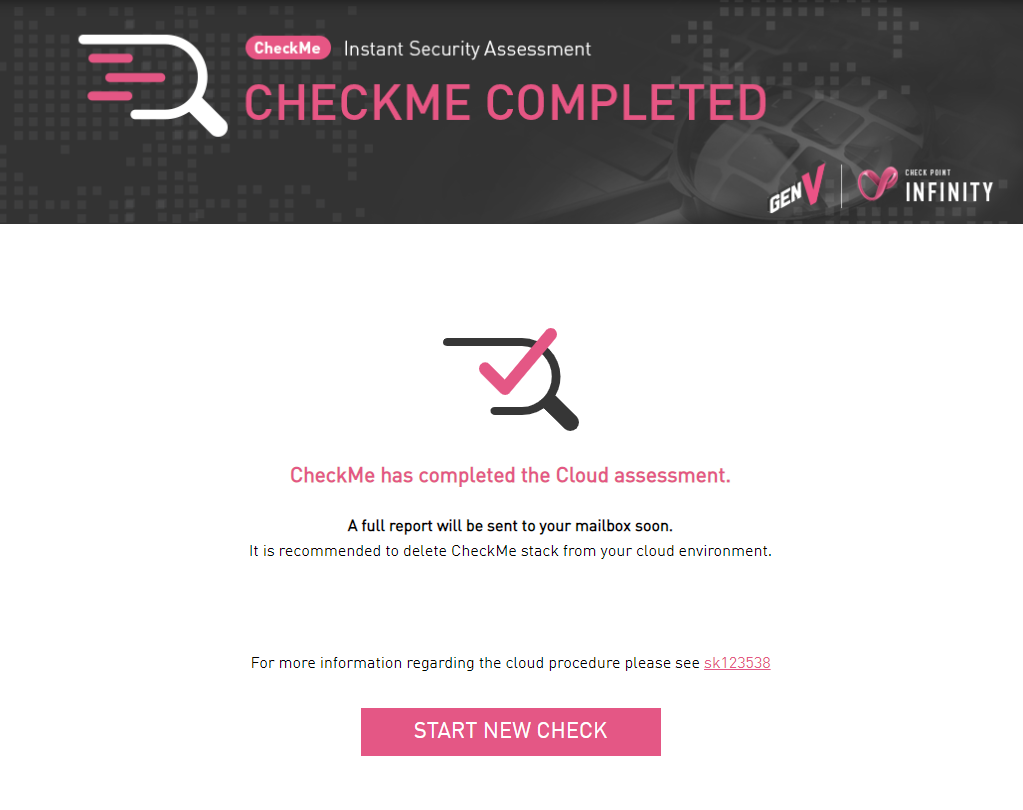
The CheckMe website also presents the status of the cloud assessment. Once it completed a message will be shown on the screen and the full report will be sent to the user’s email.
|

|
Step |
Instructions |
||
|---|---|---|---|
|
1 |
Select Microsoft Azure and copy the UID and paste it to CheckMe solution in the Marketplace.
Click Continue. |
||
|
2 |
Fill the user’s details to receive CheckMe full report and Click Continue.
|
||
|
3 |
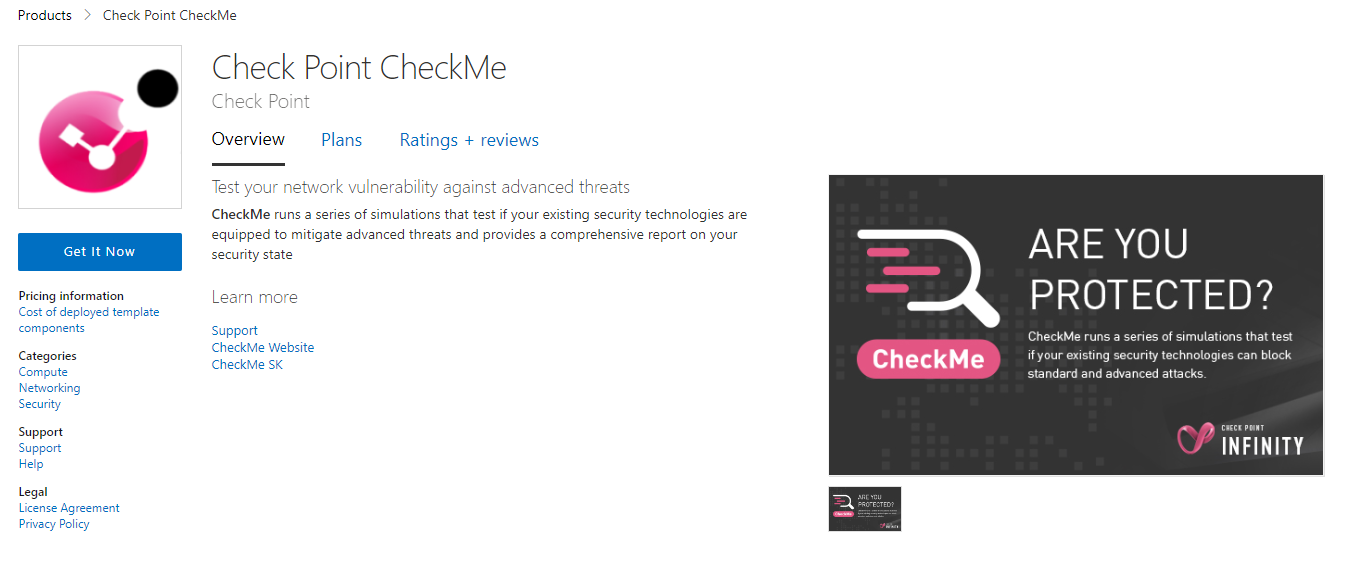
You are automatically logged into the CheckMe resource.
|
||
|
4 |
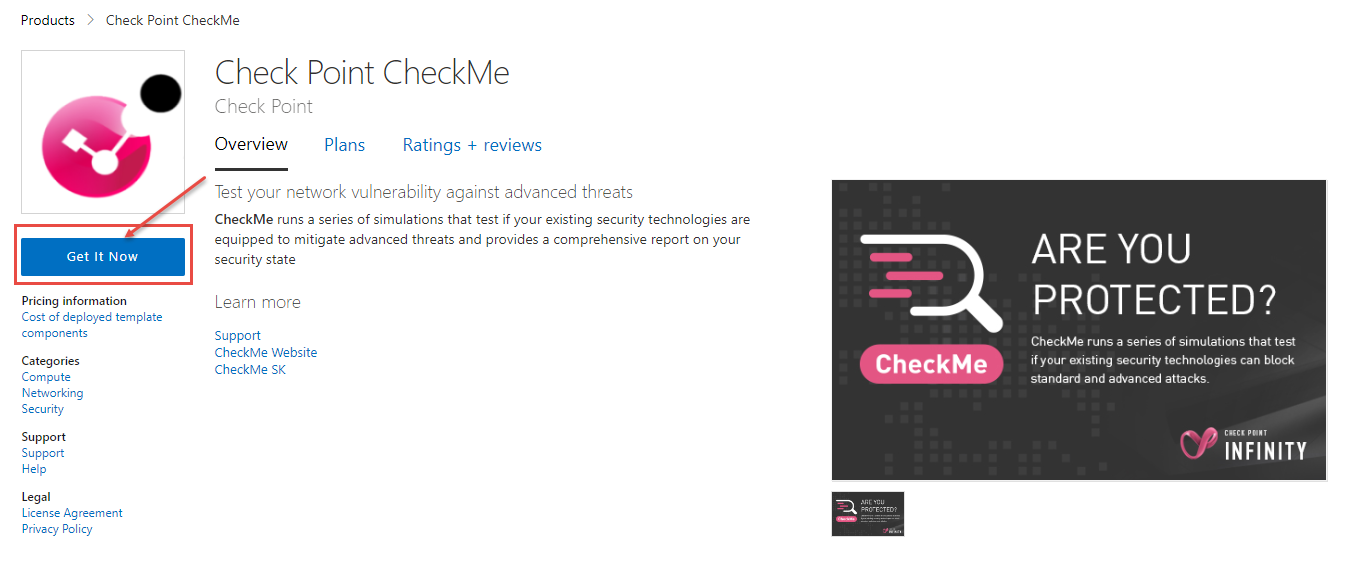
Click Get It Now .
|
||
|
5 |
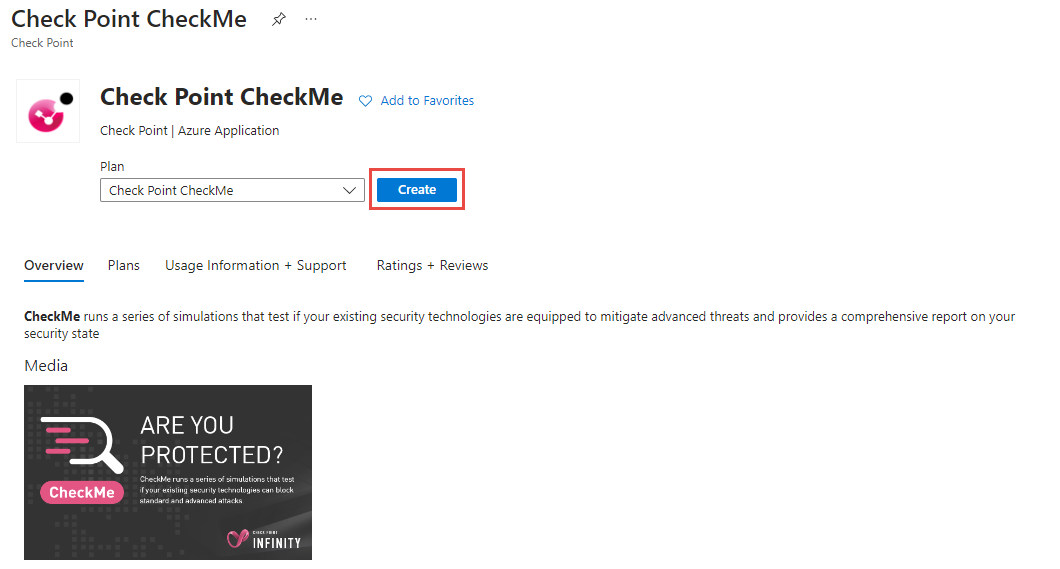
After login with your account , you will redirected to the following window :
Click Create. |
||
|
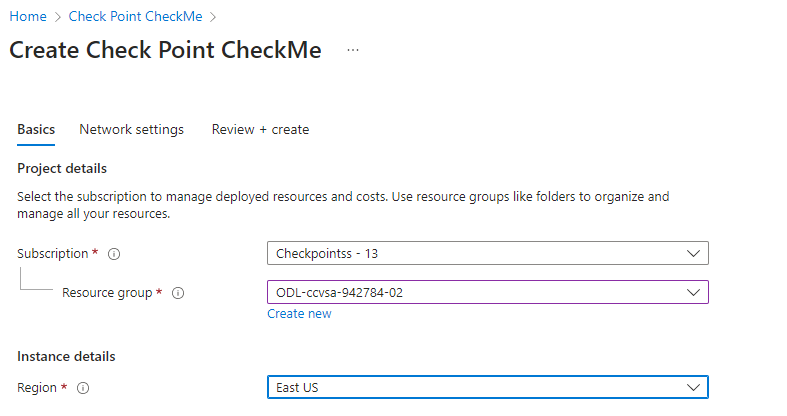
6 |
Create new resource group and select the region.
Click Next : Network settings . |
||
|
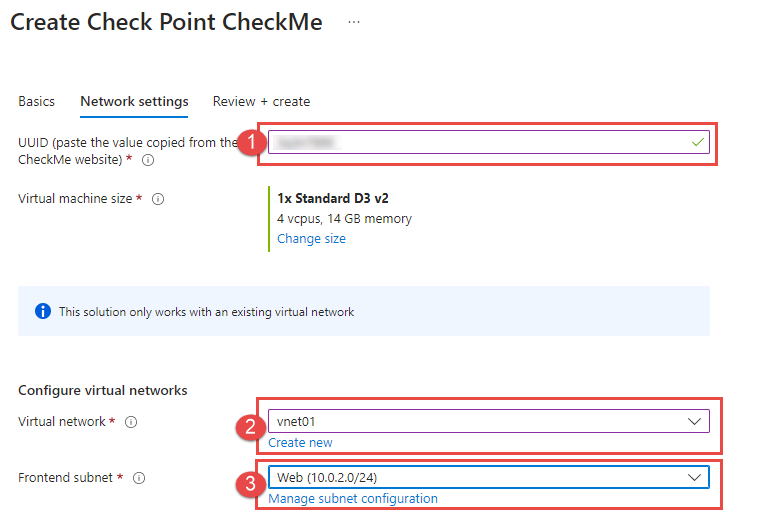
7 |
In Network settings:
|
||
|
8 |
Click Next: Review + create.
|
||
|
9 |
Click Create .
|
||
|
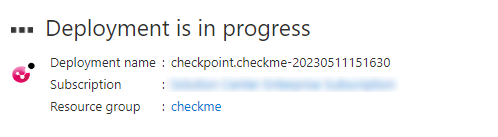
10 |
Wait for deployment to complete.
|
||
|
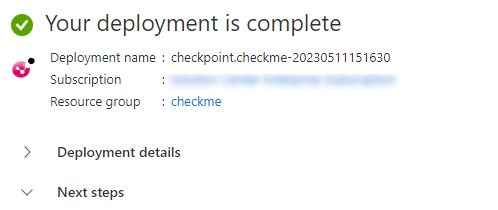
11 |
CheckMe assessment will run when deployment is complete.
|


|
|
Important - Upon completion of CheckMe Cloud assessment, please make sure to delete CheckMe stack (manually) from your cloud environment. |
-
Full report will be send to the user email.