View Settings
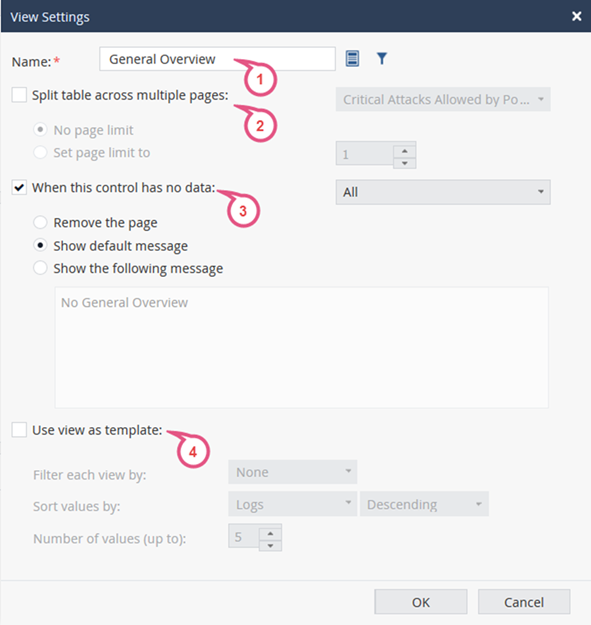
Views can be configured according to these options:
-
Enter a title.
-
To show more results, this option allows a table to spread across multiple pages when saved to PDF.
The No page limit option shows all the results for the selected table query, spread across as many pages as required.
-
Select what you want to display when this control has no data:
-
Remove the page
-
Show a default or custom message.
-
-
Select to use the view as a template and add filter and sort criteria.
Use the view as a basis for generating duplicate views with more granularity.
Use Case:
The Active Users predefined view shows all active users. You want to see a more granular view per user:
-
Open the Active Users view and click Options > View settings.
The View Settings window opens.
-
Select Use View as template.
-
For Filter each view by, select User.
-
Select Number of values. For example, 5.
-
Click OK.
-
Go to Options > Export > Export to PDF.
-
The view is exported. Wait until a message shows the view was successfully exported.
-
Click Download.
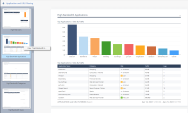
The report
 Summary of network activity and Security Policy enforcement that is generated by Check Point products, such as SmartEvent. shows all widgets in the view filtered according to each user.
Copying Views to Other Reports
To copy a view to another report:
-
Right-click the required view.
-
The copy option shows with the name of the view:
-
Select Copy: [view name]
-
Go to the report in which you want to past the view.
-
Go to Options and select Edit:
-
Right-click an empty space in the report.
-
From the Paste drop-down menu, select the view you want to paste:
-
Click Done.


|
|
Note - When you copy a view to another report, the copied view does not include the filter of the original report, only the filter of the copied view. |
