Installing and Configuring an Endpoint Policy Server
We recommend that you use a distributed deployment that contains external Endpoint Policy Servers on dedicated computers.
-
For larger sites, install many Endpoint Policy Servers to improve performance.
An Endpoint Policy Server is a Log Server![]() Dedicated Check Point server that runs Check Point software to store and process logs. that you configure as an Endpoint Policy Server.
Dedicated Check Point server that runs Check Point software to store and process logs. that you configure as an Endpoint Policy Server.
Installing an Endpoint Policy Server
To install Endpoint Policy Server, install a Log Server and configure it as Endpoint Policy Server. Use the instructions in the R81.10 Installation and Upgrade Guide
Configuring an Endpoint Policy Server
To define an Endpoint Policy Server:
-
In SmartEndpoint
 A Check Point GUI application which connects to the Endpoint Security Management Server, to manage your Endpoint Security environment - to deploy, monitor and configure Endpoint Security clients and policies., go to Manage > Endpoint Servers.
The Endpoint Servers window opens.
-
Click New.
To edit an existing server, select it from the list and click Edit.
The Endpoint Server Wizard opens.
-
In the Name field, enter the Fully Qualified Domain Name (FQDN) of the Endpoint Policy Server. For example, somehost.example.com.

Note - We recommend that you enter the FQDN so that if the IP address of the server changes, the client uses the FQDN to communicate with the server. It also allows you to use an internal non-routable, private IP address for the server (for example 10.1.2.3).
-
In the IP Address field, enter the IP address of the Endpoint Policy Server.

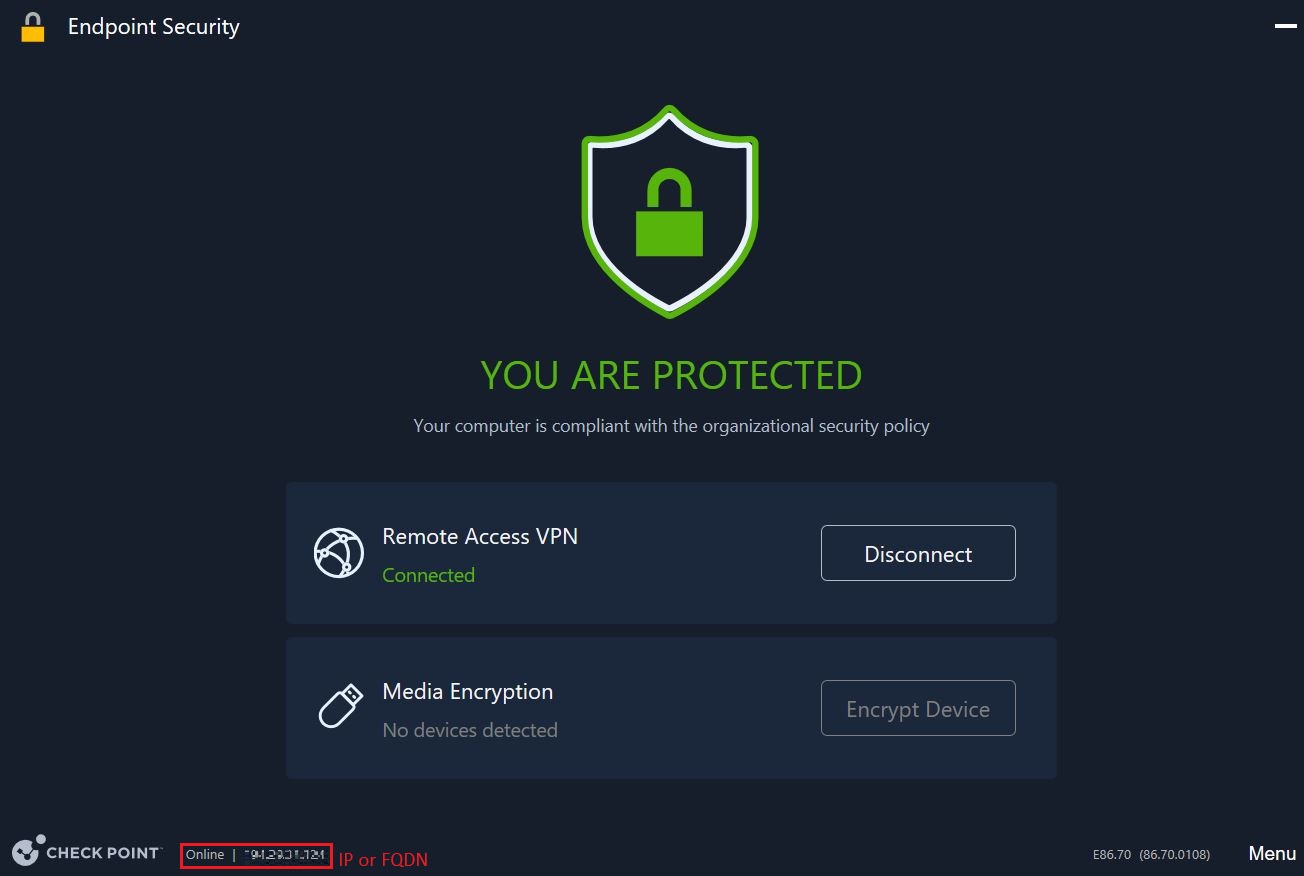
Note - - The Harmony Endpoint Security Client
 Application installed on end-user computers to monitor security status and enforce security policies. uses either FQDN or IP address, whichever is quicker to communicate with the server and displays it in the Endpoint Security Client Home screen.
-
Select Endpoint Policy Server
-
Click Next.
-
Select an option to initiate secure trusted communication now or later:
-
Initiate trusted communication (If the servers are up and able to communicate)
-
Enter and confirm an Activation Key. You will enter this same key on the other servers.
-
Click Initialize.
-
-
Skip and initiate trusted communication later (If the servers are not ready to communicate)
-
-
Click Next.
A warning pop-up window shows.
-
Click OK.
-
Click Finish.
The Install Database window opens.
-
Wait for the database installation to finish.
The Close button becomes available.
