Rapid7 On-Prem Integration with TEM
Overview
Rapid7 On-Premises integration with Threat Exposure Management (TEM) reinforces security across enterprise vulnerability management environments by automating the collection and distribution of vulnerability and asset data from on-premises Rapid7 deployments to the TEM platform. This automation ensures consistent risk visibility, accelerates incident response workflows, and supports centralized governance, enabling scalable and resilient protection across complex infrastructures.
Administrators must create a dedicated user with the required permissions in the on-premises Rapid7 Security Console and configure appropriate access controls. This setup ensures comprehensive vulnerability visibility across all monitored assets and facilitates effective integration with TEM for centralized analysis and coordinated response.
Supported Capability
Vulnerability Remediation
-
Identifies, correlates, and prioritizes vulnerabilities across your environment.
-
Provides actionable insights to remediate vulnerabilities effectively through compensating controls, such as configuration changes, access restrictions, or virtual patching.
-
Ensures that remediation actions are tracked and verified, supporting continuous risk reduction and improved security posture.
Integrating Rapid7 On-Prem with TEM
Step 1 Creating a Dedicated User and Custom Role for TEM Integration
To create a dedicated user and assign the necessary permissions for TEM integration in Rapid7 On-Premises:
-
Log in to the Rapid7 Security Console.
-
From the left navigation panel, click Administration.
-
In the Users section, navigate to Custom Role and click Create User Role.
The Create User Role pop-up appears.
-
Enter a name for the role and provide a description.
-
Click Next.
-
In the permissions list, check the following required permissions:
-
Global: Manage Scan Engines
-
Sites: View Site Asset Data, Assign Scan Engine
-
Asset Groups: View Group Asset Data
-
Vulnerability Exceptions and Policy Overrides: View Vulnerability Investigations
-
-
Click Add to save the custom role.
Adding a User
-
Navigate to the Users tab and click Add User.
The Add User pop-up appears.
-
Fill in the relevant user details and select InsightVM Users as the Authorization Method.
-
Click Next.
-
In the User Information section, enter the following fields:
-
In the Username field, enter a unique username for the new user.
-
In the Full Name field, enter the full name of the user.
-
In the Email Address field, enter a valid email address for the user.
-
In the Authorization Method field, select InsightVM users from the dropdown menu.
-
Enable the Activate User checkbox to enable the account.
-
In the Password field, enter a secure password for the user. Re-enter the password to confirm.
-
(Optional) Enable the Require password reset upon login checkbox if you want to change the password at first login.

-
-
Click Next.
Assigning Site Permissions to the User
-
After assigning the user role, you will be directed to the Site Permissions screen.
The Site Permissions screen appears.
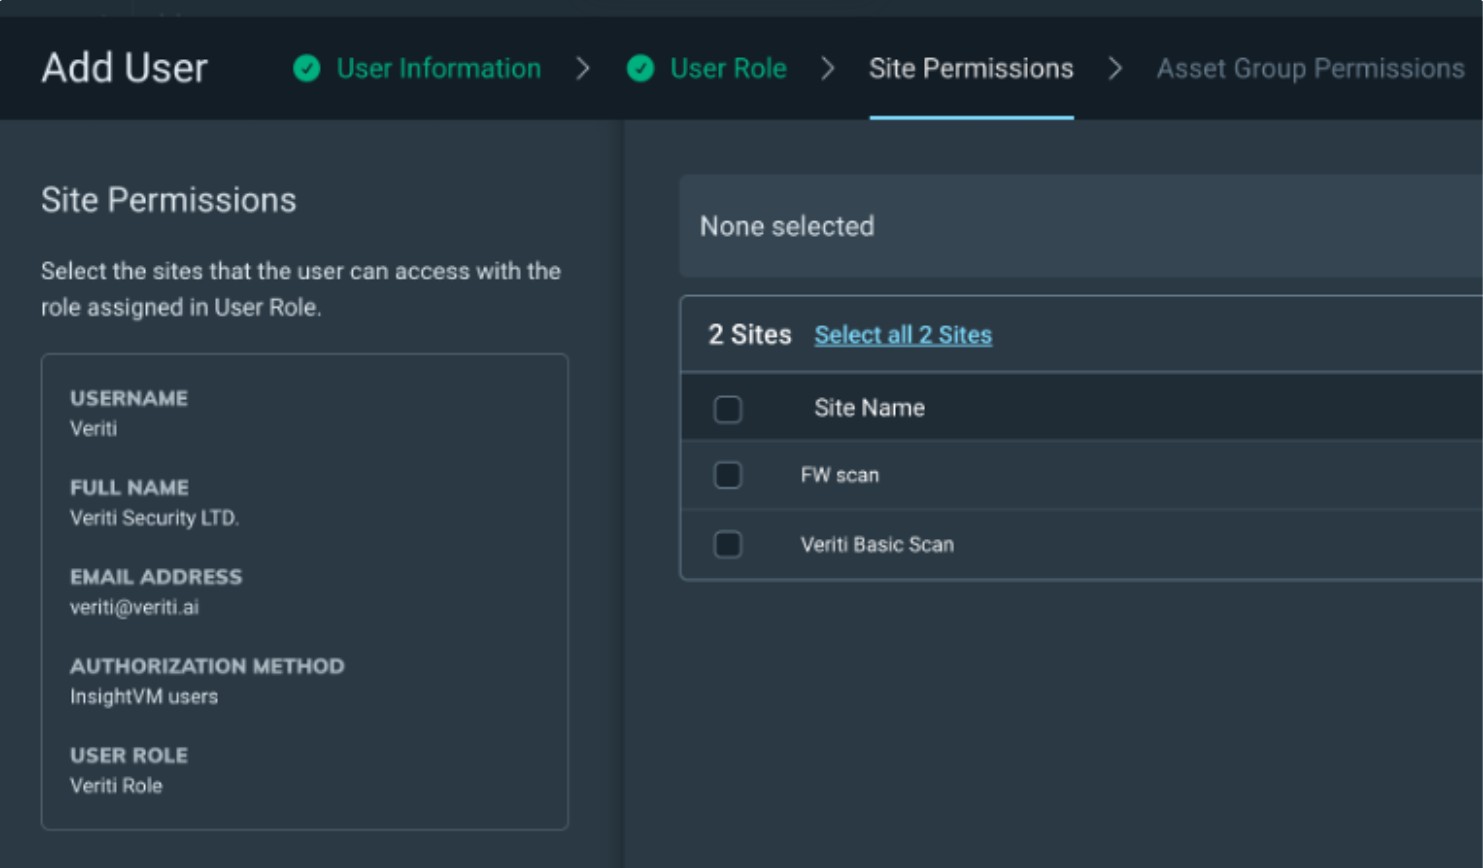
-
In the Site Permissions section, select the sites that the user can access with the role assigned in the User Role.
-
Select Existing Custom Role and choose the role created in In the permissions list, check the following required permissions:.
-
Click Next.
-
Under Site Permissions, click Select all 2 Sites to grant access to all required sites.
-
Click Next.
-
Review the configuration and click Add to create the user.
Step 2: Configuring the TEM Portal
-
Log in to the TEM portal.
-
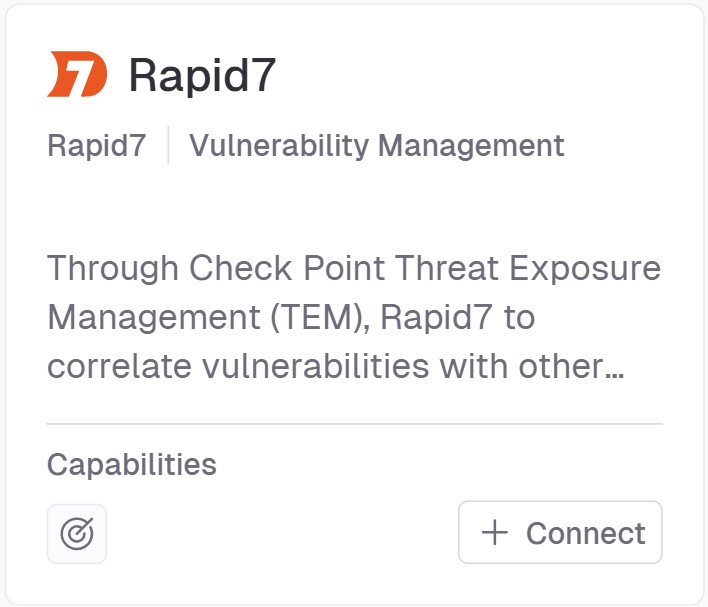
Go to Settings > Integrations > Catalog > Rapid7.
-
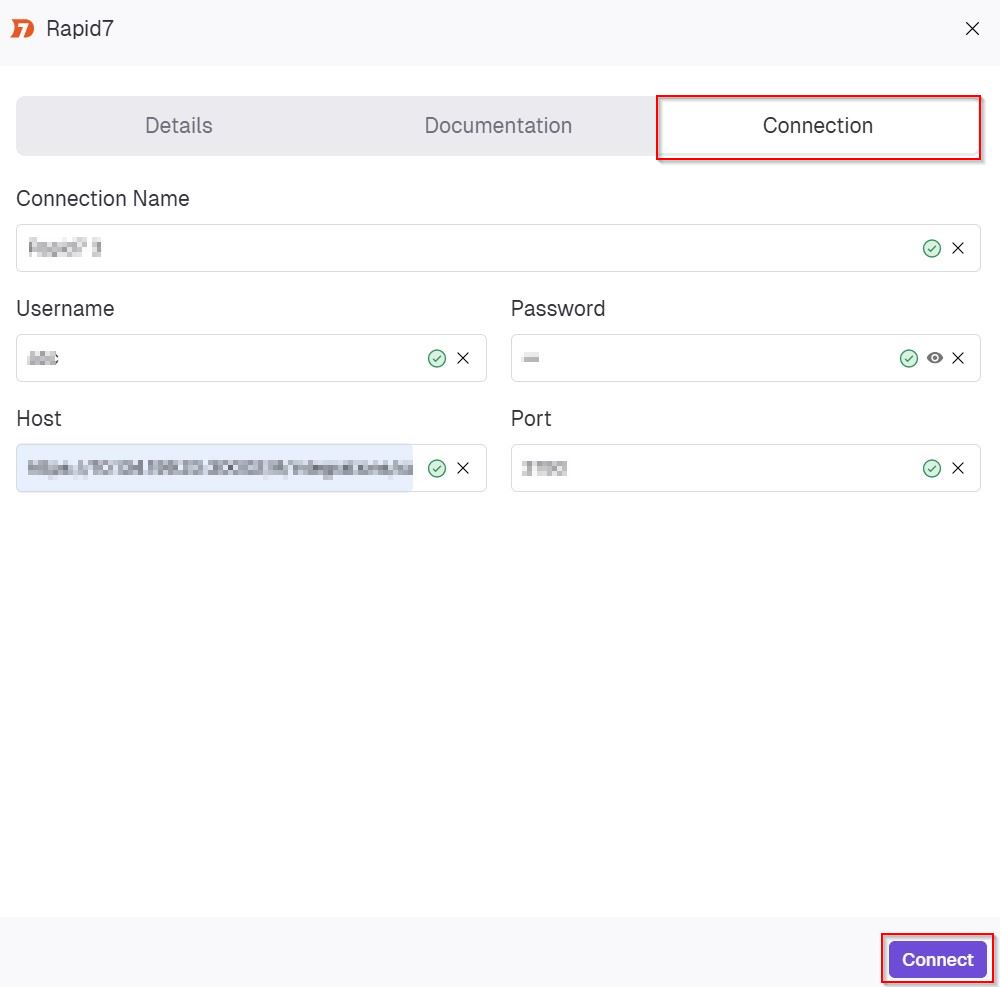
In the Rapid7 pop-up that appears, navigate to the Connection tab and enter the following details.
-
In the Connection Name field, enter a name for this connection.
-
In the Username field, enter the username for the Rapid7 account.
-
In the Password field, enter the password associated with the specified Rapid7 username.
-
In the Host field, enter the full URL or IP address of your Rapid7 Security Console.
-
In the Port field, enter the port number used by your Rapid7 Security Console for API access.
-
-
Click Connect to establish a connection.