Okta (SCIM)
Harmony SASE integrates with Okta using SCIM, ensuring automatic user synchronization, profile updates, and streamlined deactivation when users are removed from the Okta SCIM Application.
Prerequisites
To integrate Okta and Harmony SASE, you must have:
-
Administrator access to both Okta and Harmony SASE Administrator Portal.
-
Active Harmony SASE Okta application configured for Single Sign-On.
|
|
Note - SCIM based user provisioning is available to Harmony SASE Enterprise customers only. |
Enabling SCIM on Okta Management Portal
-
Log in to your Okta Management Portal.
-
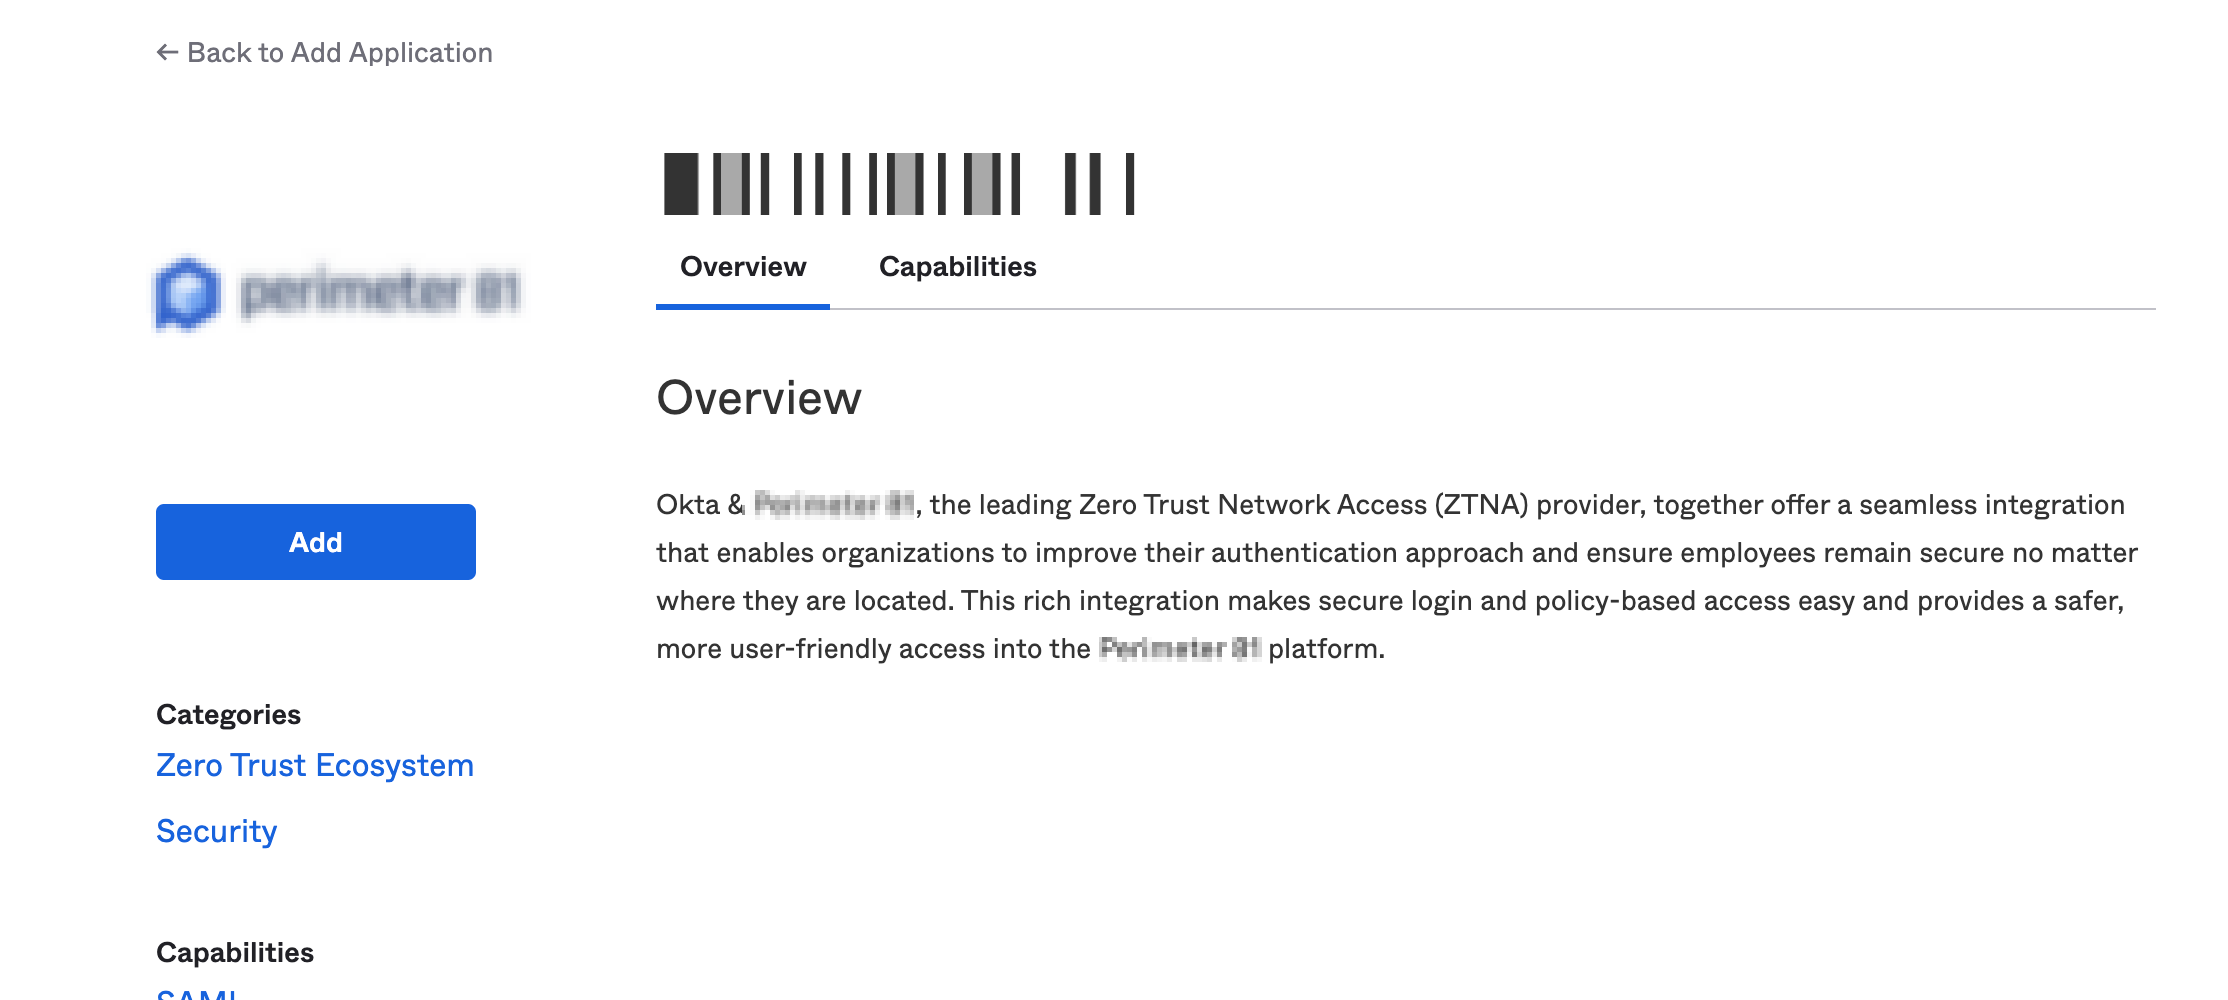
Go to Applications > Browse app Catalog.
-
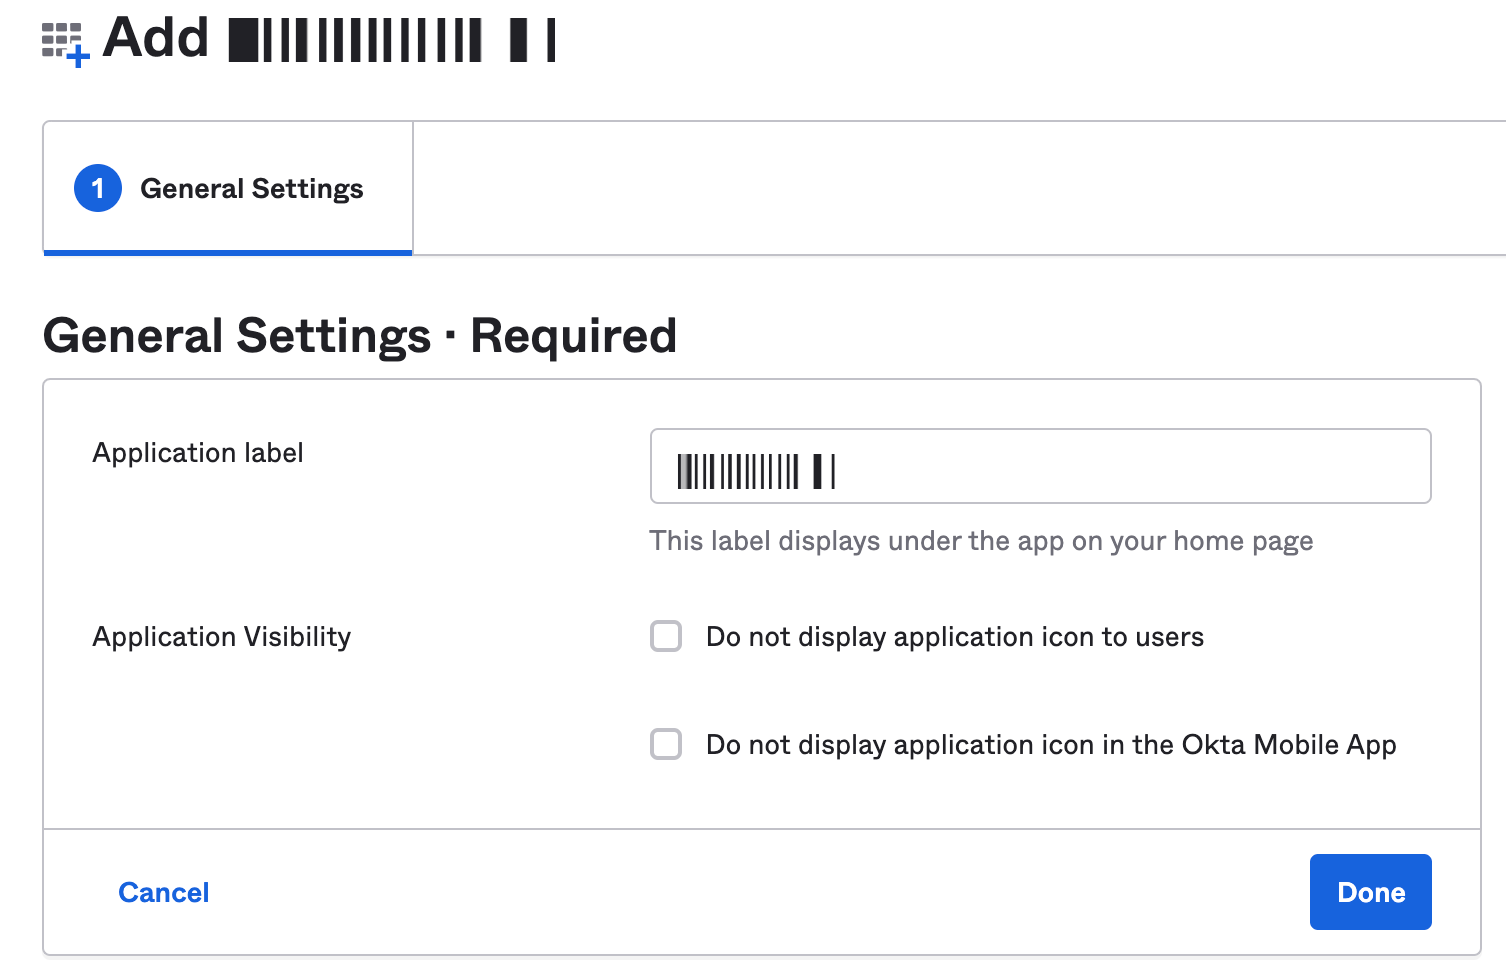
Search and select your application and click Add.
-
Click Done.
-
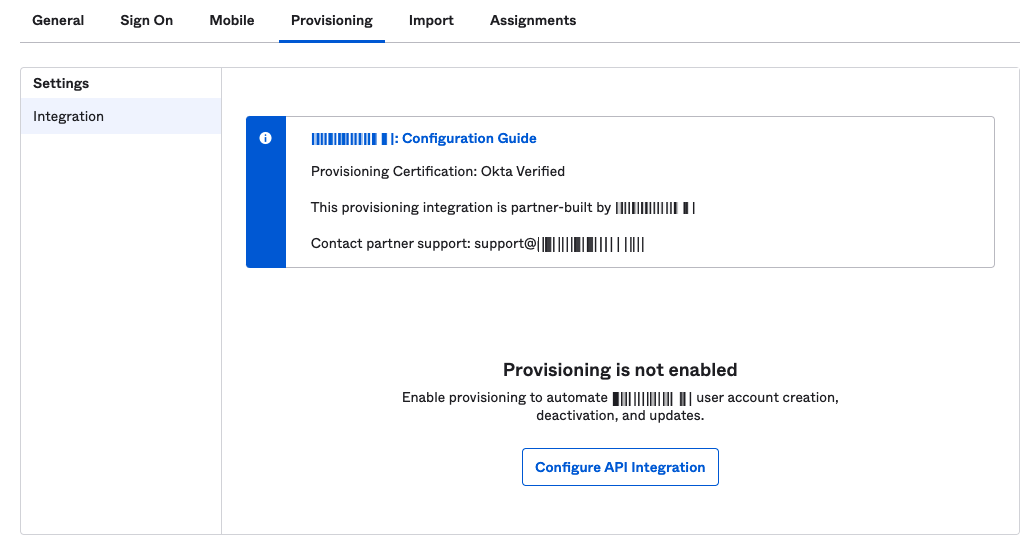
Go to the Provisioning tab and click Configure API Integration.
-
Select the Enable API Integration checkbox.
-
In the API Token field, enter the generated token. To get the generated token:
-
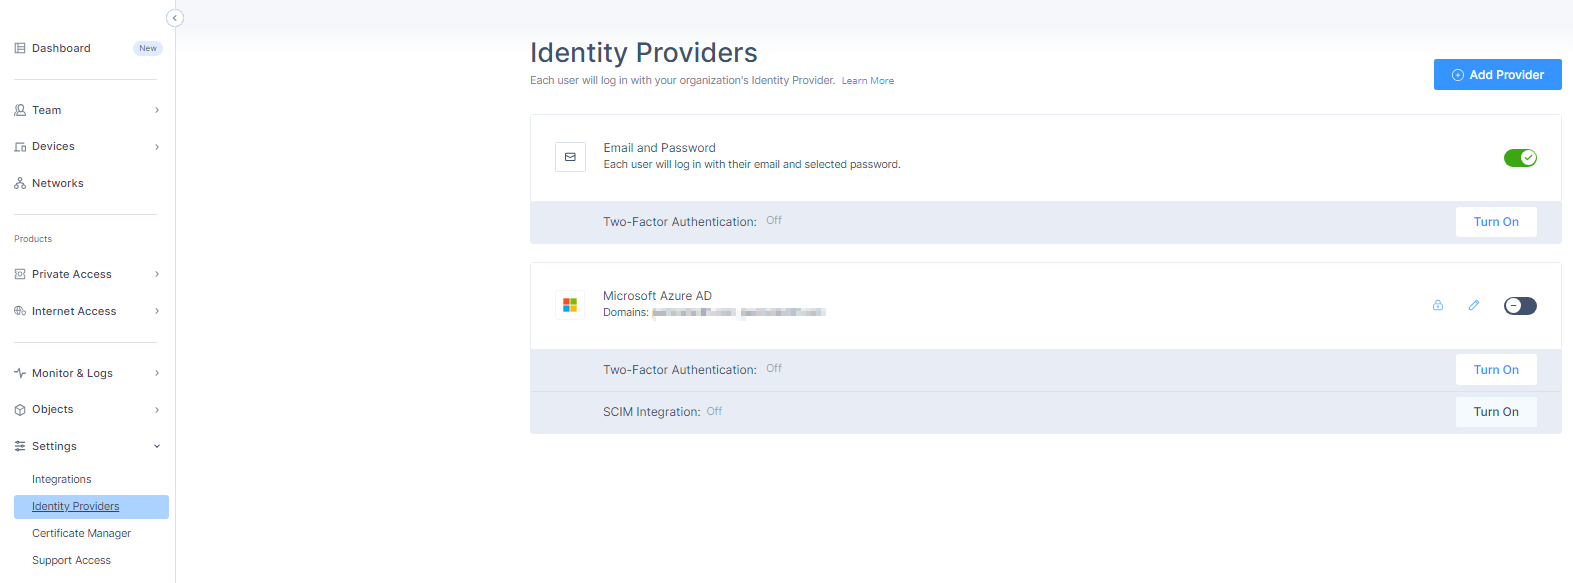
Access the Harmony SASE Administrator Portal and click Settings > Identity Providers.
The Identity Providers page appears.
-
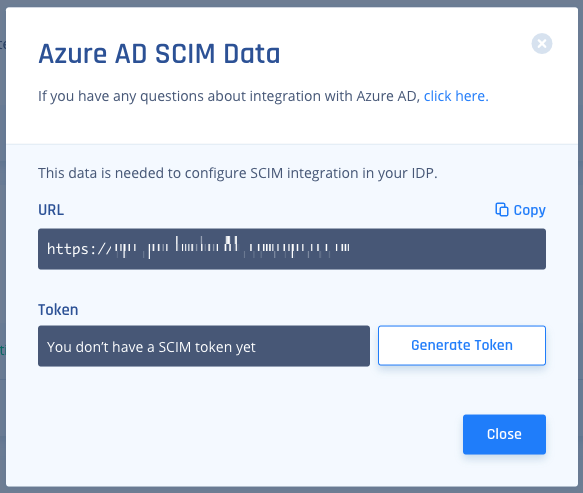
Click Turn On in the SCIM Integration section.
-
Click Settings in the SCIM Integration section.
-
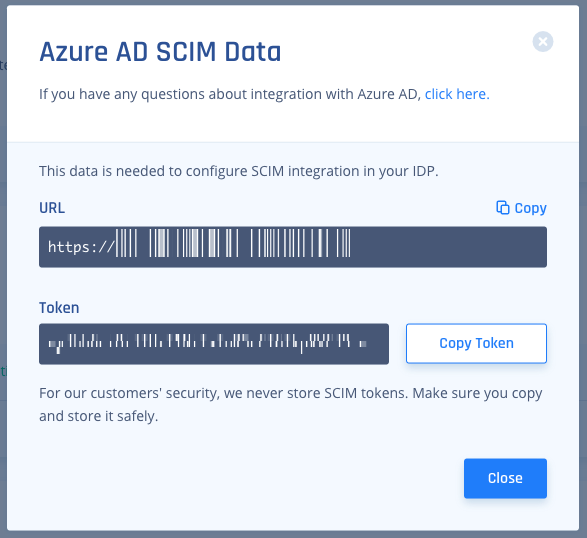
Click Generate Token.
-
The secret token is generated.
-
Click Copy Token.
-
Click Close.
-
-
Click Test API Credentials.
-
Click Save.
-
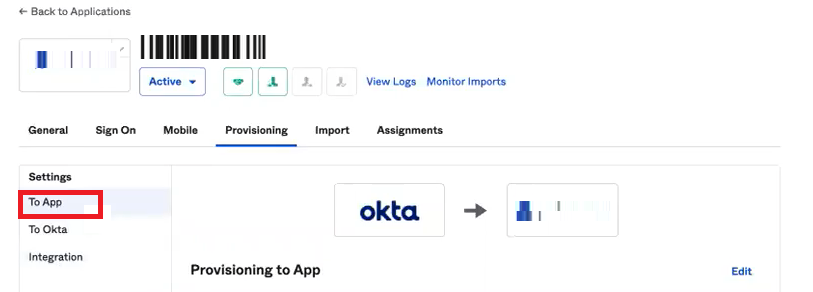
Go to Settings > To App.
-
Click Edit.
-
Select the checkbox for:
-
Create Users
-
Update User Attributes
-
Deactivate Users
-
-
Click Save.
-
To provision users and groups:
-
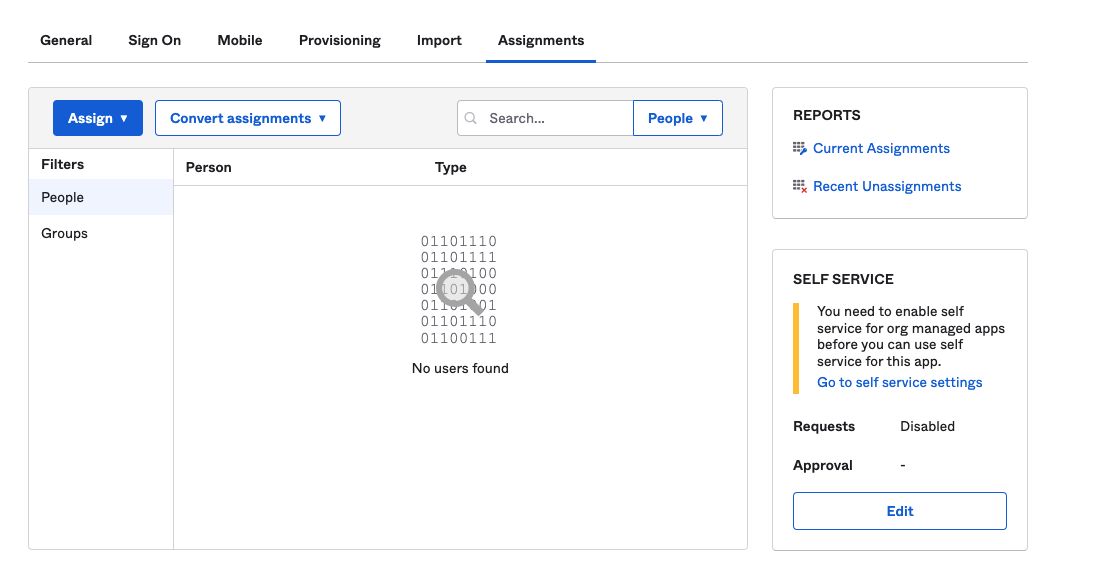
Go to Applications and select your SAML 2.0 application.
-
Go to Assignments tab.
-
Click Assign.
-
Search and select the user name, email id, or group(s) name.
-
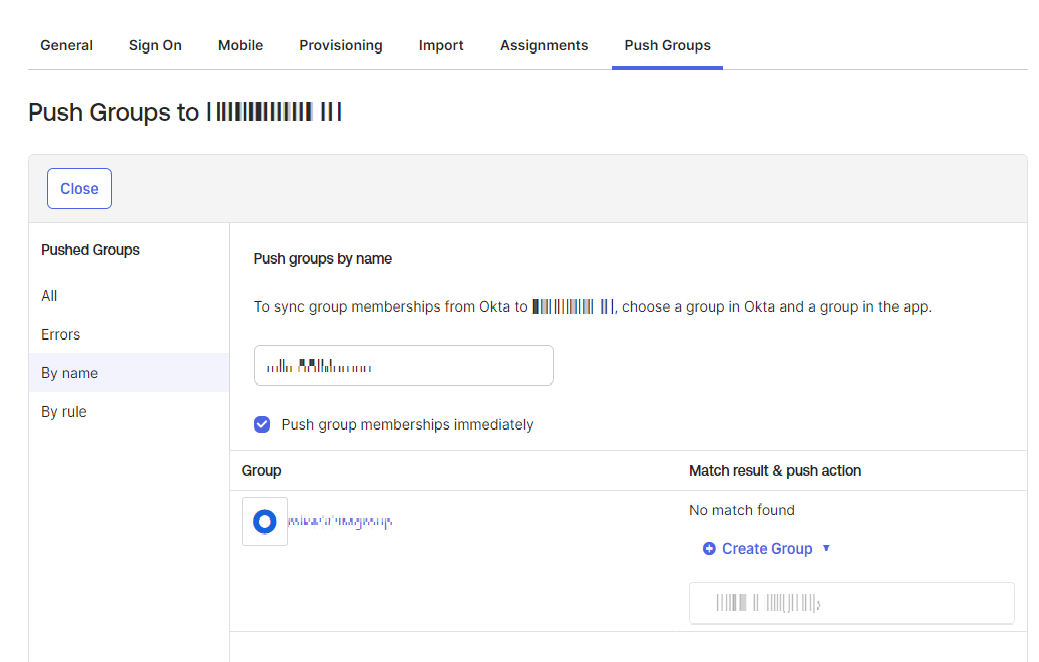
To push groups, click the Push groups tab and select By name.
-
In the Push groups by name field, enter the group name.
-
Select the Push group memberships immediately checkbox.
-
Click Save and Go Back.
-
Click Done.
These SAML attributes are supported:
Application Attribute
Identity Bridge Attribute or Literal Value
email
user.email
given_name
user.firstName
family_name
user.lastName
groups
Configured in the app UI. See Group Support section.
-


