OneLogin
Prerequisites
-
Administrator access to the Check Point SASE Administrator Portal.
-
Administrator account with the Identity Provider Management Portal.
High-Level Procedure
Step 1 - Configure the OneLogin Management Portal
-
Log in to OneLogin Management Portal. If you don’t have an account, create one.
-
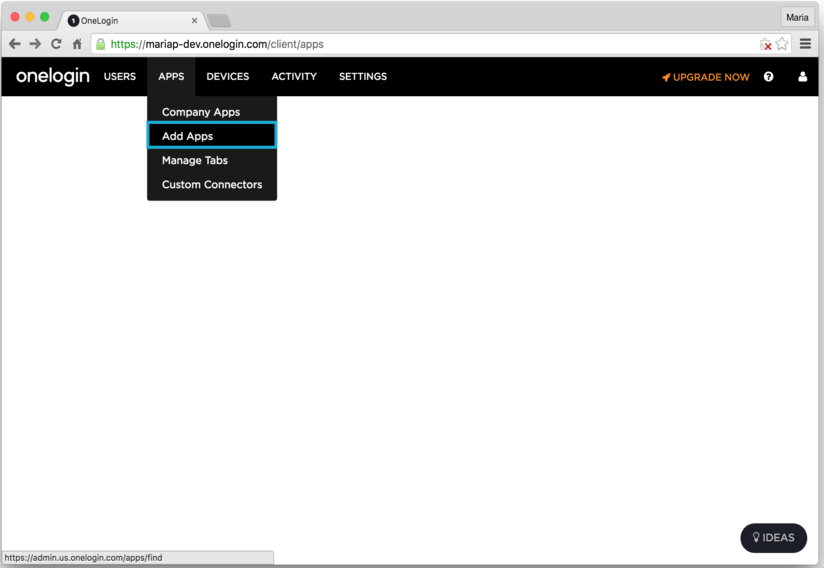
Go to Applications > Applications.
-
Select Add App.
-
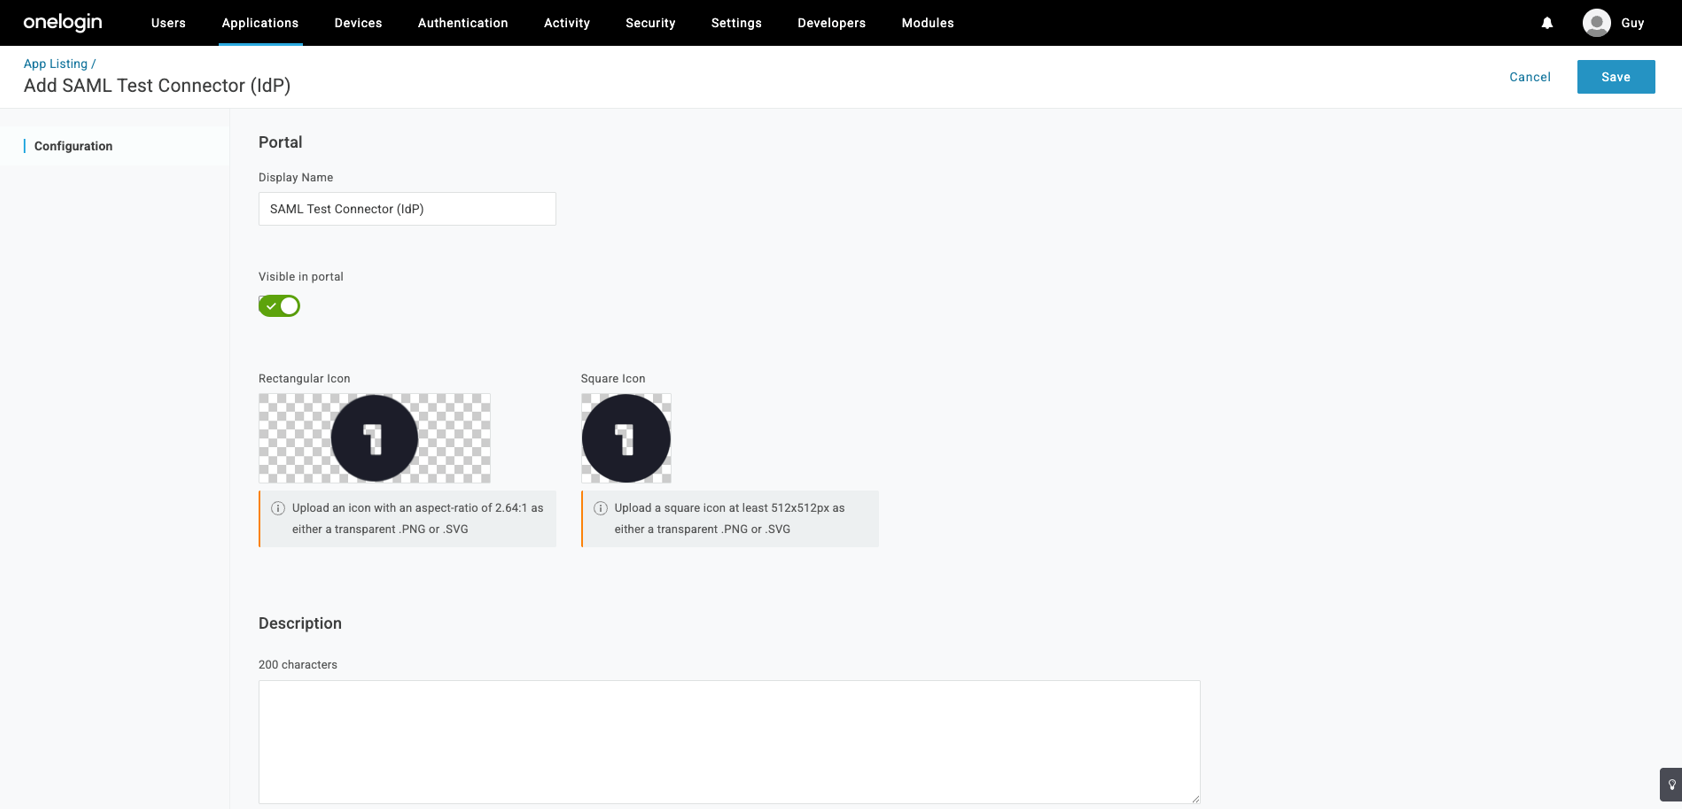
Search for saml test, and select SAML Test Connector (IdP).
-
Change the Display Name to Check Point SASE and click Save.
-
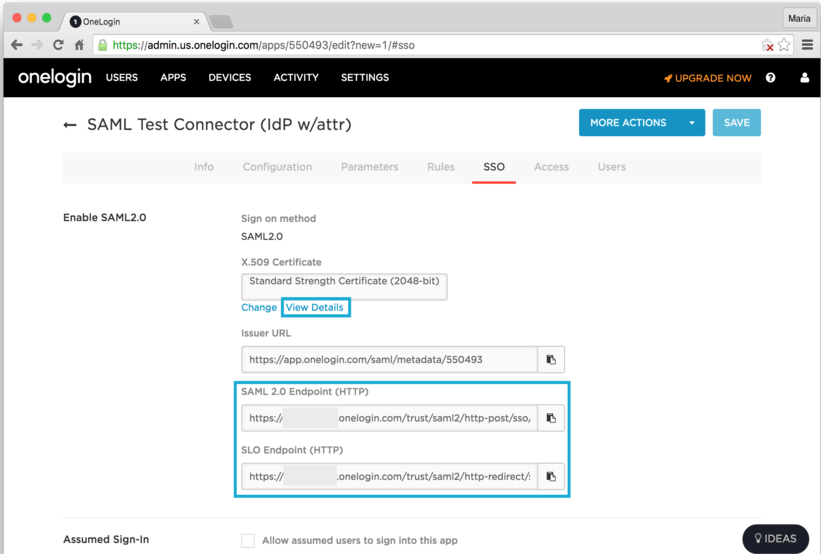
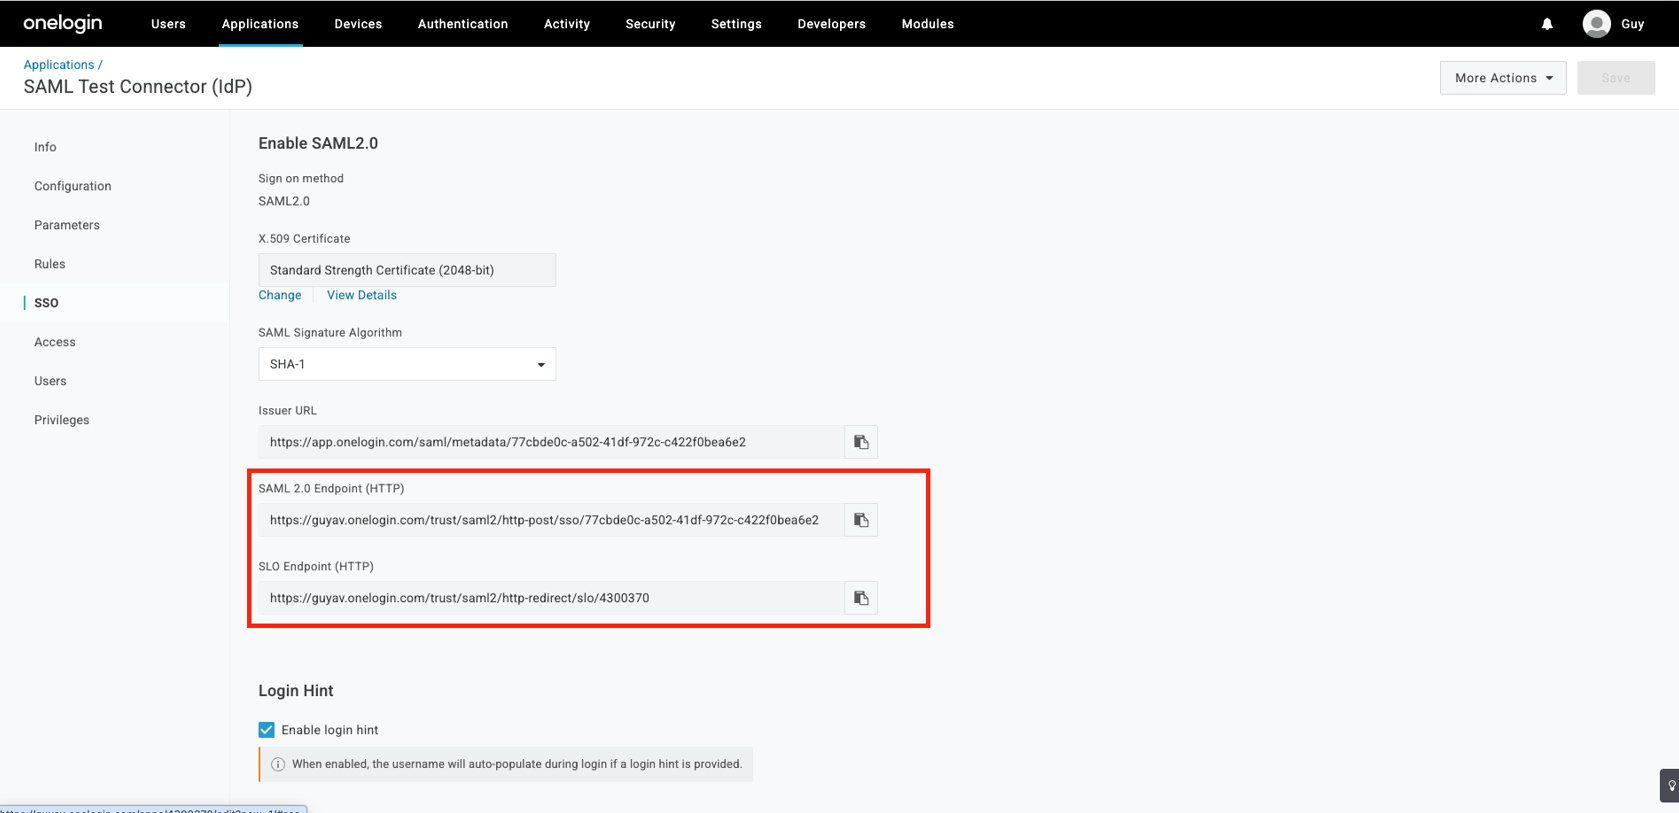
Go to the SSO tab, and copy these values:
-
SAML 2.0 Endpoint (HTTP) - You need to use this value in the Sign In URL field while configuring Check Point SASE Administrator Portal.
-
SLO Endpoint (HTTP).
-
-
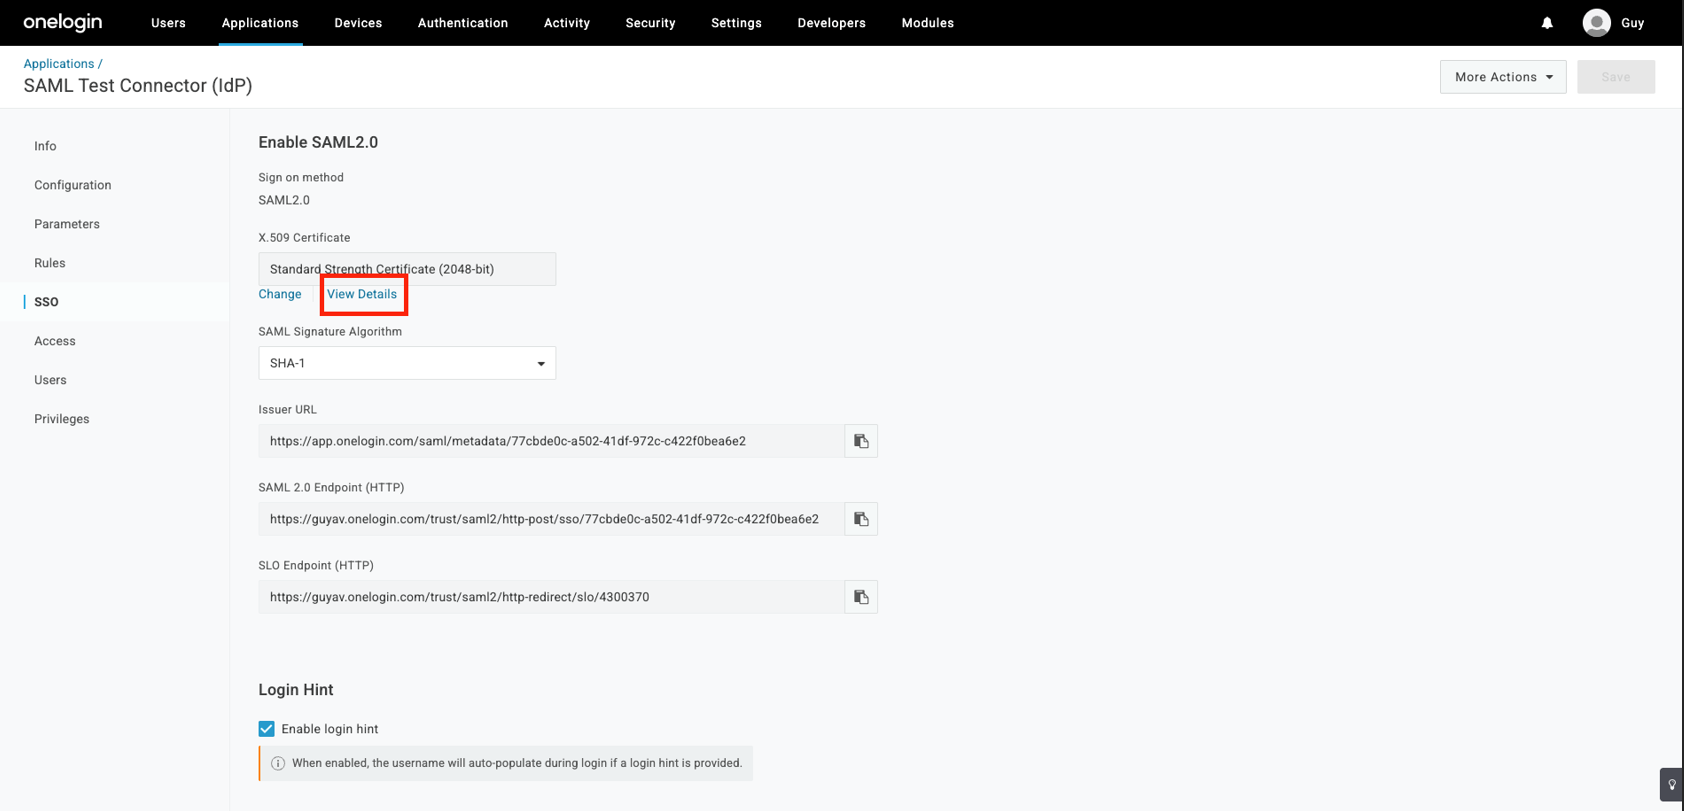
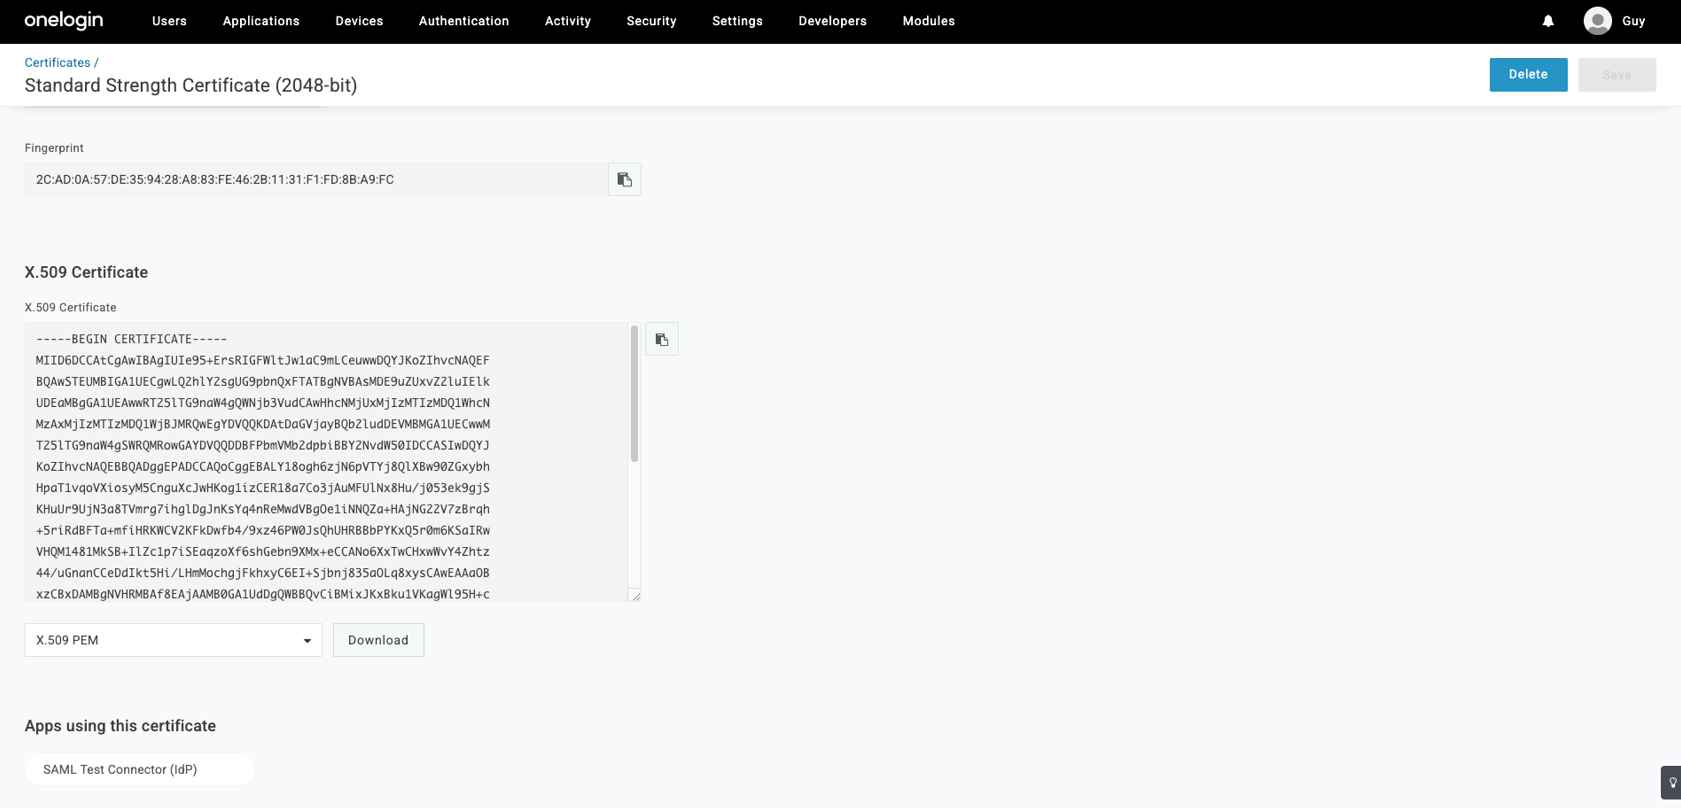
Select the View Details link at the X.509 Certificate field.
-
Download the X.509 certificate onelogin.pem.
-
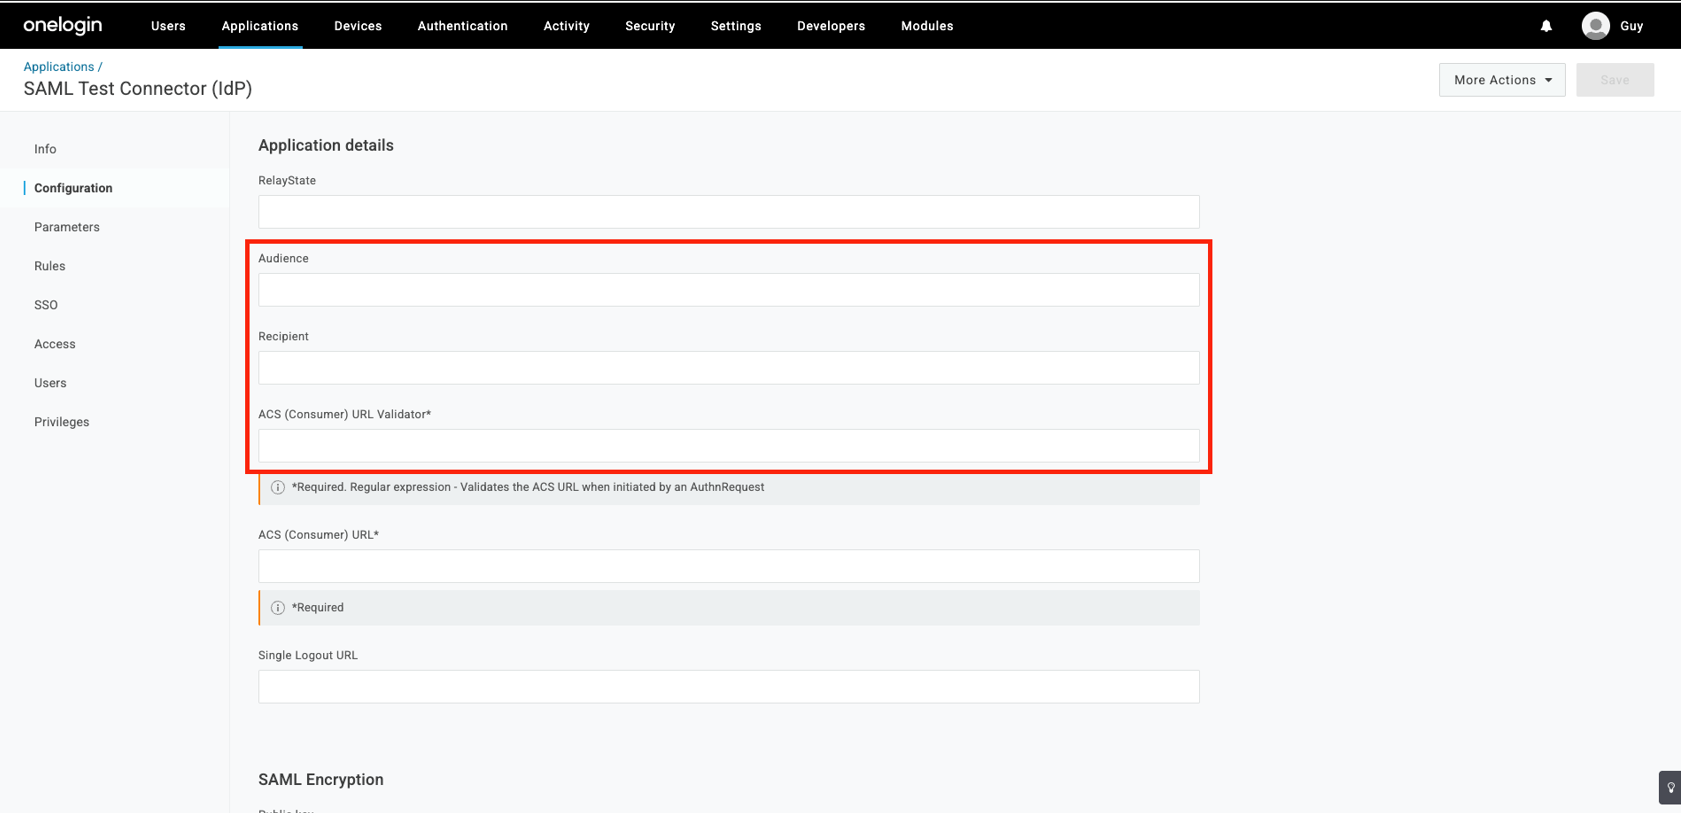
Go to the Configuration tab.
-
Enter these values into the appropriate fields:
- Audience:
US-based platform:
urn:auth0:perimeter81:{{WORKSPACE}}-ocEU-based platform:
urn:auth0:eu-sase-checkpoint:{{WORKSPACE}}-ocAU-based platform:
urn:auth0:au-sase-checkpoint:{{WORKSPACE}}-ocIN-based platform:
urn:auth0:in-sase-checkpoint:{{WORKSPACE}}-oc
For example:
acme.perimeter81.comworkspace should translate tourn:auth0:perimeter81:acme-oc -
Recipient:
-
US-based platform:
https://auth.perimeter81.com/login/callback?connection={{WORKSPACE}}-oc -
EU-based platform:
https://auth.eu.sase.checkpoint.com/login/callback?connection={{WORKSPACE}}-oc -
AU-based platform:
https://auth.au.sase.checkpoint.com/login/callback?connection={{WORKSPACE}}-oc -
IN-based platform:
https://auth.in.sase.checkpoint.com/login/callback?connection={{WORKSPACE}}-oc
-
-
ACS (Consumer) URL:
-
US-based platform:
https://auth.perimeter81.com/login/callback?connection={{WORKSPACE}}-oc -
EU-based platform:
https://auth.eu.sase.checkpoint.com/login/callback?connection={{WORKSPACE}}-oc -
AU-based platform:
https://auth.au.sase.checkpoint.com/login/callback?connection={{WORKSPACE}}-oc -
IN-based platform:
https://auth.in.sase.checkpoint.com/login/callback?connection={{WORKSPACE}}-oc
-
-
ACS (Consumer) URL Validator:
-
US-based platform:
https://auth.perimeter81.com/login/callback?connection={{WORKSPACE}}-oc -
EU-based platform:
https://auth.eu.sase.checkpoint.com/login/callback?connection={{WORKSPACE}}-oc -
AU-based platform:
https://auth.au.sase.checkpoint.com/login/callback?connection={{WORKSPACE}}-oc -
IN-based platform:
https://auth.in.sase.checkpoint.com/login/callback?connection={{WORKSPACE}}-oc
-
- Audience:
-
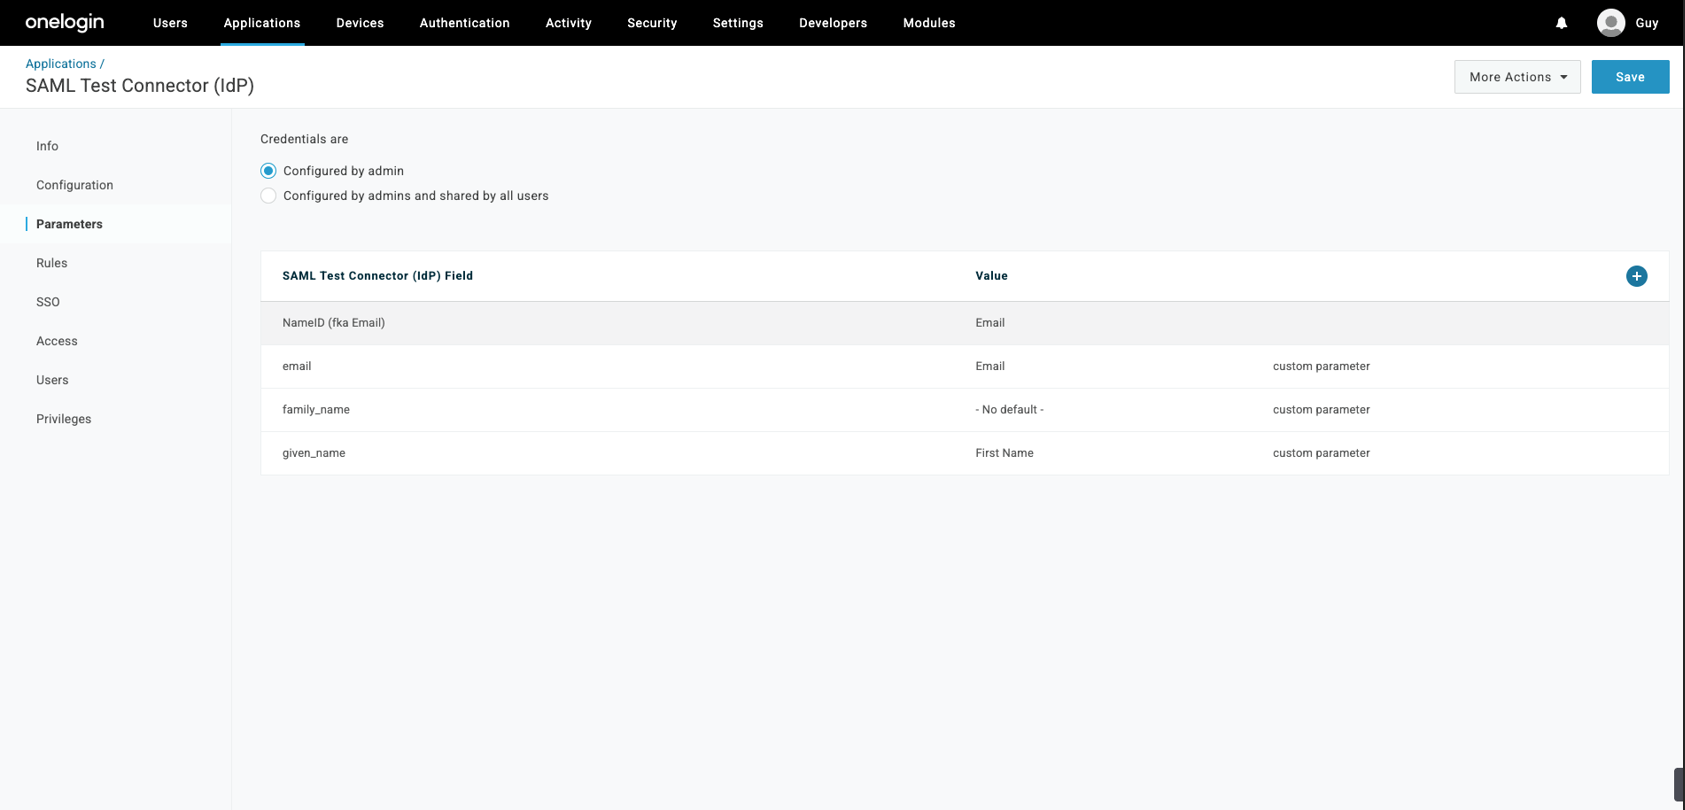
On the Parameters tab, select the + sign to Add Parameter.
-
In the popup, set a name for your new custom attribute using the Field name text box. Make sure you check the Include in the SAML assertion flag. Select Save.
-
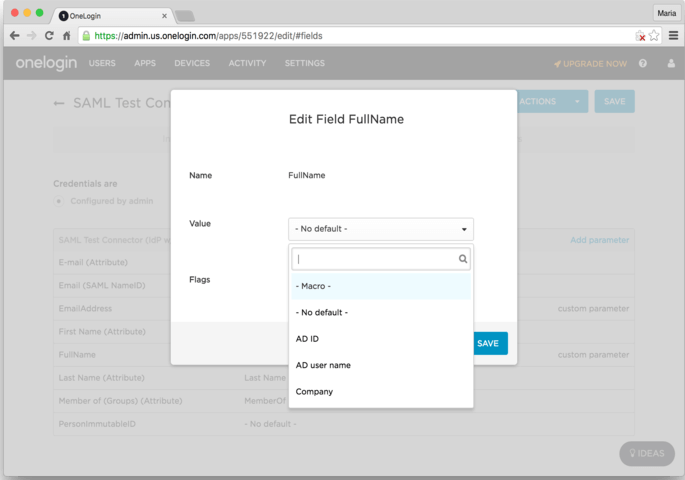
The new attribute you created is displayed. Select the Value field, which is currently displaying - No default.
-
Change the No default value to Macro.
-
Add these properties to the Macro:
Field Name
Macro Text Box Value SAML Assertion Flag
email
{email}
Checked
given_name
{firstname}
Checked
family_name
{lastname}
Checked
-
Click Save.
Step 2 - Configure the Check Point SASE Administrator Portal
-
Log in to the SASE Administrator Portal with a administrator account.
-
Go to Settings > Identity Providers.
-
Click Add Provider.
The Add identity provider pop-up appears.
-
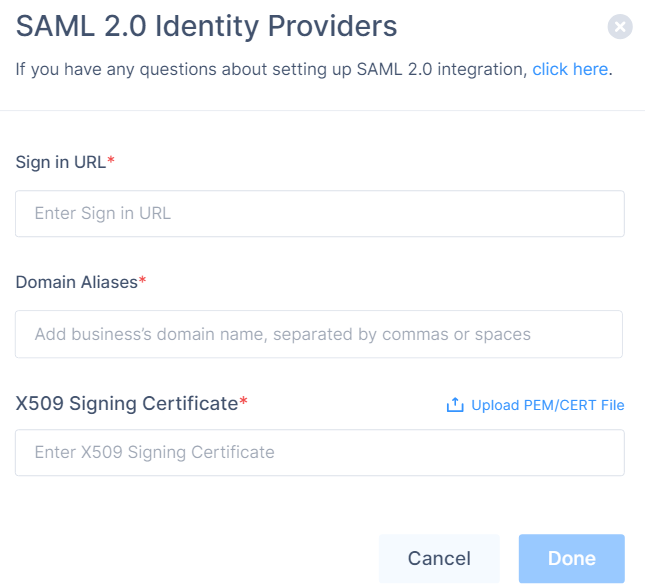
Select SAML 2.0 Identity Providers and click Continue.
-
In the Sign in URL field, enter the Identity Provider Sign-in URL from your SAML Identity Provider.
Identity Provider
Sign in URL
Generic SAML
Identity Provider Sign in URL
Active Directory Federation Services (AD FS)
https://{{Your ADFS Domain}}/adfs/lsAuth0
Auth0 login URL
OneLogin
SAML 2.0 Endpoint (HTTP) value
PingOne
https://sso.connect.pingidentity.com/sso/idp/SSO.saml2?idpid={{idpid}}PingFederate
https://sso.{{Your PingFederate Domain}}.com/idp/SSO.saml2Rippling
Rippling IdP Sign-in URL.
JumpCloud
JumpCloud IDP URL
Okta
Okta Sign on URL
Google Applications
SSO URL
-
In the Domain Aliases field, enter the business domain names separated by commas or space.
-
In the X509 Signing Certificate field, enter the X.509 signing certificate for the application from the SAML Identity Provider.
If you have the signing certificate as PEM/CERT file, click Upload PEM/CERT File and select the file.
-
Click Done.
|
|
Note - After the first successful authentication of a member with SAML, Check Point SASE does this:
|
