Okta with SAML
Supported Features
Integrating Okta with Check Point SASE using SAML protocol supports these features:
-
SP-initiated SSO (only for the SASE ZTNA application portal)
-
IdP-initiated SSO (for both the SASE ZTNA application portal and Agent login)
-
JIT (Just In Time) Provisioning
Prerequisites
-
Administrator access to the Check Point SASE Administrator Portal.
-
Administrator account with the Identity Provider Management Portal.
High-Level Procedure
Step 1 - Configure the Okta Management Portal
-
Log in to Okta Management Portal.
-
Go to Applications.
-
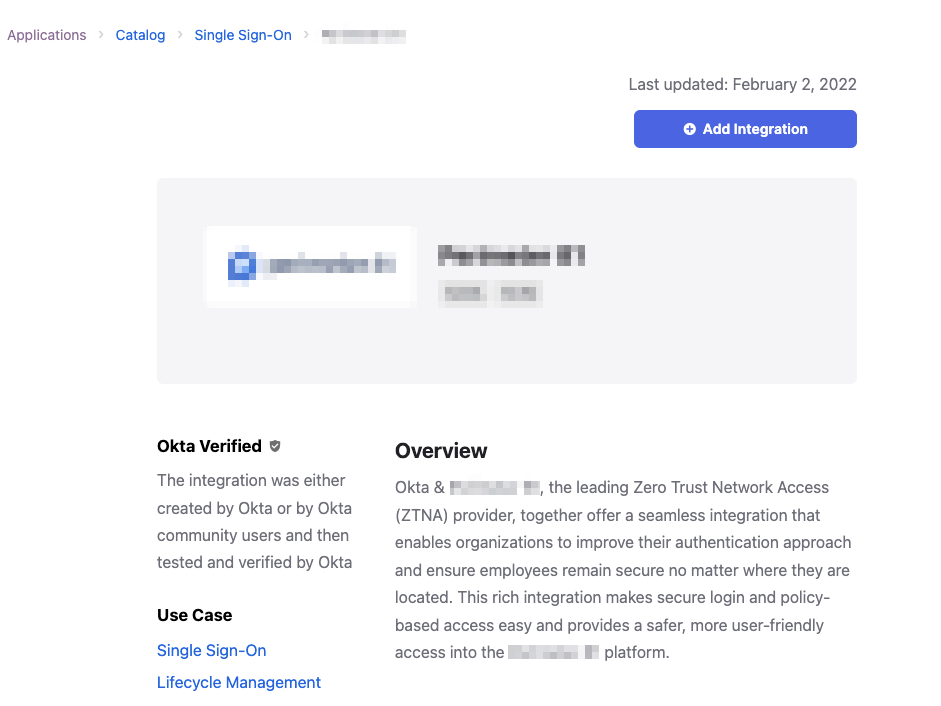
Click Browse App Catalog and search for Harmony SASE .
-
Click Add Integration.
-
Click Done.
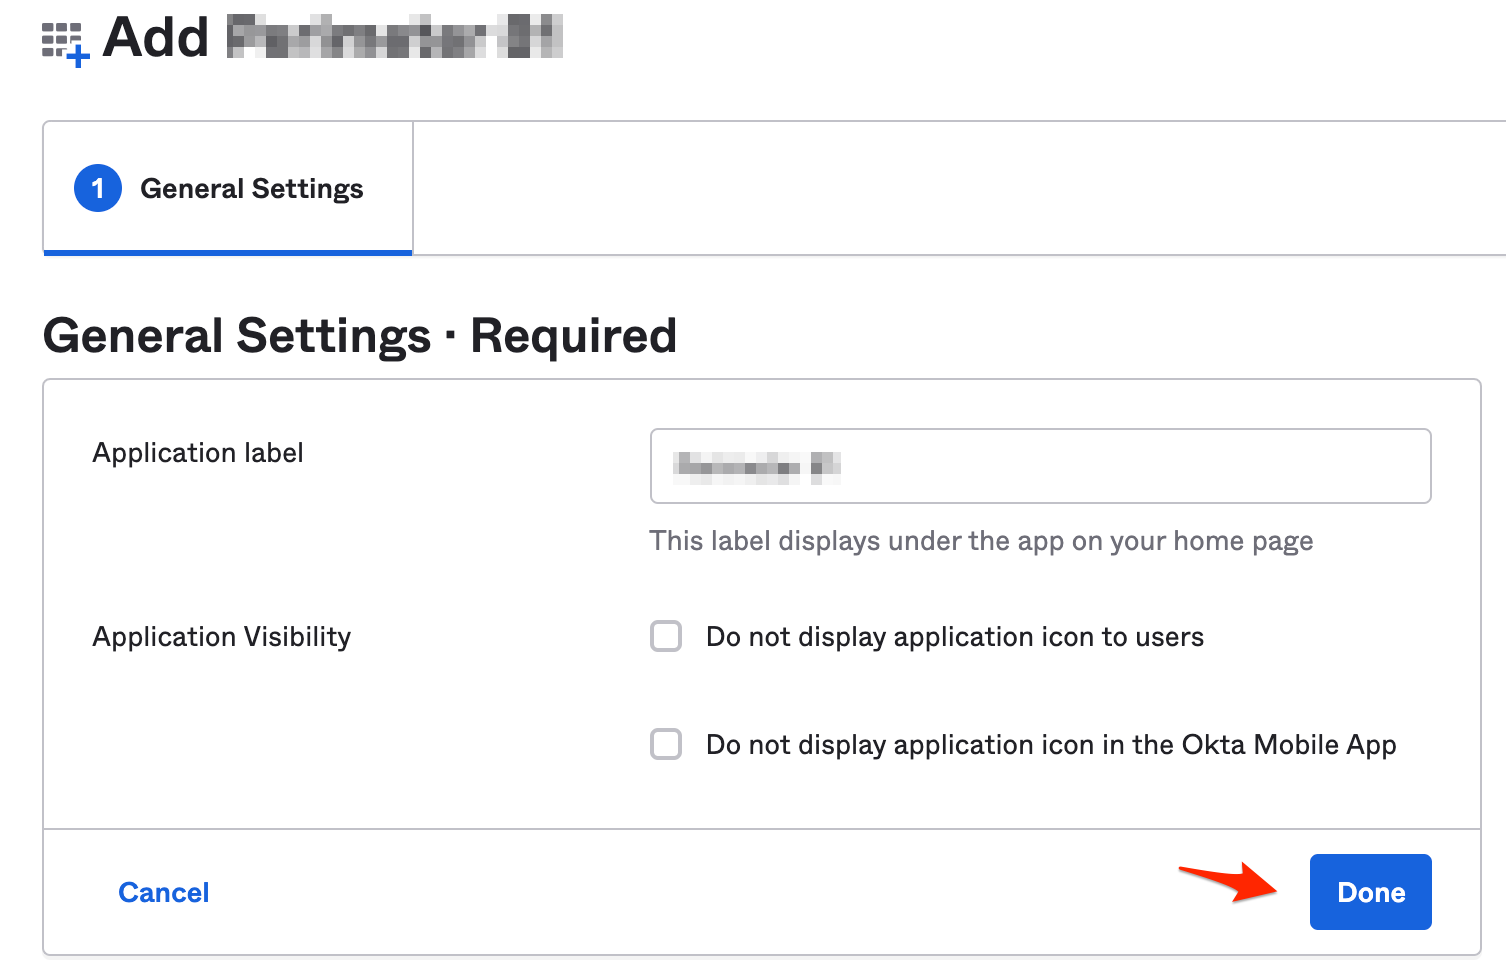
A Check Point SASE application is generated.
-
Go to the Sign On tab.
-
In the SAML 2.0 section, click More details and then copy the Sign on URL.
-
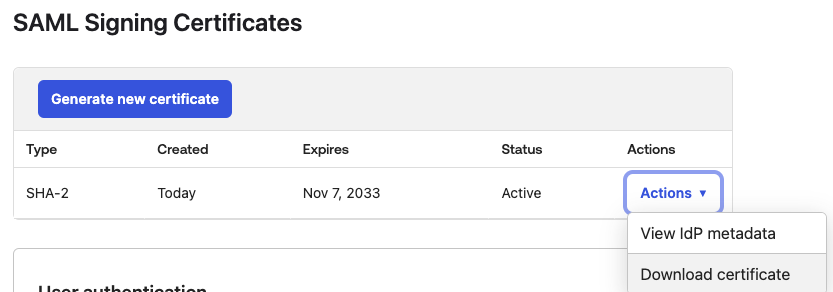
In the SAML Signing Certificates section, click Actions and then select Download certificate.
-
On the Sign On page, go to Settings and click Edit.
-
In the Workspace field, enter your Check Point SASE workspace name. Enter only the part of the name that appears before @perimeter81.com.
Example: Enter sase-network, not sase-network@perimeter81.com.

-
(Optional) If you want the group membership of your Okta account to sync with Check Point SASE, make sure that the Groups has the "Matches Regex" .* syntax.
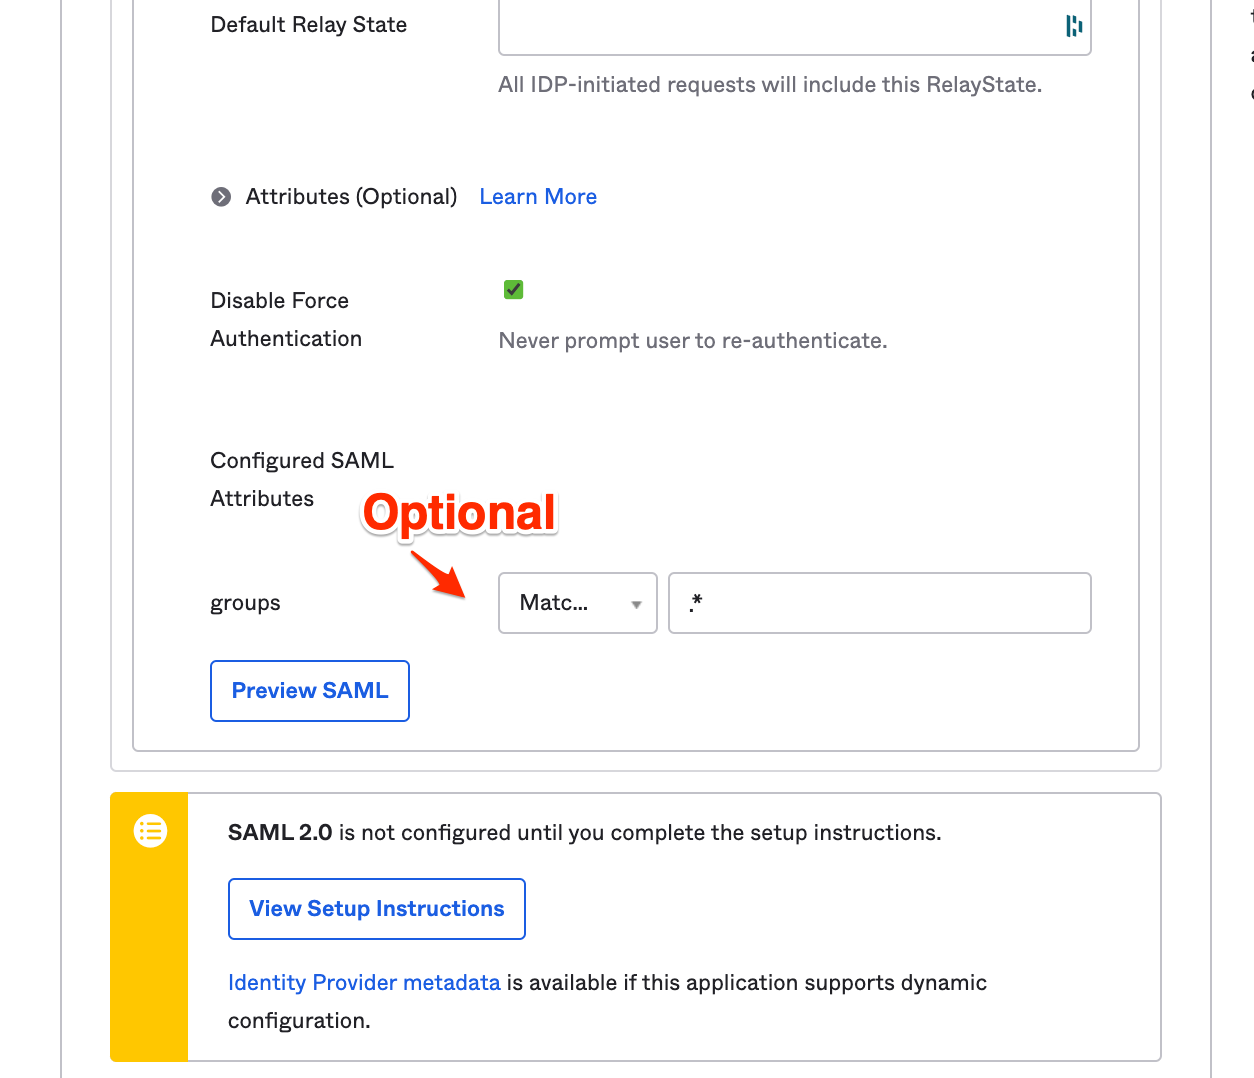

Note - You must create the group on Check Point SASE manually for this option to work.
Step 2 - Configure the Check Point SASE Administrator Portal
-
Log in to the SASE Administrator Portal with a administrator account.
-
Go to Settings > Identity Providers.
-
Click Add Provider.
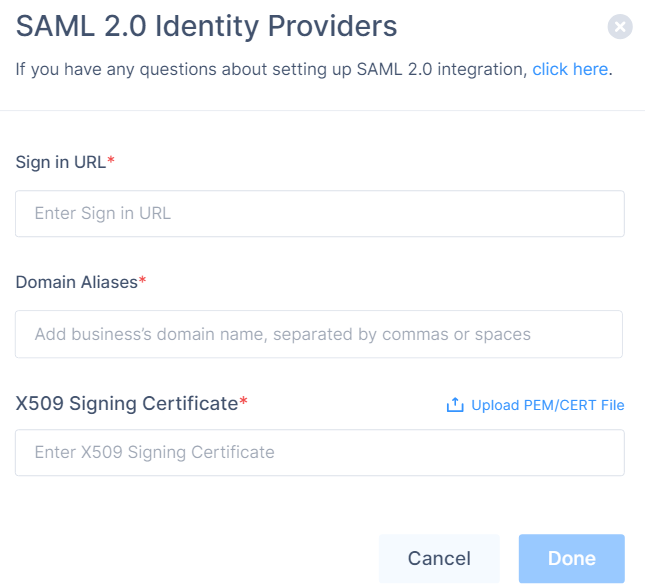
The Add identity provider pop-up appears.
-
Select SAML 2.0 Identity Providers and click Continue.
-
In the Sign in URL field, enter the Identity Provider Sign-in URL from your SAML Identity Provider.
Identity Provider
Sign in URL
Generic SAML
Identity Provider Sign in URL
Active Directory Federation Services (AD FS)
https://{{Your ADFS Domain}}/adfs/lsAuth0
Auth0 login URL
OneLogin
SAML 2.0 Endpoint (HTTP) value
PingOne
https://sso.connect.pingidentity.com/sso/idp/SSO.saml2?idpid={{idpid}}PingFederate
https://sso.{{Your PingFederate Domain}}.com/idp/SSO.saml2Rippling
Rippling IdP Sign-in URL.
JumpCloud
JumpCloud IDP URL
Okta
Okta Sign on URL
Google Applications
SSO URL
-
In the Domain Aliases field, enter the business domain names separated by commas or space.
-
In the X509 Signing Certificate field, enter the X.509 signing certificate for the application from the SAML Identity Provider.
If you have the signing certificate as PEM/CERT file, click Upload PEM/CERT File and select the file.
-
Click Done.
|
|
Note - After the first successful authentication of a member with SAML, Check Point SASE does this:
|
Step 3 - Assign the App
-
Log in to Okta Management Portal.
-
Go to Applications and select your SAML 2.0 Application.
-
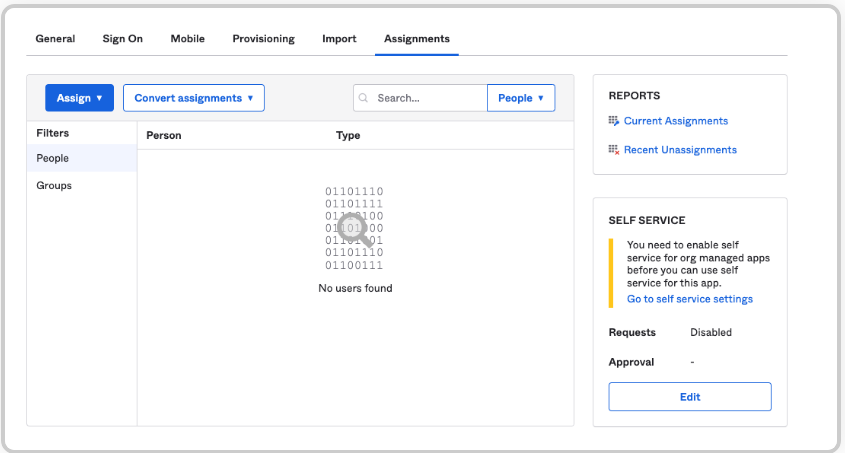
Go to Assignments tab.
-
Assign the People or Groups you want to get synchronized with Check Point SASE.
-
Click Save and Go Back and then click Done.
Step 4 - Verify SP-initiated SSO
-
Log in to Check Point SASE workspace URL.
-
Click Sign in with Okta.
-
Verify you can successfully connect using your Okta credentials.
Supported SAML Attributes
|
Attribute Name |
Value |
||
|---|---|---|---|
|
given_name |
user.firstName |
||
|
family_name |
user.lastName |
||
|
|
user.email |
||
|
groups |
As configured in the app.
|