Palo Alto Firewall
To configure the tunnel in the Palo Alto Management Portal:
-
Log in to the Palo Alto Management Portal with the Administrator account.
-
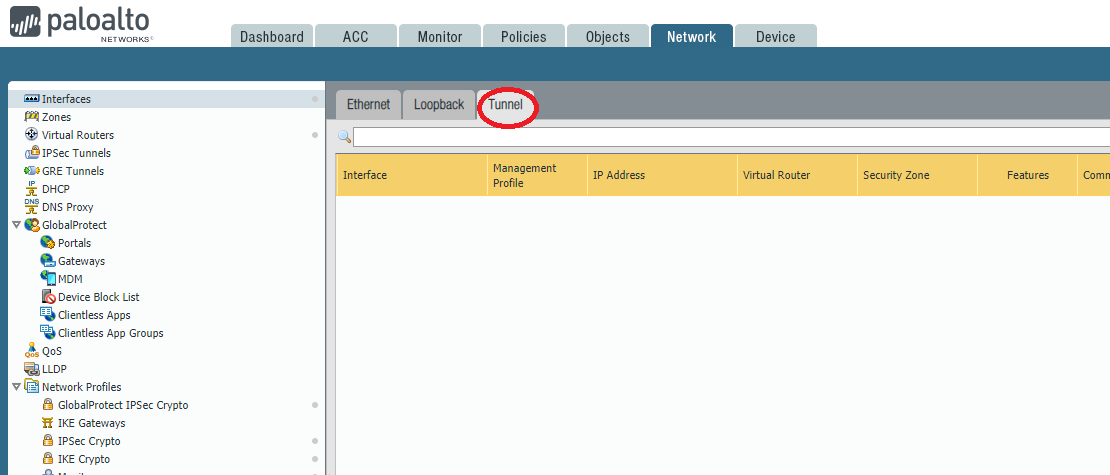
Go to Interfaces and click the Tunnel tab.
-
Click Add.
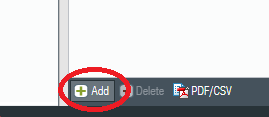
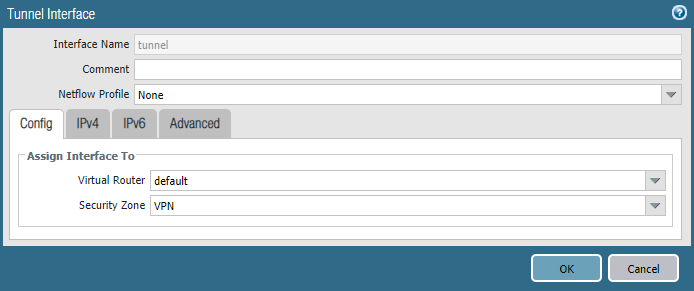
The Tunnel Interface window appears.
-
From the Virtual Router list, select the virtual router for the tunnel interface.
-
From the Security Zone list, select a zone for the tunnel interface

Note - Configure a new zone for the tunnel interface for granular control of traffic ingress and egress through the tunnel. If the tunnel interface zone is different from the zone where the traffic originates or departs, then configure a policy to allow the traffic from the source zone to the tunnel interface zone.
-
Click OK.
-
Go to Network Profiles > IKE Crypto.

-
In the Networks tab, click Add.
The IKE Crypto Profile window appears.

-
Enter these:
Field
Enter
Name Name for the profile. DH Group 14 Encryption aes-256-cbc Authentication sha256 Key Lifetime 8 Hours IKEv2 Authentication Multiple 0 -
Go to Network Profiles > IKE Gateways.
-
In the Networks tab, click Add.
The IKE Gateway window appears.

-
In the General tab:
Field
Enter
Name Name for the gateway. Version IKEv2 only mode.
If the firewall does not support IKEv2 , select IKEv1.
Address IPv4 Interface External interface connected to the internet. Local IP Address External IP address. Peer IP Address Type IP Peer Address
Public IP address of the Check Point SASE gateway.
Authentication
Pre-Shared Key
Pre-shared Key
An alphanumeric string. Make a note of the key.
Local Identification
None
Peer Identification
None
-
Click OK.
-
Go to Network Profiles > IPSec Crypto.
-
In the Networks tab, click Add.
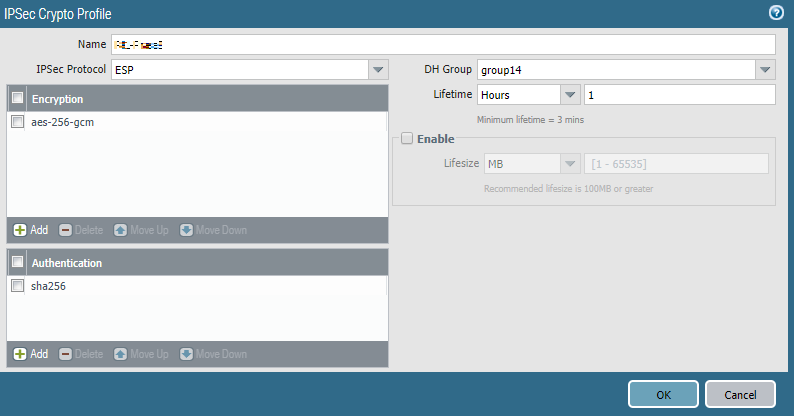
The IPSec Crypto Profile window appears.
-
Enter these:
Field
Enter
Name Name for the profile. IPSec Protocol ESP DH Group 14 Encryption aes-256-cbc Lifetime 1 hour Authentication sha256 -
Click OK.
-
Click IPSec Tunnels.
-
In the Networks tab, click Add.
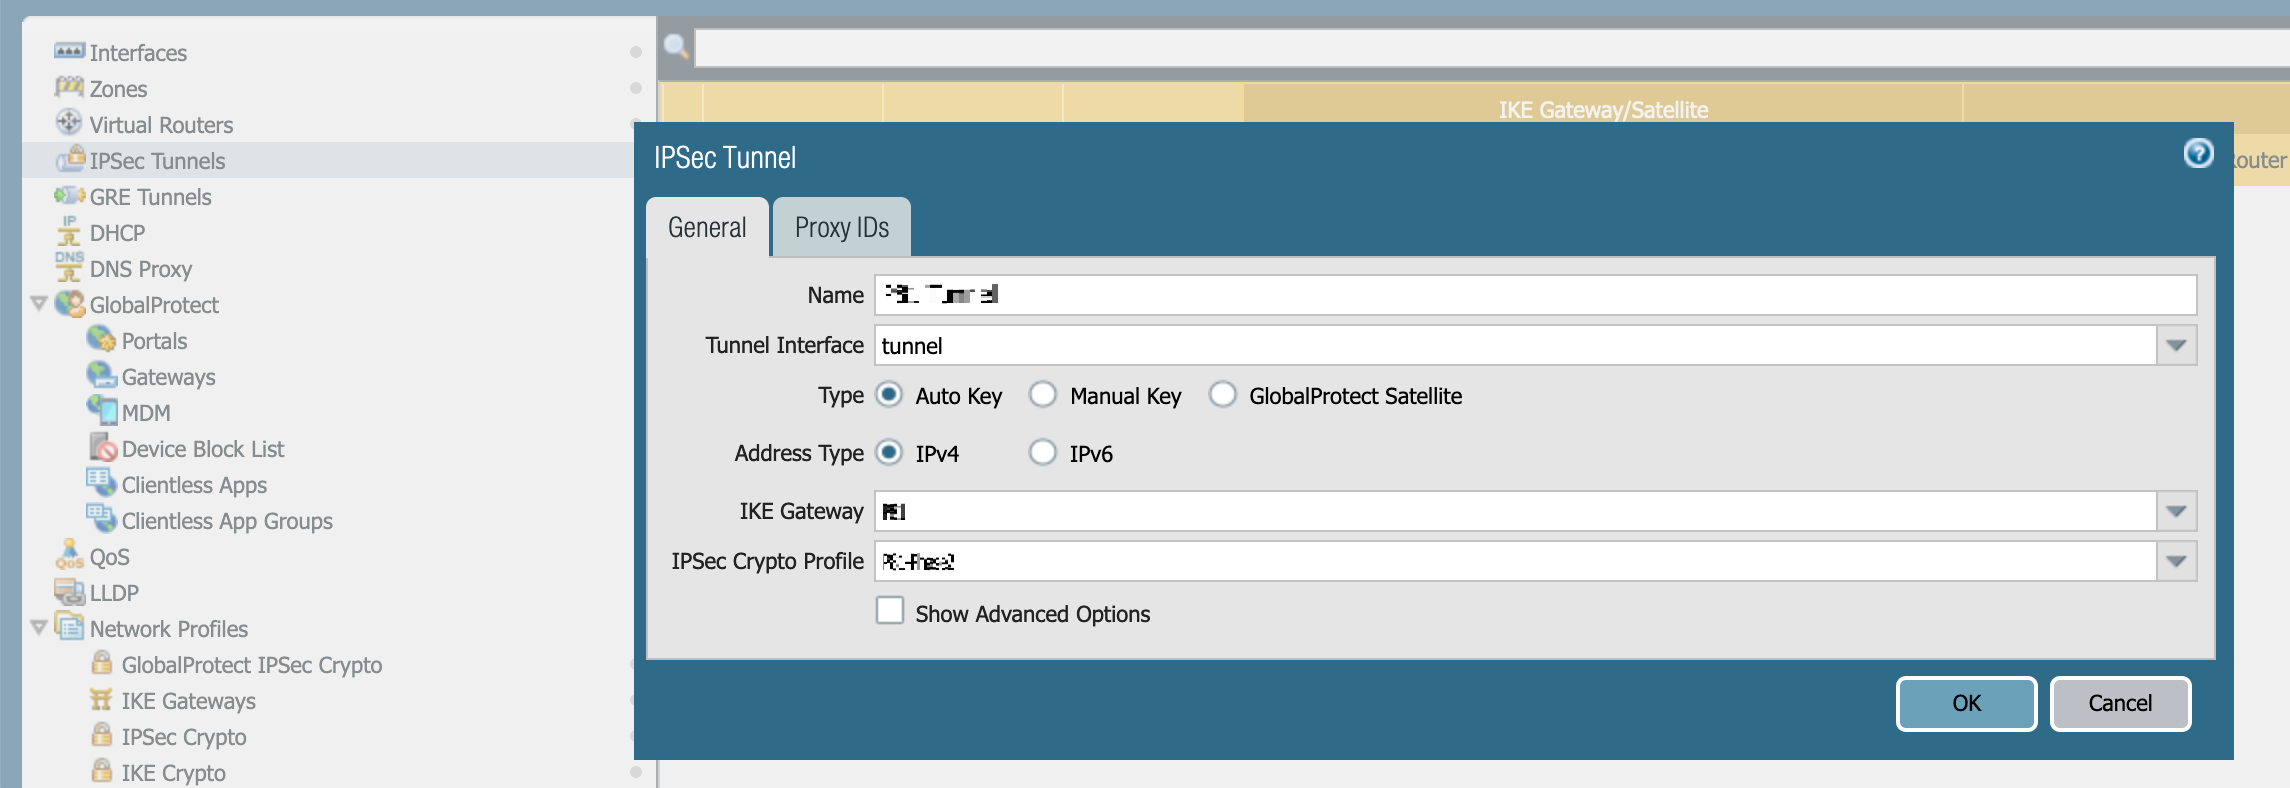
The IPSec Tunnel window appears.
-
Enter these:
Field
Enter
Name Name for the tunnel. Tunnel Interface An appropriate interface. Type Auto Key Address IPv4 IKE Gateway Gateway that was defined previously. IPSec Crypto Profile Profile that was defined previously. -
Click Virtual Routers.
-
Click Static Routes and click Add.
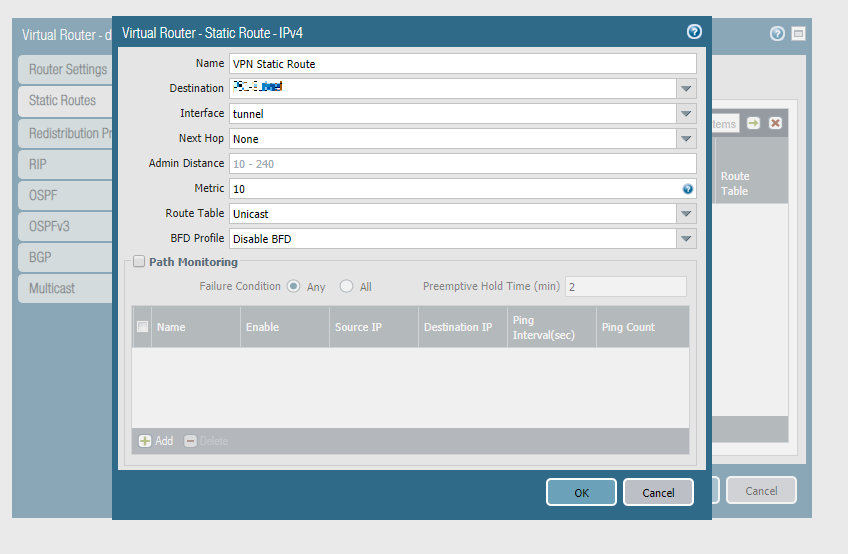
The Virtual Router - Static Route - IPv4 window appears.
-
Enter these:
Field
Enter
Name Name for the static route. Destination Check Point SASE subnet. Interface An appropriate interface. Next Hop None Metric 10 Route Table Unicast BFD Profile
Disable BFD
-
Go to Network Profiles > IKE Crypto.
-
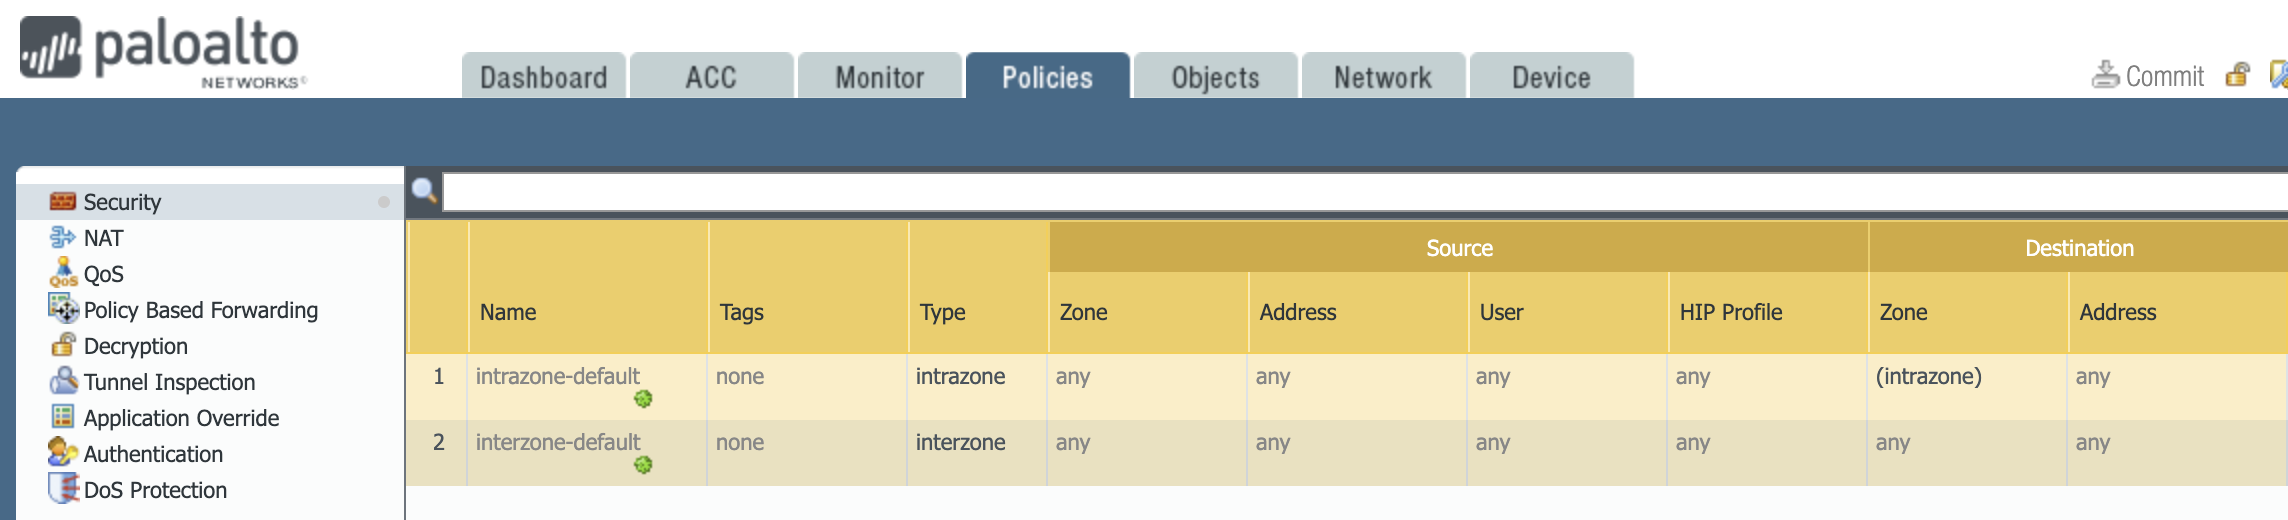
Click the Policies tab. By default, IKE negotiation and IPSec/ESP packets are allowed. If they are not, create an appropriate rule.