AWS Transit Gateway
This chapter describes the process to establish a Site-to-Site VPN tunnel between your Check Point SASE network and your AWS Transit Gateway environment. Use this configuration if your connection requires multiple Virtual Private Clouds (VPCs). If you have a single VPC, see AWS Virtual Gateway.
Prerequisites
-
An active Check Point SASE Administrator Portal account and network.
-
Make sure you have installed the Check Point SASE Agent on your devices.
-
Administrator account in the Firewall/ Router/ Cloud Management Portal.
Step 1 - Configurations in the AWS Management Console
Creating the Transit Gateway and Transit Gateway Attachments
-
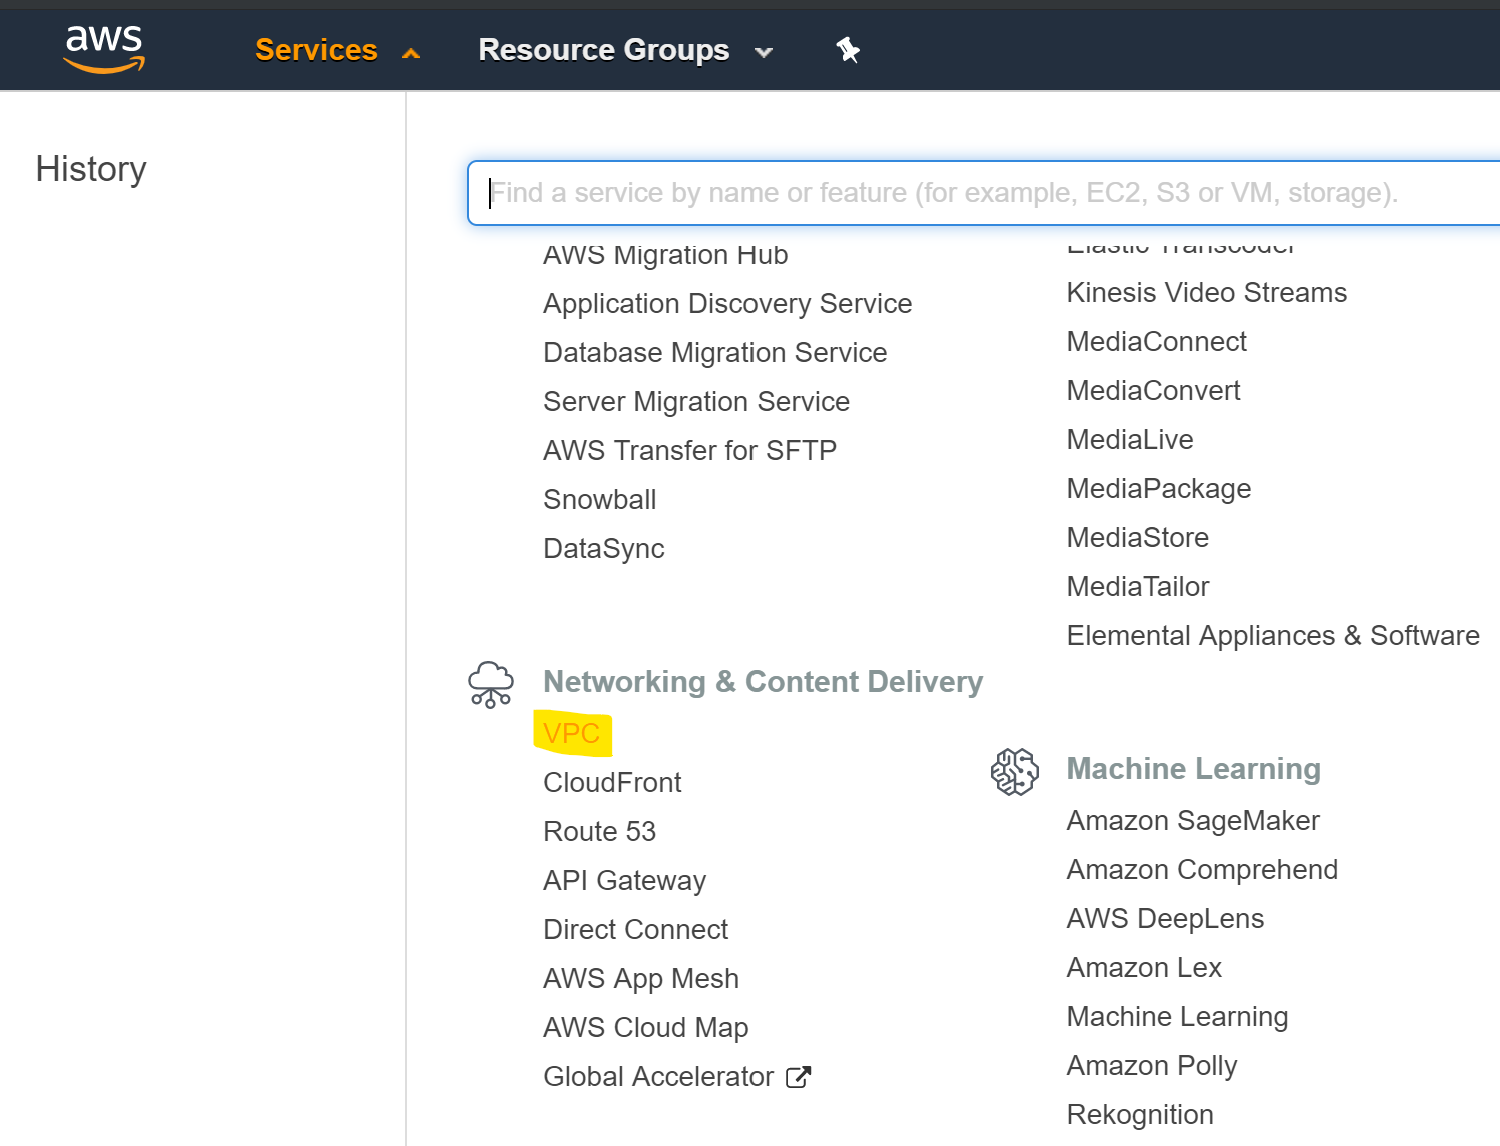
Access the AWS Management console and go to the VPC section.
-
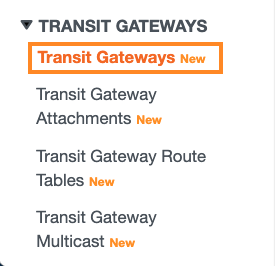
On the left pane, click Transit Gateways.
-
On the top pane, click Create transit gateway.

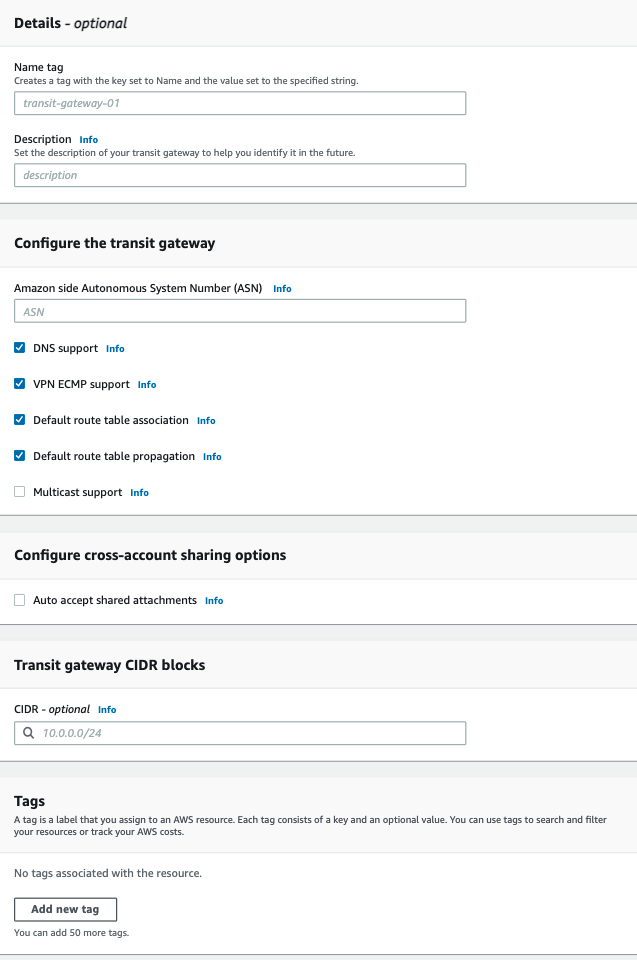
The Create transit gateway attachment page appears.
-
In the Name tag field, enter a name of the Transit Gateway.
Keep the default values for rest of the fields.
-
Click Create transit gateway.
Creating the Transit Gateway Attachments
You can create an attachment for VPCs, other VPNs, and other Peered Transit Gateways located on another AWS region. All connected attachments can communicate with each other as defined in the Transit Gateway's routes.
A single VPC attachment connects one VPC to the Transit Gateway. You may connect multiple VPC attachments to a single Transit Gateway.
Creating the Transit Gateway VPC Attachments
|
|
Note - If you already have a Transit Gateway Attachment to your VPC, skip this procedure and go to Creating the Transit Gateway VPN Attachment. |
-
Access the AWS Management console and go to the VPC section.
-
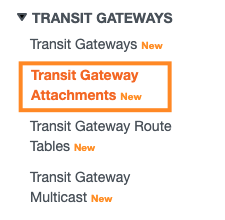
On the left pane, click Transit Gateway Attachments.
-
On the top pane, click Create transit gateway attachment.

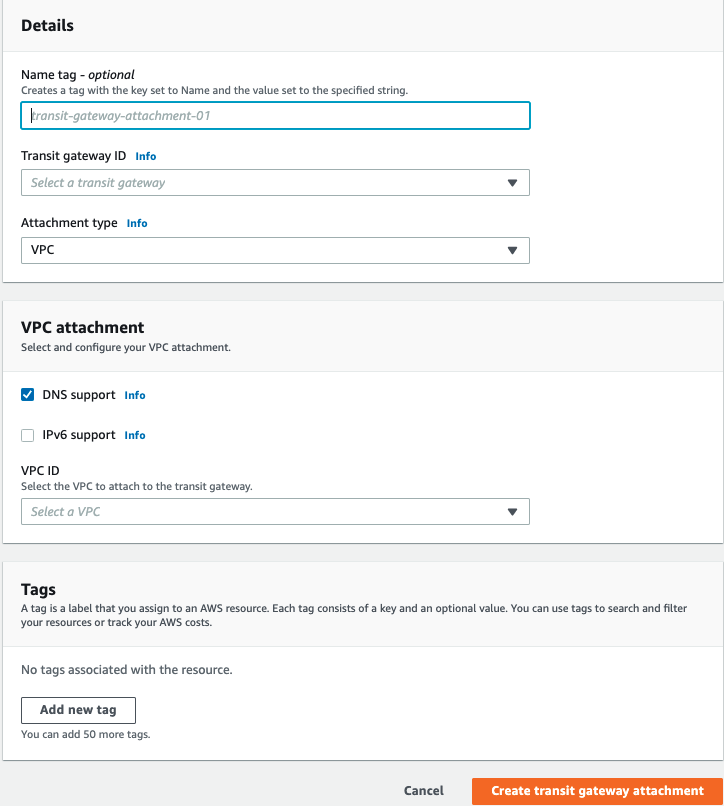
The Create transit gateway attachment page appears.
-
Enter these:
-
Name Tag - Name of the Transit Gateway Attachment.
-
Transit gateway ID - Select the newly created Transit gateway.
-
Attachment Type - VPC
-
VPC ID - Select the relevant VPC.
Keep the default values for rest of the fields.
-
-
Click Create transit gateway attachment.
|
|
Note - Repeat the above procedure for each of the VPCs that you want to access to. |
Creating the Transit Gateway VPN Attachment
-
Access the AWS Management console and go to the VPC section.
-
On the left pane, click Transit Gateway Attachments.
-
On the top pane, click Create transit gateway attachment.
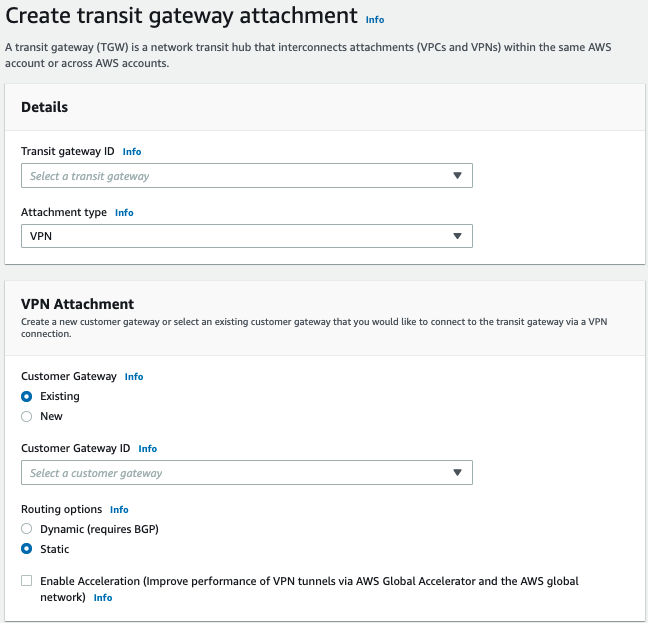
The Create transit gateway attachment page appears.
-
Enter these:
-
Transit gateway ID - Select the newly created Transit gateway.
-
Attachment Type - VPN
-
Customer Gateway - New
-
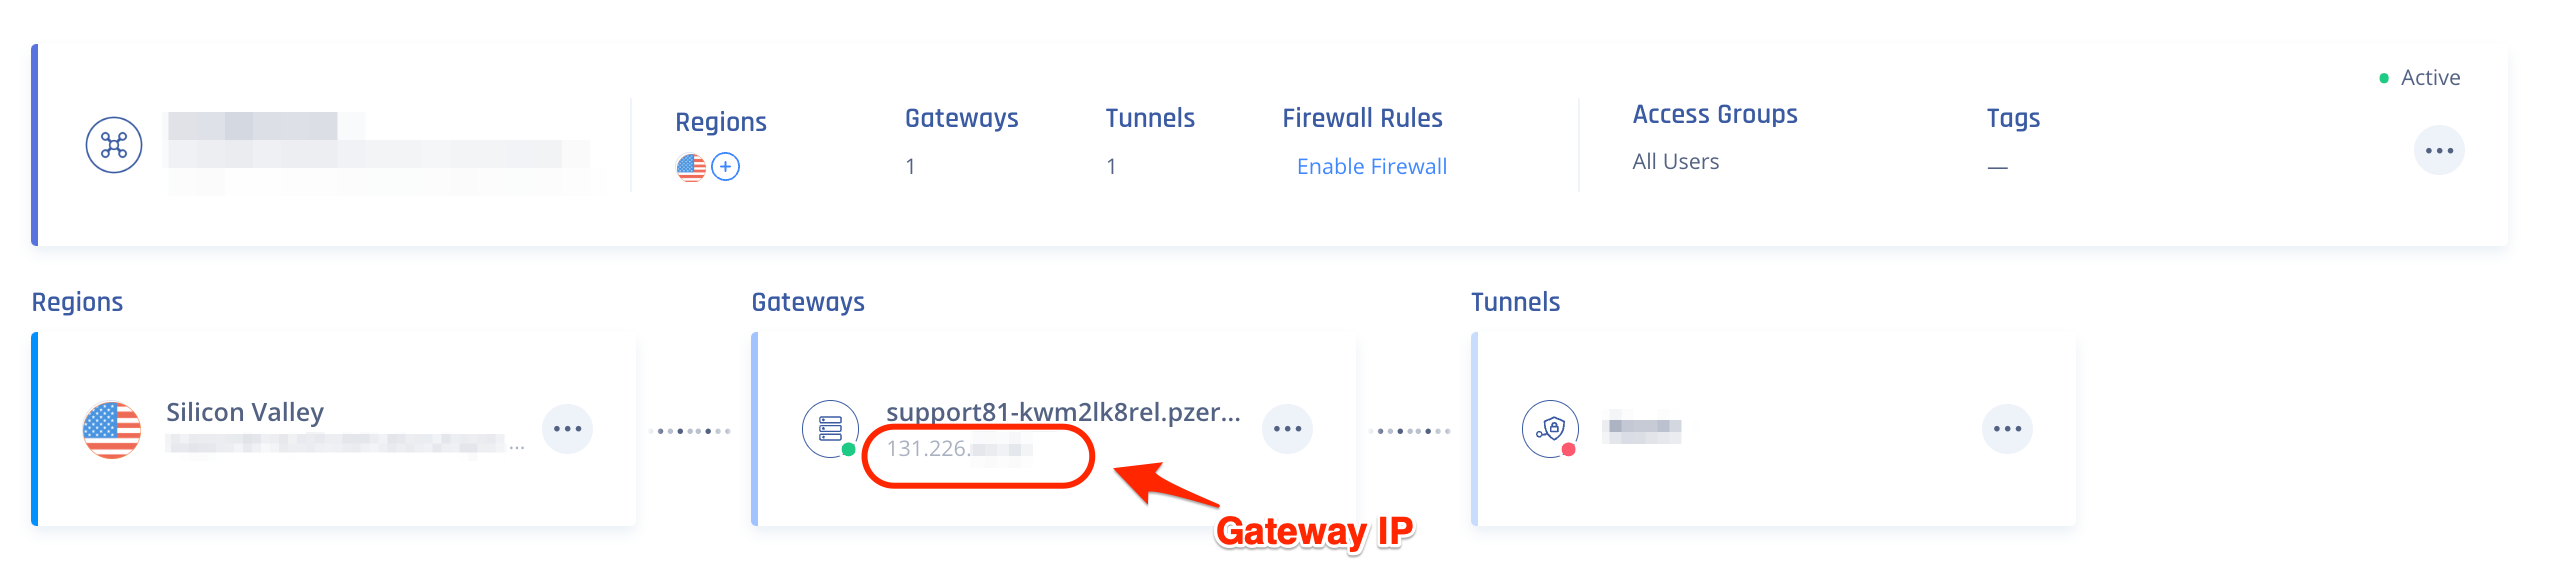
IP address - IP address of the relevant Gateway in the Check Point SASE Administrator Portal.
-
BGP ASN - Keep the default value.
-
Routing Options - Static
Keep the default values for rest of the fields.
-
-
Click Create transit gateway attachment.
Configuring the Tunnel
-
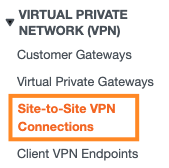
Access the AWS Management console and on the left pane, in the Virtual Private Network (VPN) section, click Site-to-Site VPN Connections.
-
Select the newly created Transit Gateway VPN connection record.
-
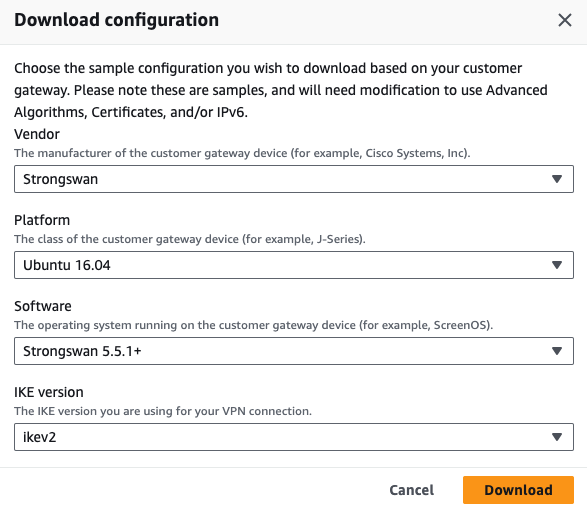
On the top pane, click Download Configuration.

The Download configuration window appears.
-
Enter these:
- Vendor - Strongswan
-
Platform - Ubuntu version
-
Software - Strongswan version
-
Ike version - Ikev2
Configuring the Routing
-
Access the AWS Management console and go to the VPC section.
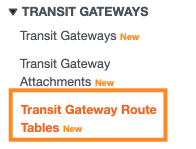
-
In the Transit Gateways section, select Transit Gateway Route Tables.
-
Select the relevant Transit Gateway Route Table.
-
If your routes do not propagate automatically:
-
At the bottom, click Propagations.
-
Verify that all of the Transit Gateway Attachments are included.

Note - If any of the Transit Gateway Attachments is missing a route, click Create propagation and add the missing route.
-
At the bottom, click Associations.
-
Verify that all of the Transit Gateway Attachments are included (same as the previous step).
Note - If any of the Transit Gateway Attachments is missing a route, click Create propagation and add the missing route.
-
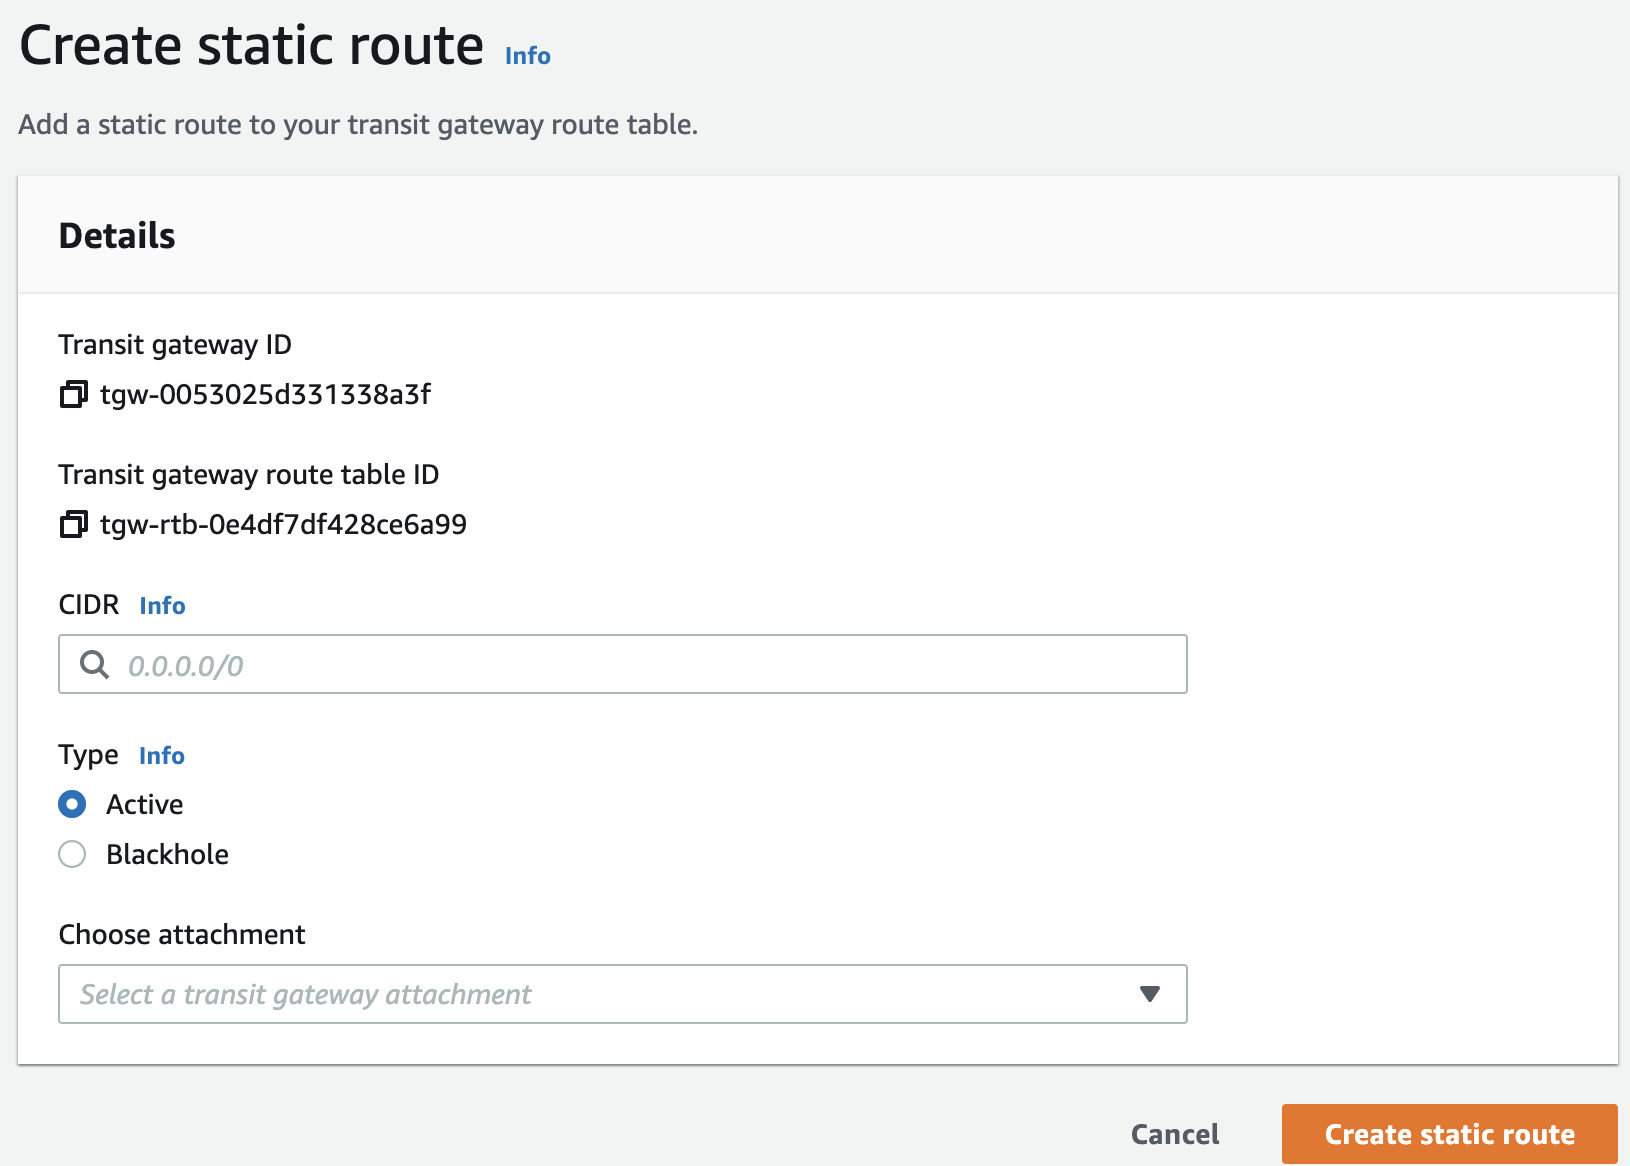
At the bottom, click Routes.
The Create static route window appears.
-
In the CIDR field, enter your Check Point SASE subnet. To find your Check Point SASE network subnet:
-
Go to the Check Point SASE Administrator Portal > Networks page.
-
In your network, click
 next to your network.
 -
Click Edit Network.
-
Copy the Subnet value.
-
-
Select Type as Active.
- From the Choose attachment list, select the VPN attachment.
-
Click Create static route.
-
-
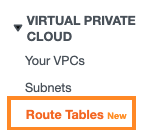
In the left pane, in the Virtual Private Cloud section, click Route Tables.
-
Select the Route Table for one of the attached VPCs.
-
At the bottom, click Routes.
-
Click Edit Routes.
The Edit routes window appears.

-
Click Add route.
-
Enter these:
-
Destination - Your Check Point SASE subnet. To find your Check Point SASE network subnet, see step 4f above.
-
Target - Select Transit Gateway and pick the relevant Transit Gateway.
-
-
Click Save changes.
Step 2 - Creating the Tunnel in the Check Point SASE Administrator Portal
-
Access the Check Point SASE Administrator Portal and click Networks.
- Click the network where you want to create the tunnel.
-
In the required gateway, click
> Add Tunnel.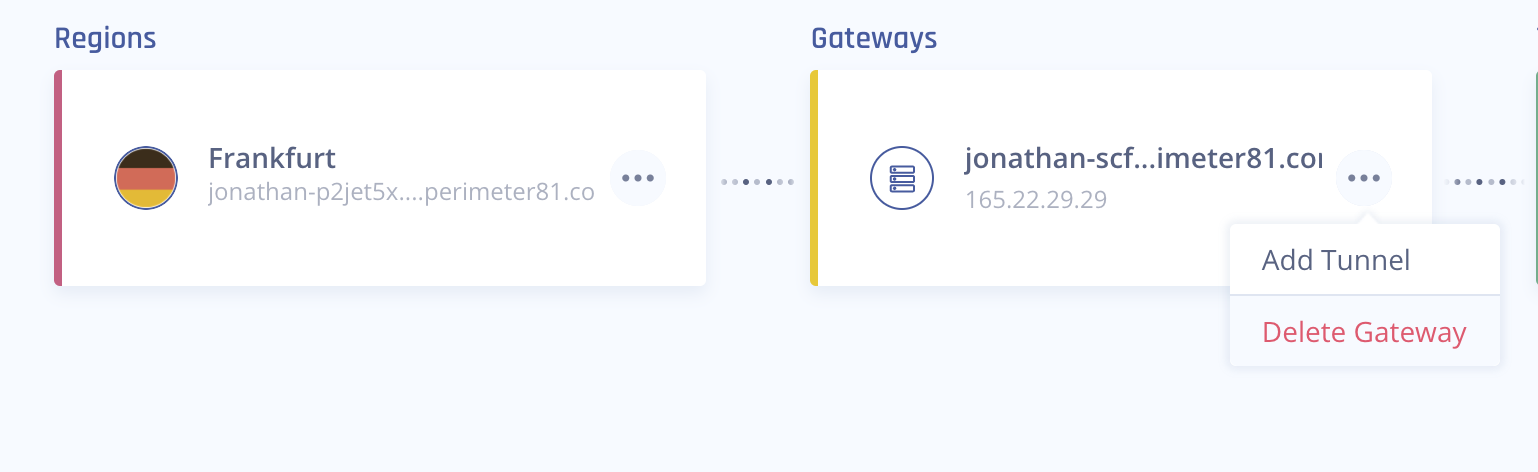
-
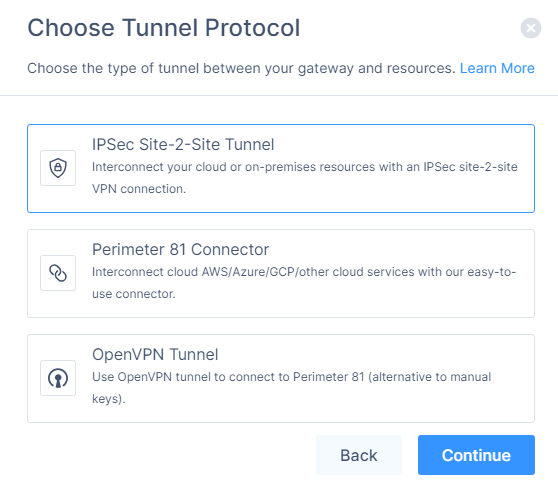
Click IPSec Site-2-Site Tunnel and click Continue.
-
Click Single Tunnel and click Continue.
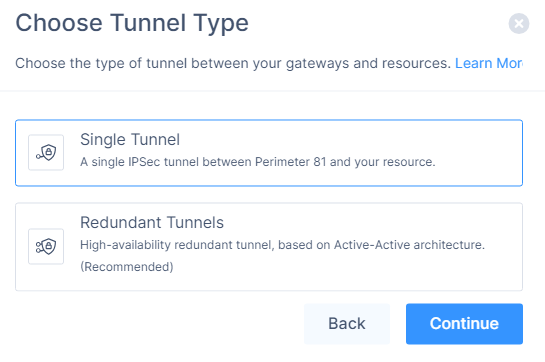
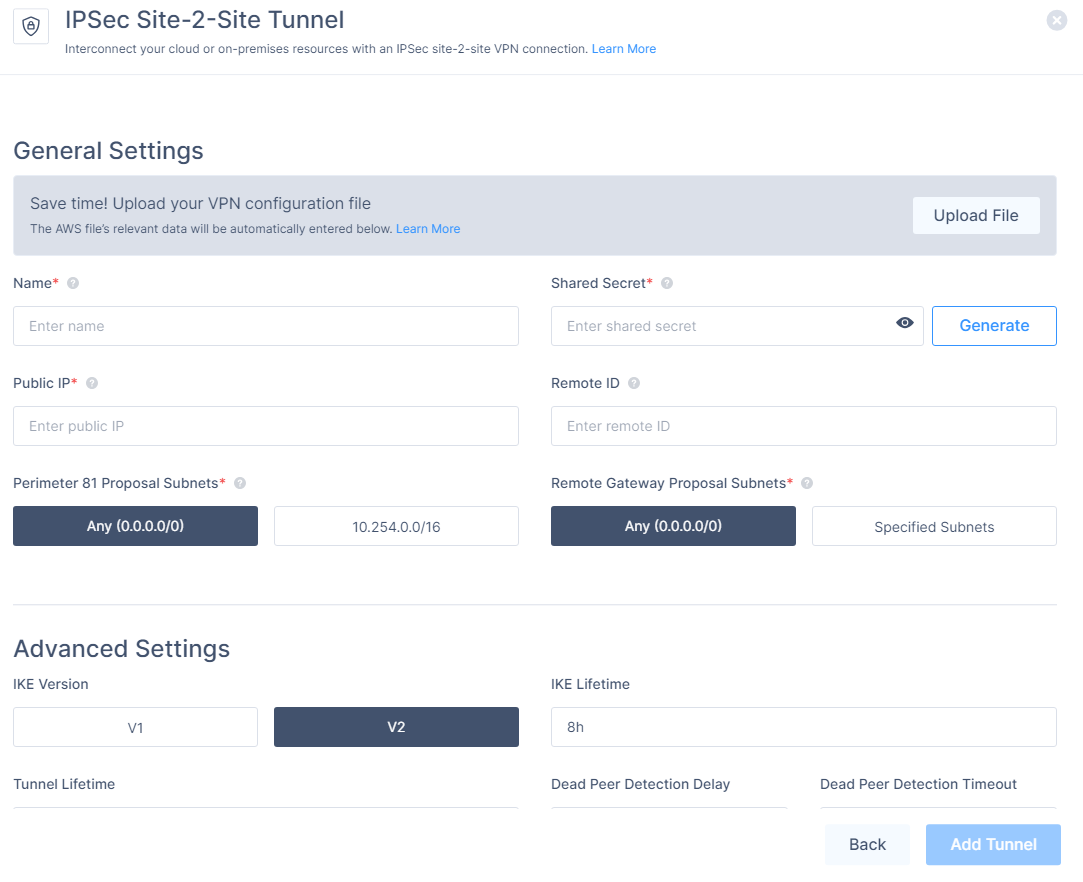
The IPSec Site-2-Site Tunnel window appears.
-
To automatically populate the tunnel configuration values, in the General Settings section, click Upload File and upload the configuration file downloaded from the AWS Management console.
-
For manual configuration, open the configuration file you downloaded and copy and paste these attributes.
-
Shared Secret - Paste the value marked in yellow. Omit the quotation marks.
-
Public IP & Remote ID - Paste the IP address marked in red. This is your AWS external IP address.

-
Check Point SASE Gateway Proposal Subnets - 0.0.0.0/0.
-
Remote Gateway Proposal Subnets - 0.0.0.0/0.
-
-
In the Advanced Settings section, enter the information for your tunnel type:
Field
IKE Version
IKE Lifetime
Tunnel Lifetime
Dead Peer Detection Delay
Dead Peer Detection Timeout
Encryption (Phase 1)
Encryption (Phase 2)
Integrity (Phase 1)
Integrity (Phase 2)
Diffie Hellman Groups (Phase 1)
Diffie Hellman Groups (Phase 2)
Cloud Vendor
Amazon AWS
Single Tunnel - AWS Virtual Gateway V2 8h 1h 10s 30s aes256 aes256 sha512 sha512 ecp521 ecp521 Single Tunnel - AWS Transit Gateway V2 8h 1h 10s 30s aes256 aes256 sha512 sha512 ecp521 ecp521 Redundant Tunnels - AWS Virtual Private Gateway V2 8h 1h 10s 30s aes256 aes256 sha512 sha512 ecp521 ecp521 Redundant Tunnels - AWS Transit Gateway V2 8h 1h 10s 30s aes256 aes256 sha512 sha512 ecp521 ecp521 Google Cloud Platform
Single Tunnel 1 V2 8h 1h 10s 30s aes256 aes256 sha512 sha512 ecp521 ecp521 Redundant Tunnels
V2 8h 1h 10s 30s aes256 aes256 sha512 sha512 ecp521 ecp521 Microsoft Azure Single Tunnel -
Azure Virtual Network Gateway
V2
3600s
27000s
10s
45s
aes256 aes256 sha1 sha1 modp1024 modp1024 Redundant Tunnels - Virtual Network Gateway
V2
9h
9h
10s 30s aes256 aes256 sha1 sha1 modp1024 modp1024 Redundant Tunnels - Virtual WAN
V2
8h
1h 10s 30s aes256 aes256 sha256
sha256
modp2048 modp2048 Other tunnel types
Alibaba Cloud V1 8h 1h 10s 30s aes256 aes256 sha1 sha1 modp1024 modp1024 IBM Cloud
V1
8h 1h 10s 30s aes256 aes256 sha256
sha256
ecp521 ecp521 1 Suggested values. For other supported ciphers, see this Google article.
-
Click Add Tunnel.